How to clean your Airbrush
How to clean your Airbrush
This guide shows you how to clean and maintain your airbrush after using it to spray our Conductive Ink (hi-grade). You must clean your airbrush immediately after use with our Airbrush Cleaner as the ink will quickly dry in the airbrush and stop it from working properly.
Please note that Airbrush Cleaner is only for use with our water-based Conductive Ink (hi-grade).
Cleaning Part 1; Flushing through your airbrush with Airbrush Cleaner
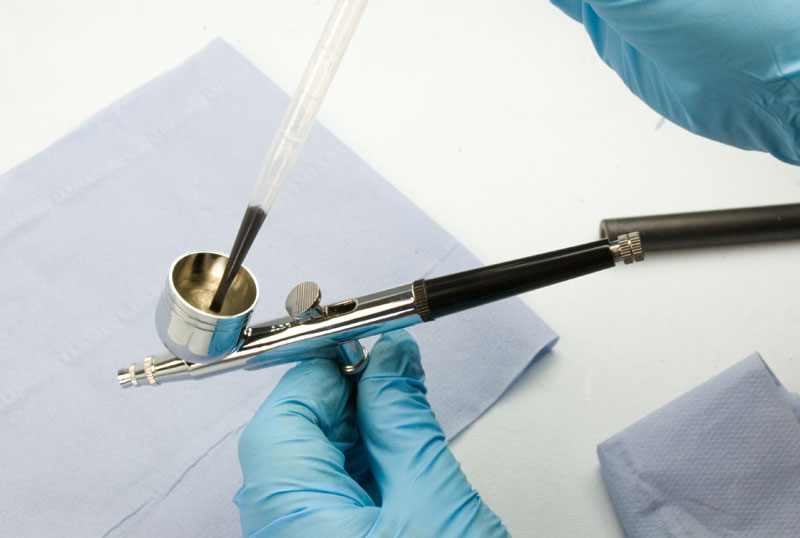
a) Draw out any remaining ink with a pipette and return to its container.
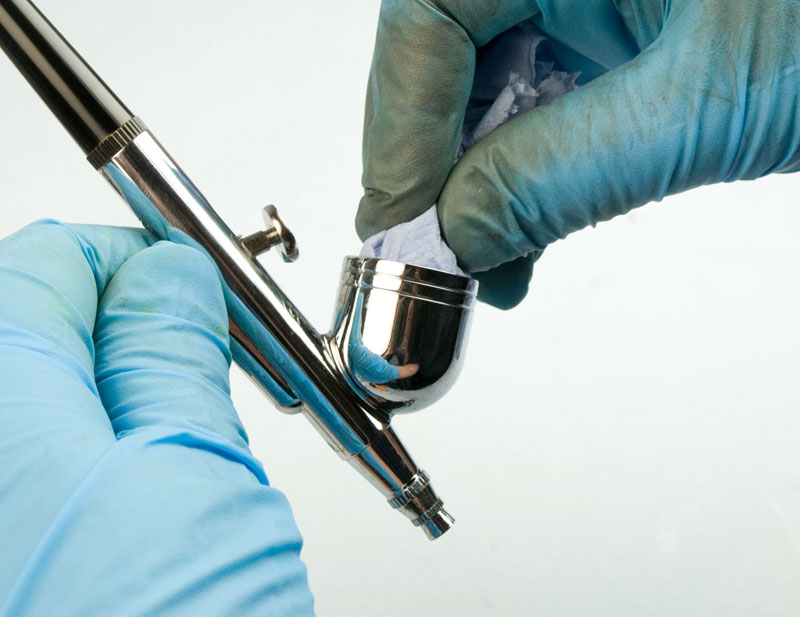
b) Wipe the inside of the airbrush well clear of ink with tissue. Continue to do this until all visible ink has been wiped clean. Be careful not to damage the mechanism of the airbrush which is visible at the bottom of the airbrush well.
c) Fill the airbrush well with Airbrush Cleaner and start spraying through the Cleaner until there’s no trace of ink coming through.
Cleaning Part 2; Cleaning the separate parts of your airbrush
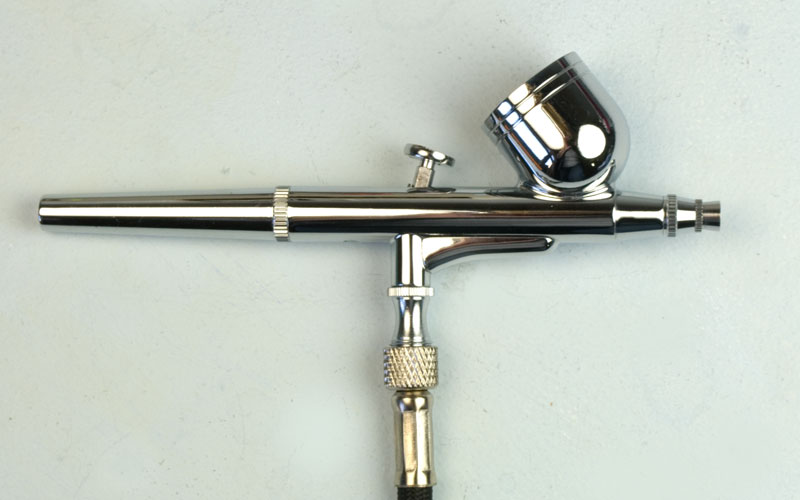
a) Here is a labelled picture of the different parts of your airbrush.
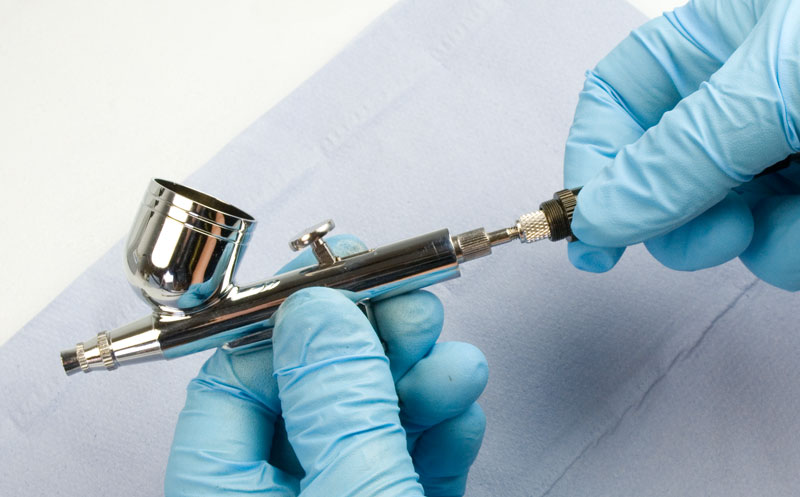
b. Unscrew and remove the Handle.
c) Loosen the Needle Chucking Net.
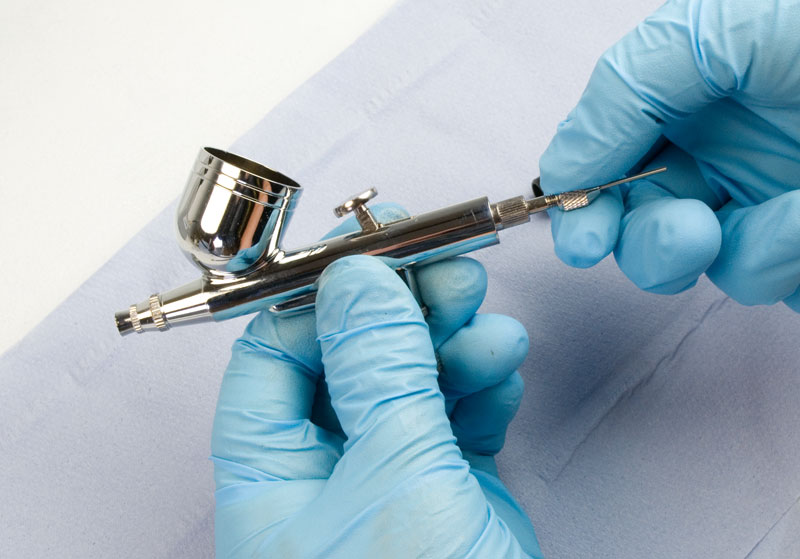
d) Very carefully remove the Needle. This part of the airbrush is very delicate and needs to be handled with great care to avoid bending or slight distortion.
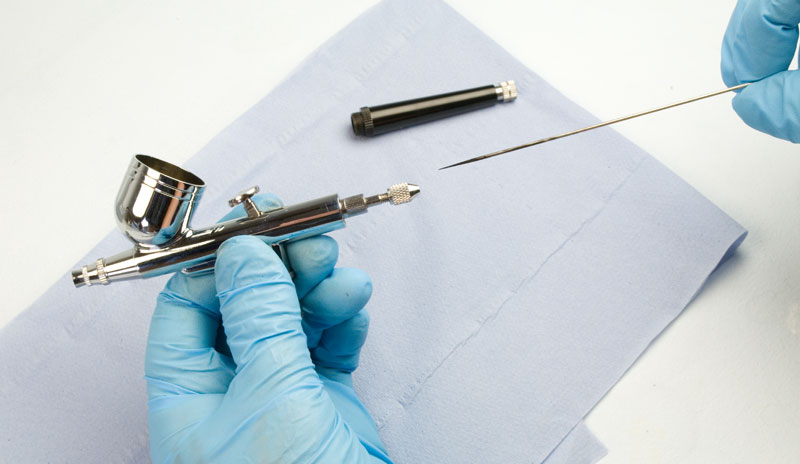
f) Unscrew and remove the Nozzle Cap and Needle Cap to reveal the Nozzle.
Your airbrush is now completely disassembled and ready for cleaning.

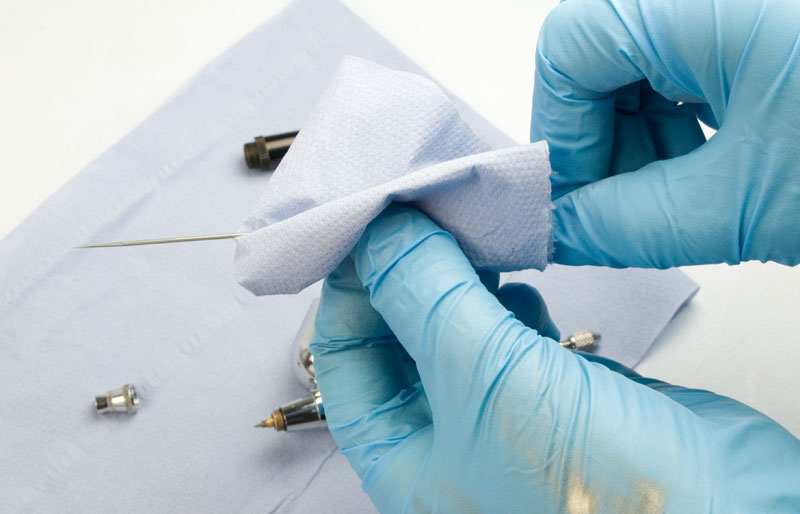
g) Carefully wipe the Needle with a clean tissue.
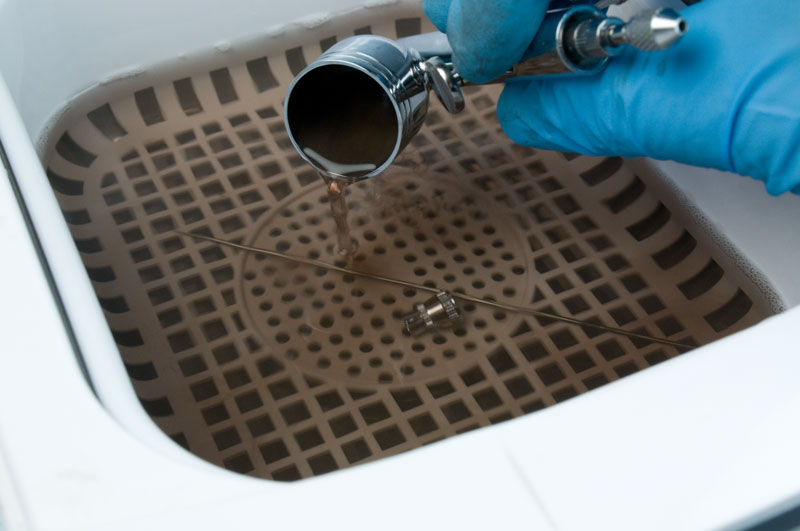
h) Fill your Ultrasonic Cleaner with the Airbrush Cleaner and place the parts of the airbrush in the Ultrasonic basket.
You will need to keep the Ultrasonic Cleaner just for this purpose.
Turn on the Ultrasonic Cleaner and leave it in for 4 minutes.
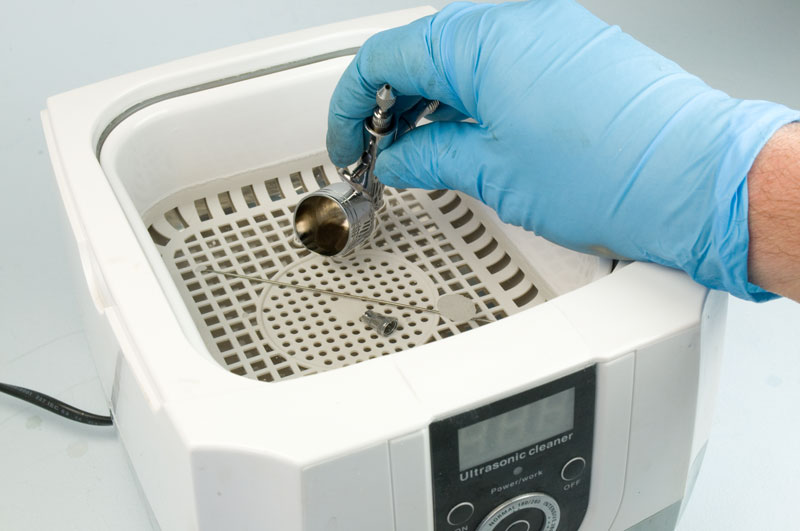
i) You will quickly see the ink being released from the insides of the airbrush by the action of the ultrasonic.
Once this process is complete, reassemble the airbrush and flush through again with a little Airbrush Cleaner.
Leave a Reply
You must be logged in to post a comment.