Silver brush plating on copper
Silver brush plating on copper
This project will focus on silver plating a piece of copper tubing, to get you used to brush silver plating and the basic skills of polishing and cleaning.
Getting these stages right saves valuable time and ensures a professional end result. If you need in-depth guidance on silver plating, please refer to the many other guides on silver brush plating you can find in this manual.
1. What you’ll need for silver plating copper
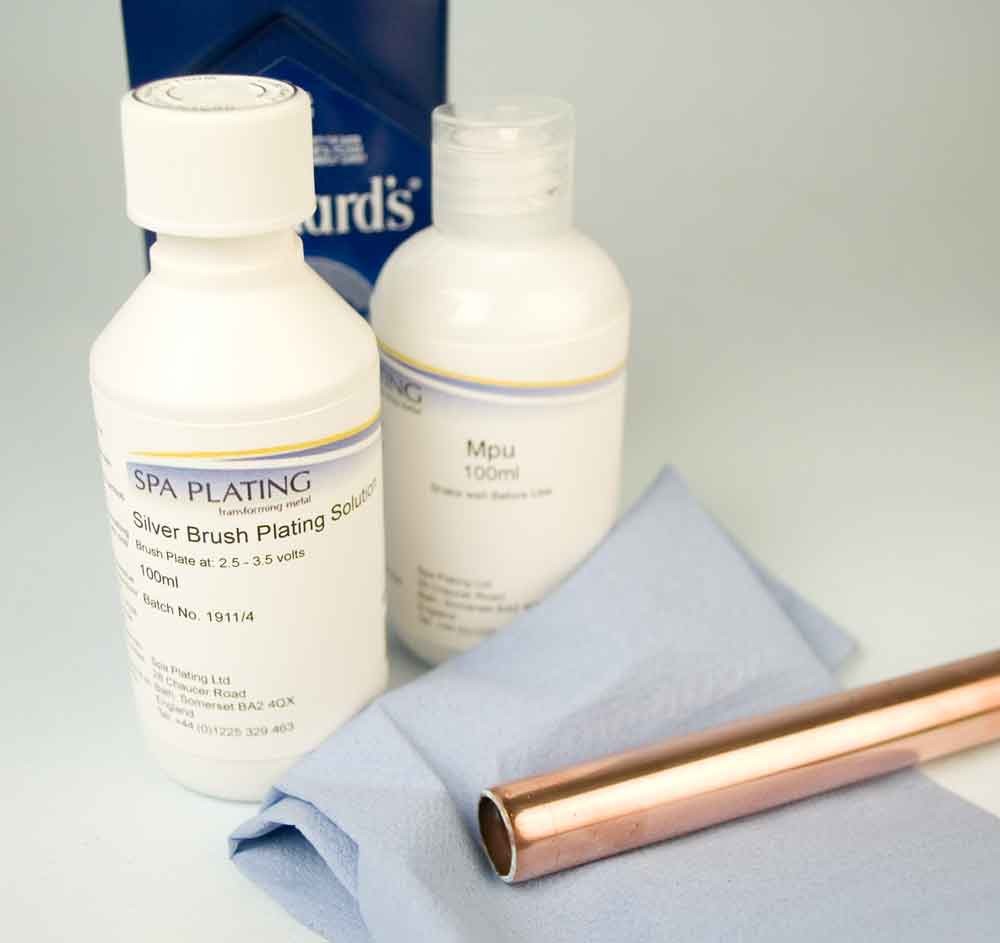
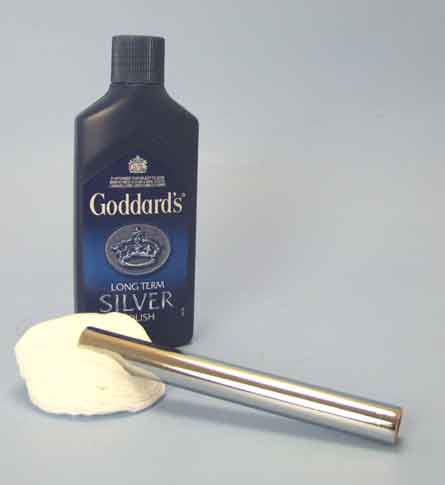
Try to get everything together before you start silver plating. You’ll need Silver Plating Solution, MPU and Goddard’s and some strong tissue paper (kitchen paper would do), as well as your length of un-plated copper tubing. You’ll also need an electrode handle fitted with silver or a platinum electrode and your Drip Tray.
2. Polishing
A clean, polished surface is essential if you want a top quality final result. Plating cannot cover scratches in metal, so if you want a flawless finish, your base metal needs to be highly polished. There are two ways you can polish; by machine or by hand. You can purchase a hand polishing kit from our online shop.
a) Machine polishing
This is by far the most efficient way of polishing larger pieces of metal. You get a very good finish and it takes out scratches quickly and without too much effort.
For a more in-depth guide on polishing, please refer to the pages on polishing in this manual.
b) Hand polishing
If you don’t have a polishing wheel, or if your piece of work is already fairly polished or very small and delicate, hand polishing is an option.
It takes longer and is harder work, but you can achieve perfectly acceptable finishes with hand polishing. We recommend using Autosol and a piece of tissue paper.
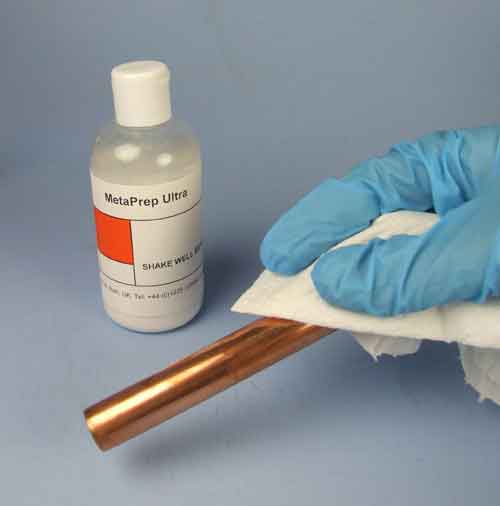
3. MPU stage (cleaning)
Clean your work with MPU to remove all traces of polishing compound.
Polishing by machine or by hand will leave your work covered in the polishing compound you have used. If this is left on the work, it will form a barrier to plating, so it has to be removed.
4. Setting up your equipment
You’ll only need one tray for the silver solution, plus a clean beaker.
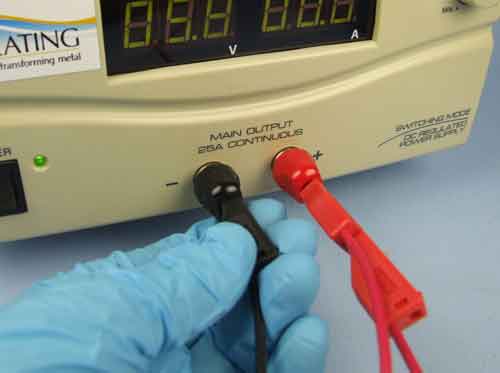
- Plug the black lead into the black socket and attach the other end to your copper tubing.
- Plug the red lead into the red socket and plug the other end of the red lead into the end of the electrode handle.
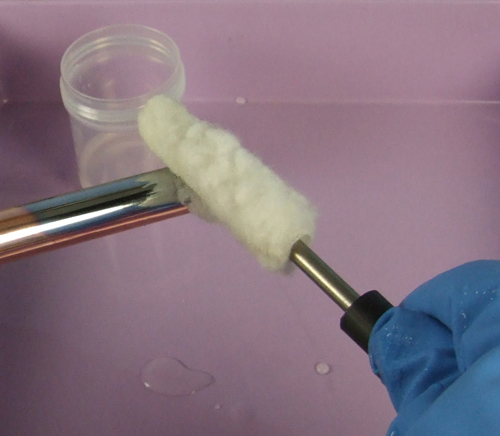
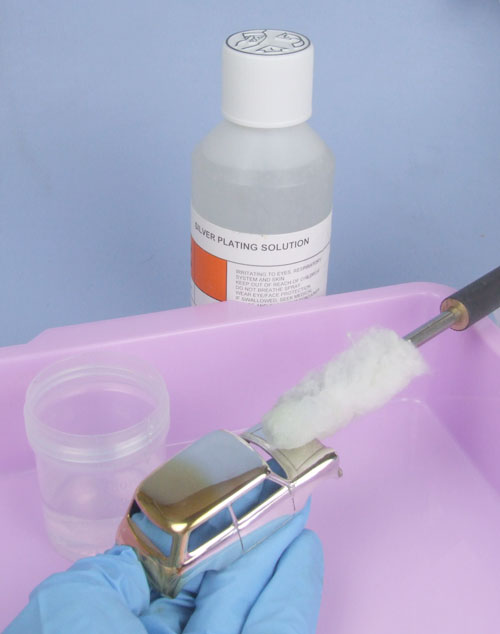
- Pour out 10 ml of silver plating solution into a beaker, place this in your tray and put the bottle next to the tray.
- Set the rectifier to 2.5 – 3 volts.
NB – Don’t forget to wet the swab thoroughly before you start silver plating and squeeze out the excess moisture! This will ensure a good electrical contact between the swab and the electrode.
5. Silver Plating 2.5-3 volts
Dip the electrode in the Silver Plating Solution and start brushing the surface of the copper tube with circular movements. The layer of silver plate should quickly appear.
Carry on plating for three minutes to make sure you have a layer of silver that will stand up to reasonable wear. Rinse your work with deionised water and remember to rinse your electrode, swab and crocodile clip thoroughly.
Plating Calculator
You can estimate fairly accurately how much silver plating solution you’ll need to plate to a specific thickness and therefor how long you’ll need to brush plate, by using our Plating Calculator that can be found on any of our product pages.
Silver Brush Plating using our Silver Brush Plating Solution
8. Finishing
To bring out the final lustre of your work polish with Goddard’s Silver Polish. This helps to keep the surface shiny and free of oxidisation.
For further help with silver brush plating, please click HERE for another silver brush plating project.
Leave a Reply
You must be logged in to post a comment.