Gold brush plating on-site
Gold brush plating on-site
This page shows how useful our Thickener can be when plating on-site, in this case gold plating a mixer tap in the bathroom. Thickener prevents your plating solutions from running off the object you’re plating, which means less waste of precious plating solutions and thus, more savings for you. It also increases the efficiency of the plating solution, making the job quicker and easier.
The only solution that is thickened in this demonstration is the gold and you should do this before you start plating.
1. What you’ll need
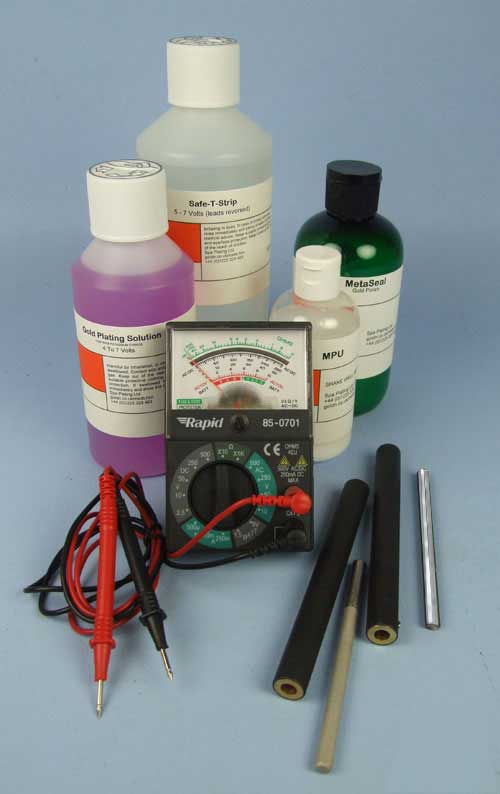
Solutions; Safe-T-Strip, Gold Plating Solution thickened with Thickener, MPU, MetaSeal. Equipment; Conductivity tester, two electrode handles with a stainless steel and platinum electrode fitted.
For help with setting up your brush plating equipment, please see our guide by clicking HERE.
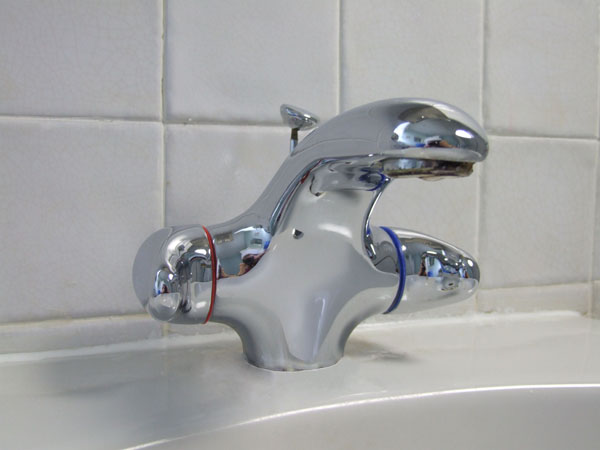
2. Preparing the surface
Make sure you have a clean surface before you start and if there is any lime scale, remove it with a non-abrasive cleaner. At this point it would be a good idea to check the conductivity of the surface of your tap with the conductivity tester, as the handle of the tap may not form an electrical connection to the spout part. You’ll be able to find this out with the conductivity tester.
3. Chrome stripping using Safe-T-Strip; 5 -7 VOLTS
Reverse the normal current by plugging the black lead into the red socket and the red lead into the black socket. Remember to use the stainless steel electrode for this stage. Please see the page in this manual called ‘Gold Plating and Chrome Stripping’ for more guidance on chrome stripping and the correct voltages.
Chrome stripping should happen very quickly and you will soon see the straw colour of the layer of nickel appear below the chrome. As soon as you see this, move on to another area of the tap.
4. Plating with the thickened Gold Brush Plating Solution; 4 -7 VOLTS
This stage is where the thickener really comes into its own, as you’ll find hardly any of the solution is wasted – all of your gold is going on the tap rather than running away.
Before you start plating, prepare the underlying nickel layer by rubbing with MPU. This will activate the surface ready for plating. Once you start gold plating, the gold may take a while to appear, as the thickened solution takes longer to soak through the swab. Just keep moving the carbon electrode in smooth circular strokes as normal and it will soon start to plate.
If unplated areas appear, then not all of the chrome may have been stripped. Simply chrome strip again and activate by rubbing with MPU.
NB
Remember to reduce the voltage on any edges and corners to ensure you plate thickly enough in these areas!
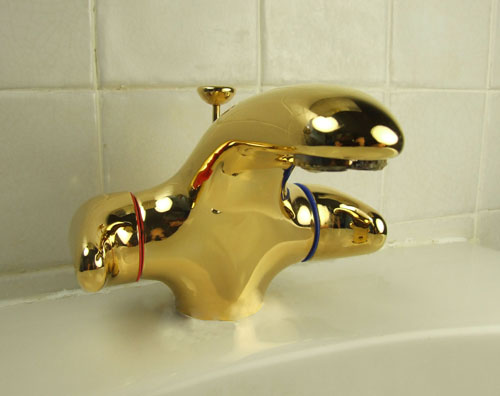
5. Finished tap
Once you’ve finished gold plating, rinse, dry and finish with MetaSeal. To keep the tap clean from now on, use a non-abrasive cleaner.
Leave a Reply
You must be logged in to post a comment.