How to use the EasyPlater
Introducing our EasyPlater
Our Easy Plater is designed specifically for the Spa Plating pen and brush plating process. It has a voltage range of 1 - 8.6 and is very easy to adjust, with a clear voltage readout. It comes with its own 12v adapter.

1. Connecting up the EasyPlater
Insert the adapter plug into the socket on the back of the EasyPlater. Plug the adapter’s three pin plug into the power supply. To turn the EasyPlater on, depress the green button on the back. This will glow green, showing that the EsyPlater is turned on.
2. Setting up the EasyPlater for pen plating.
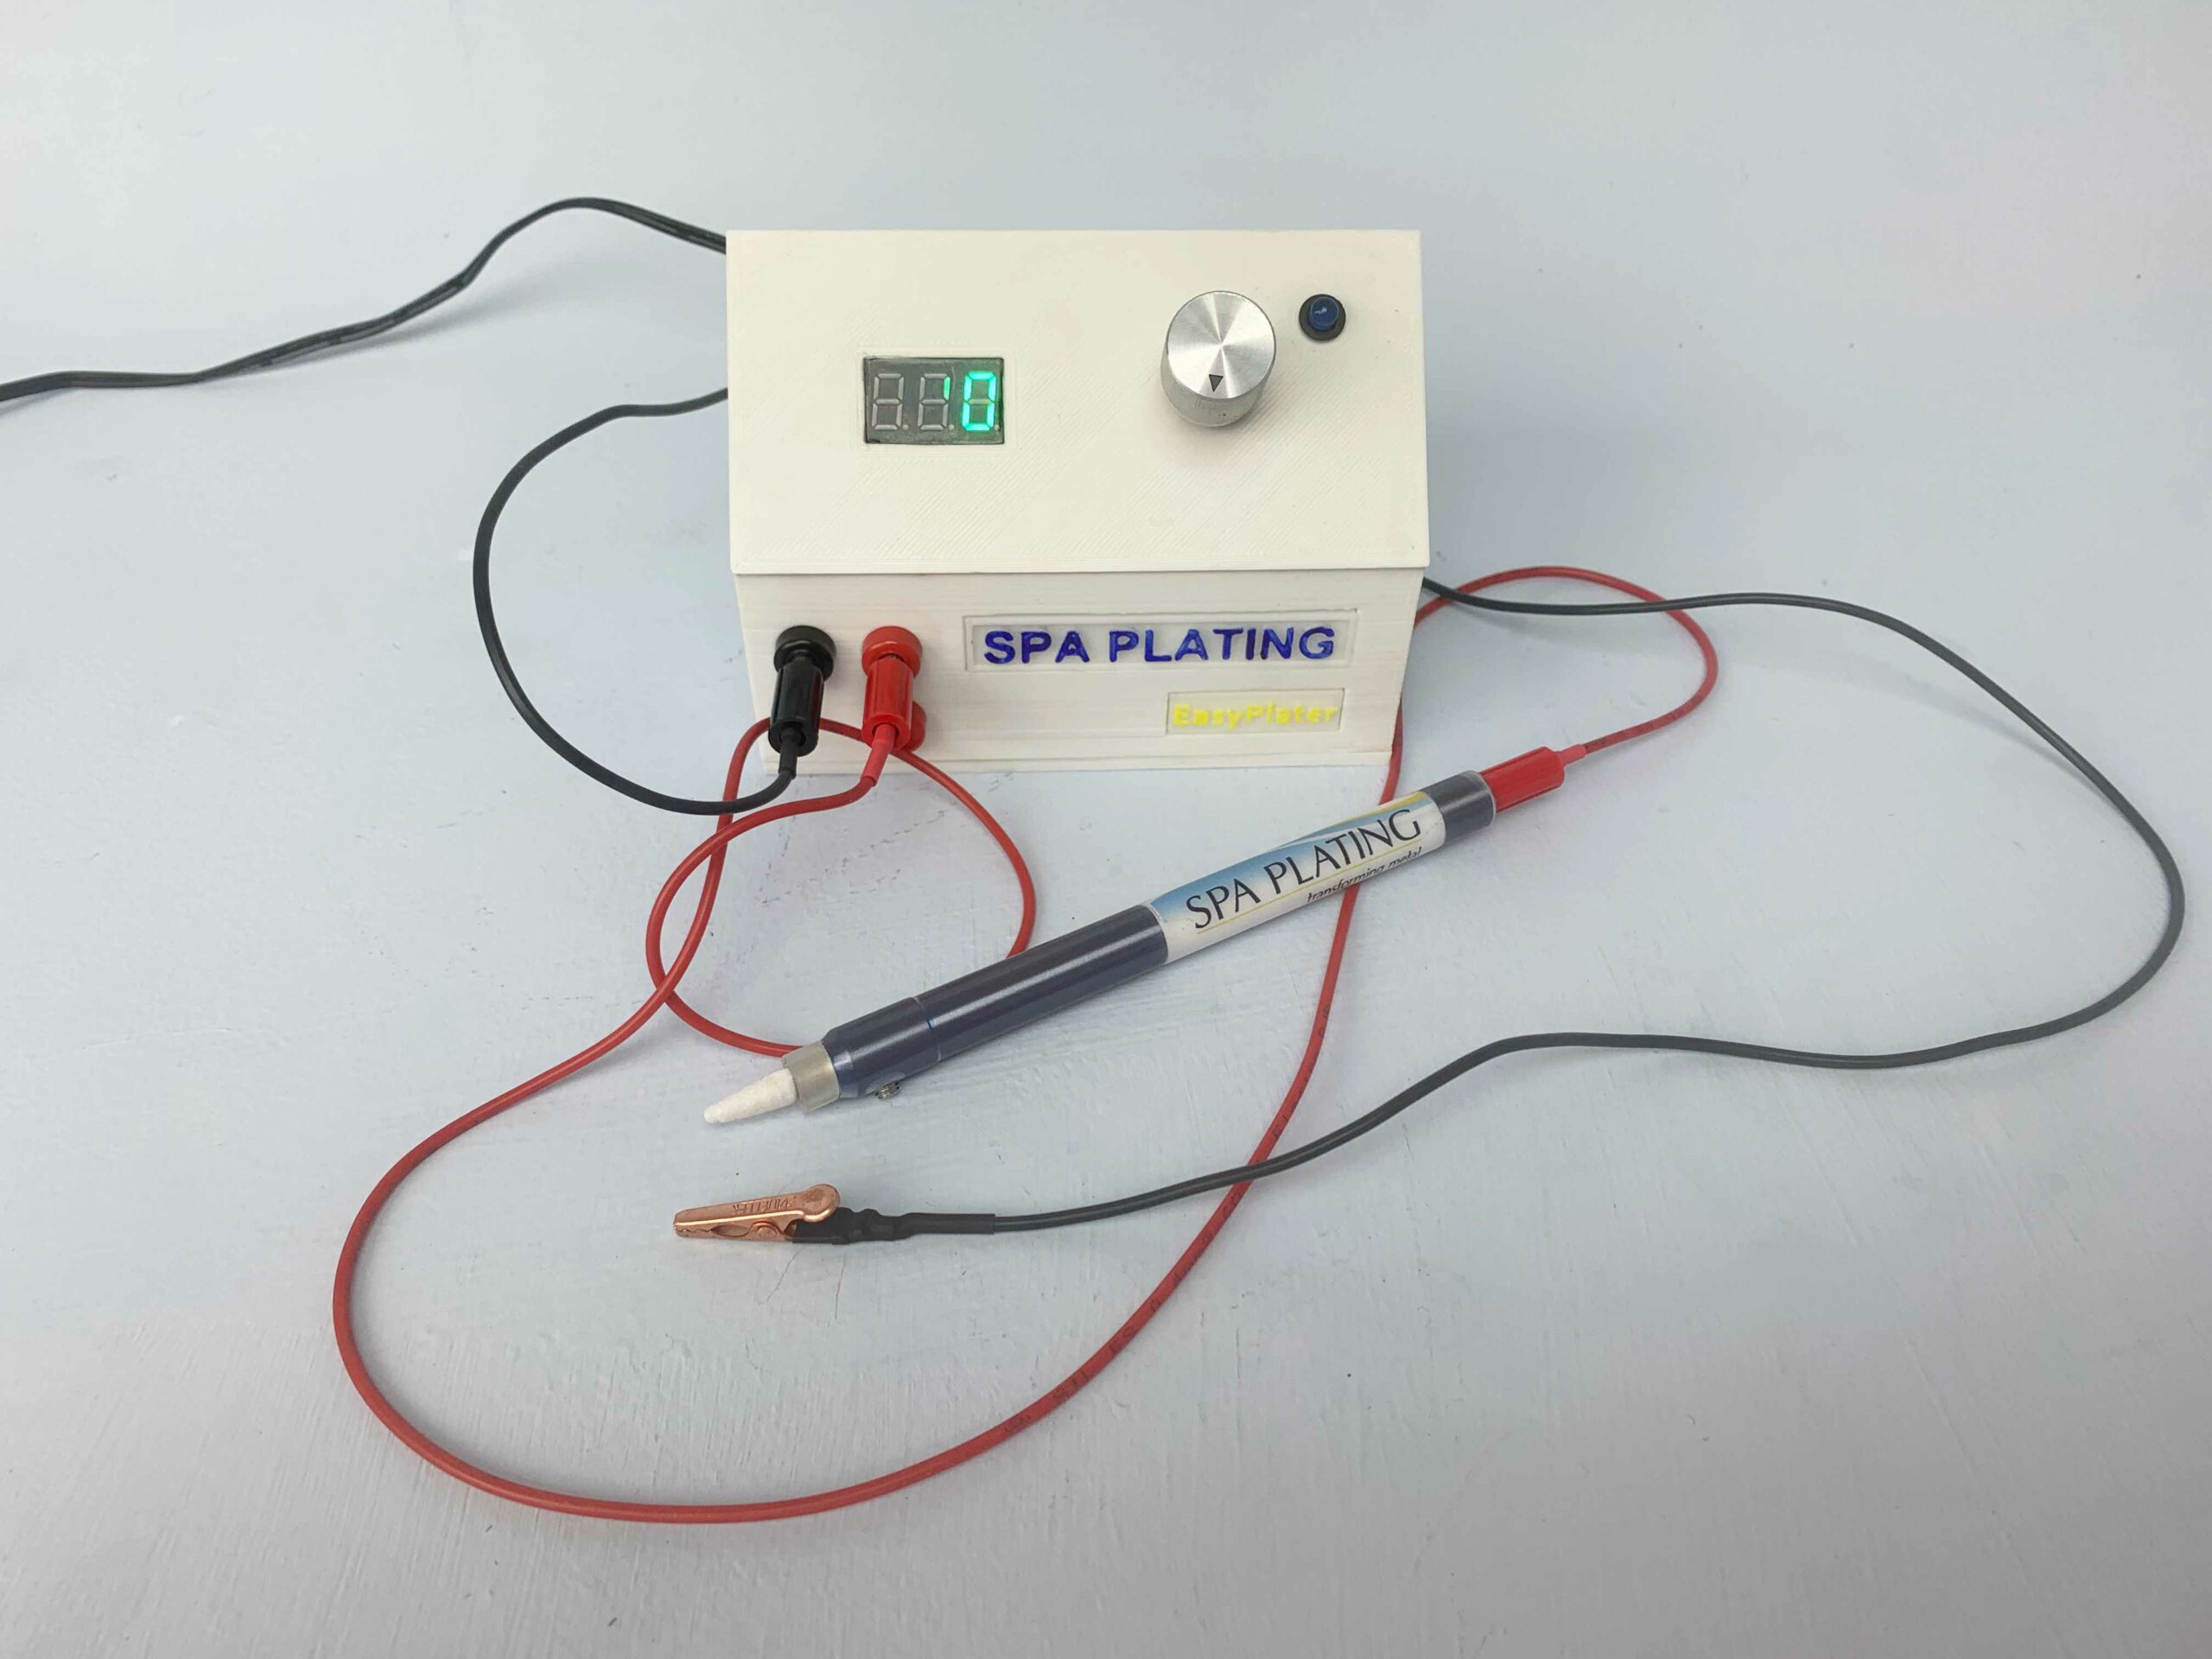
Connect up the EasyPlater as shown in the picture, with one end of the red lead plugged into the red socket on the EasyPlater and the other end of the red lead into the port at the end of you plating pen.
Plug in one end of the black lead into the black port of the EasyPlater and attach the crocodile clip to the other end of the black lead.
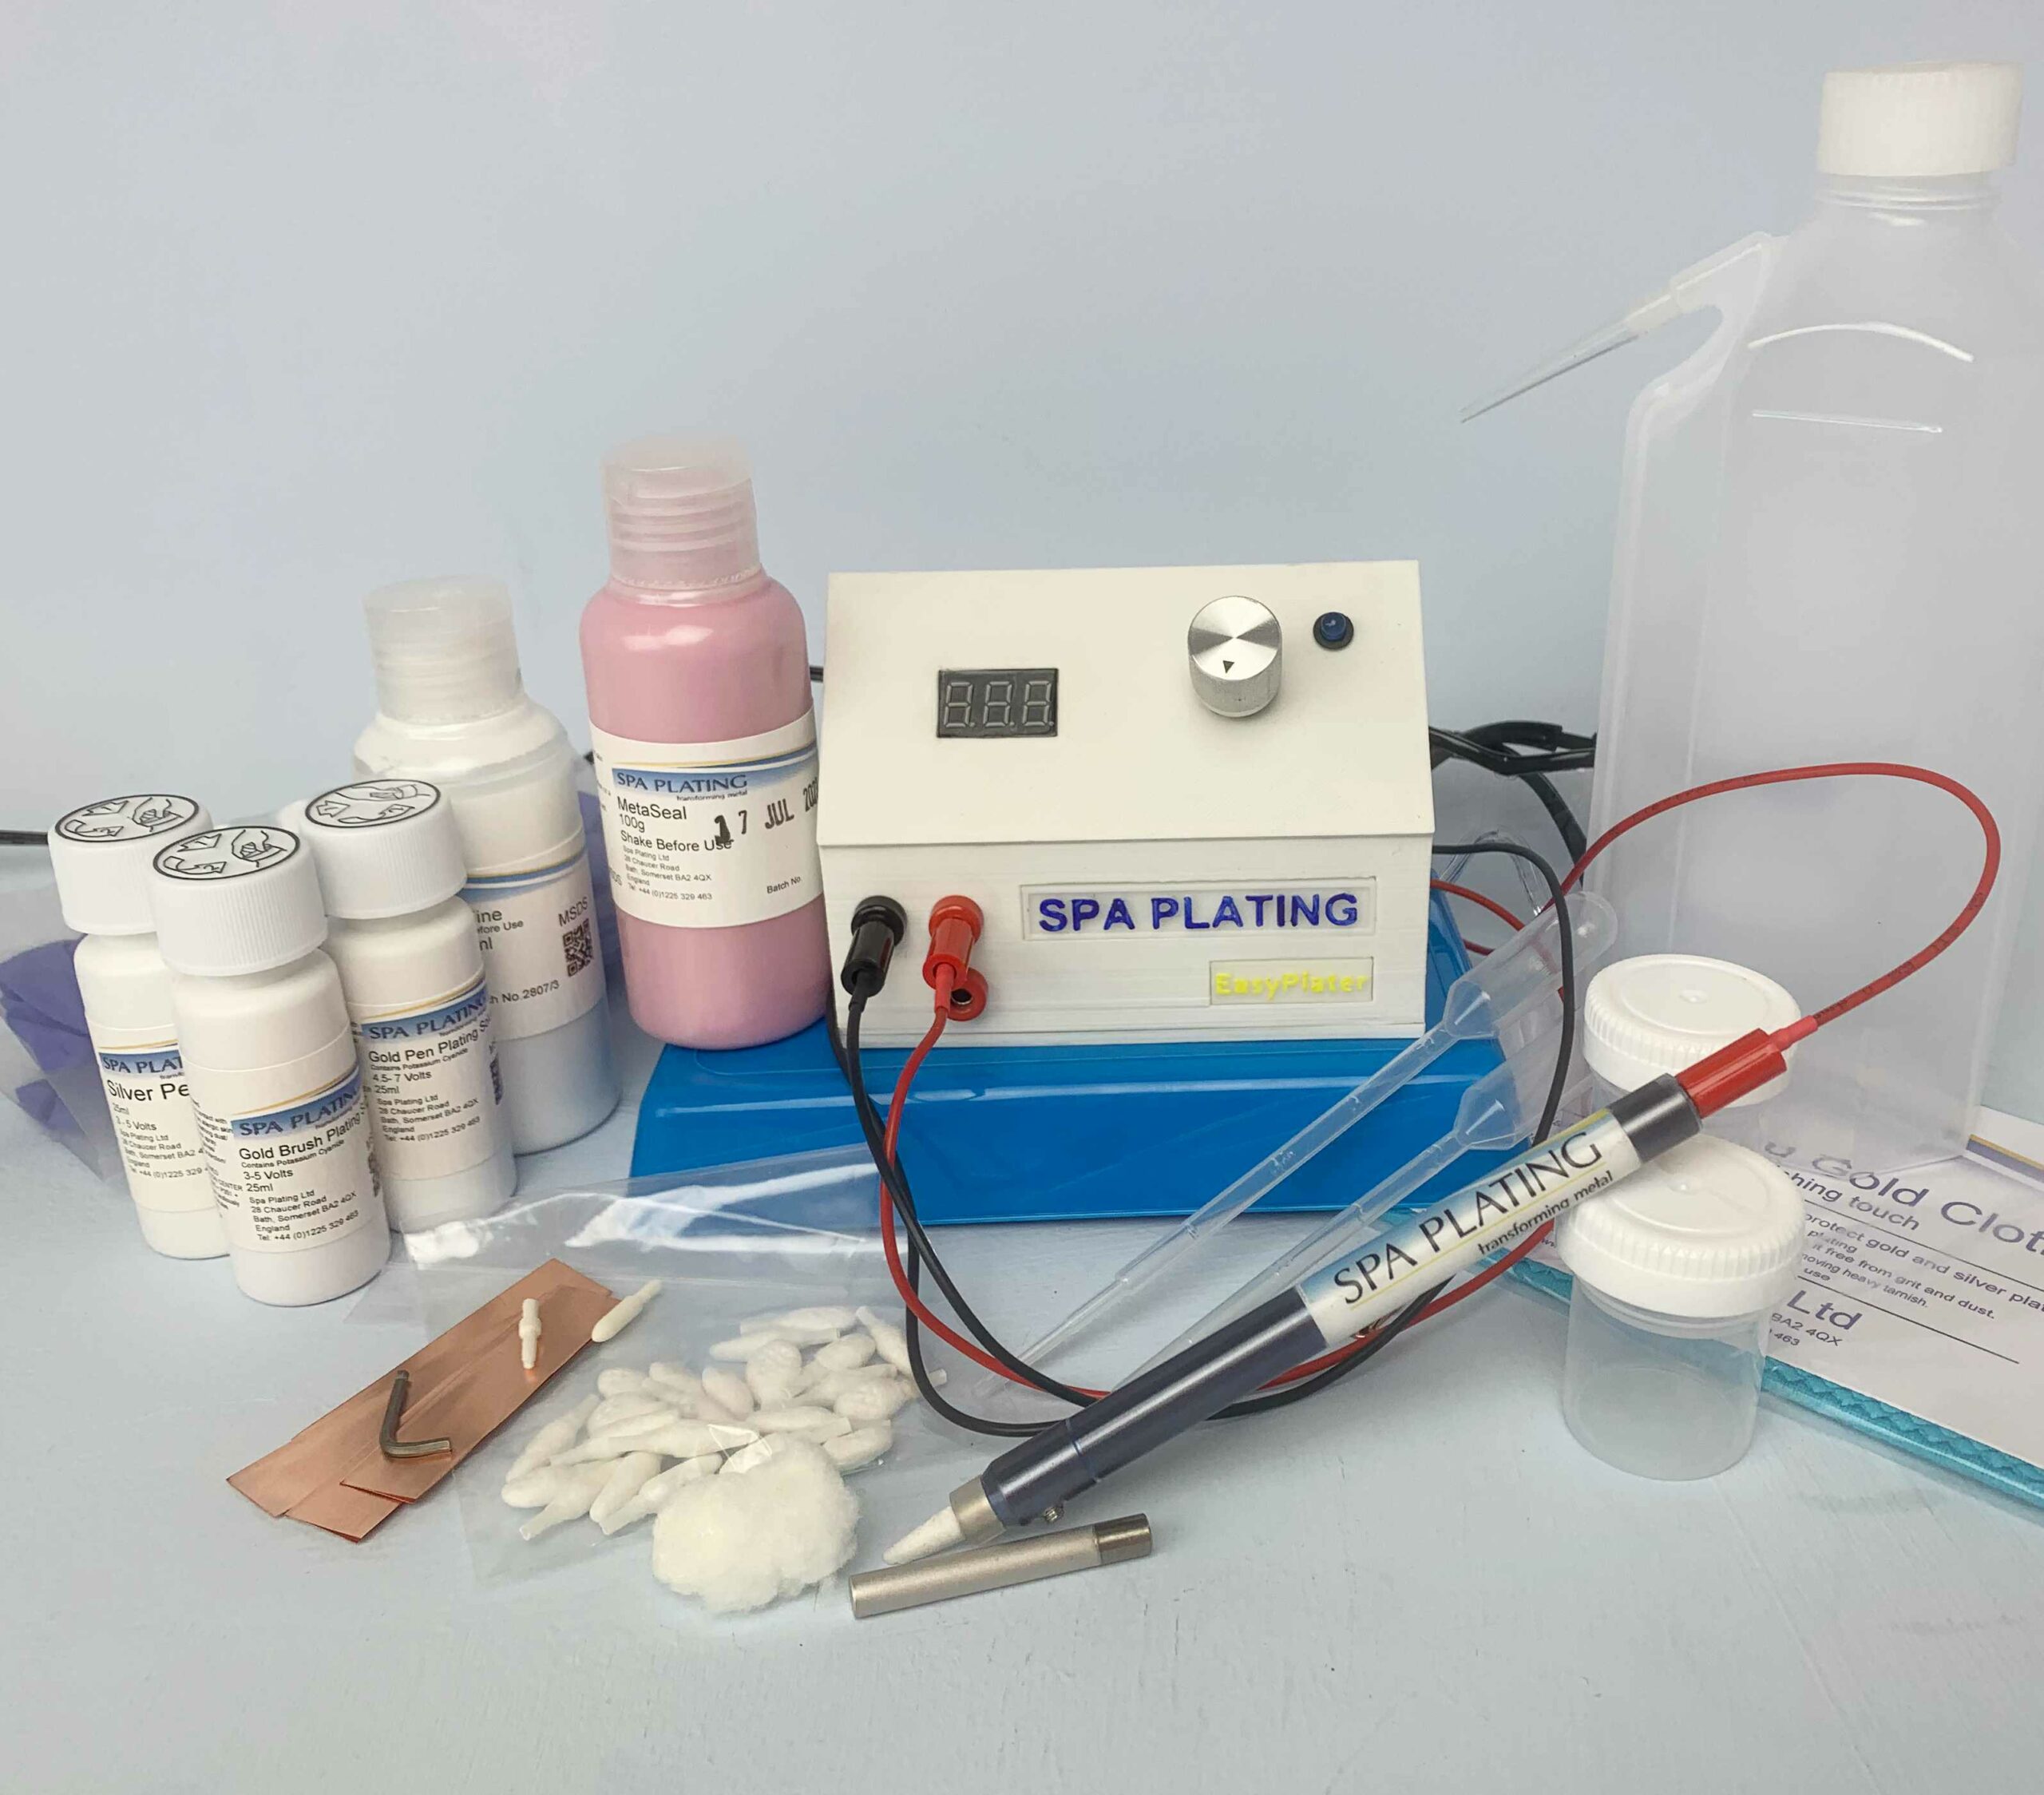
All of these items are included in our Gold Pen and Brush Plating Kit.
Once you have connected up the red and black leads, you are now ready to start pen plating. Before you start you will need to enter in the correct voltage level for the pen plating solution you are using. You can find this information of the side of your bottle of Spa Plating pen plating solution. Set the volts on your EasyPlater by turning the big silver knob until the correct voltage appears in the LED readout.
Please watch the video to see detailed instructions.

3. Setting up your EasyPlater for brush plating.
Follow the steps above for connecting up the red and black leads. You can use our plating pens with a short electrode fitted for brush plating. This is suitable for small scale brush plating, for example watch parts or items of jewellery.
If you want to use the EasyPlater for brush plating larger items, you can fit one our electrode handles with our electrodes developed for brush plating. This video shows how to gold brush plate on stainless steel with the EasyPlater.
