Rose gold brush plating on sterling silver using our jewellery plating kit
Rose gold brush plating a sterling silver ring
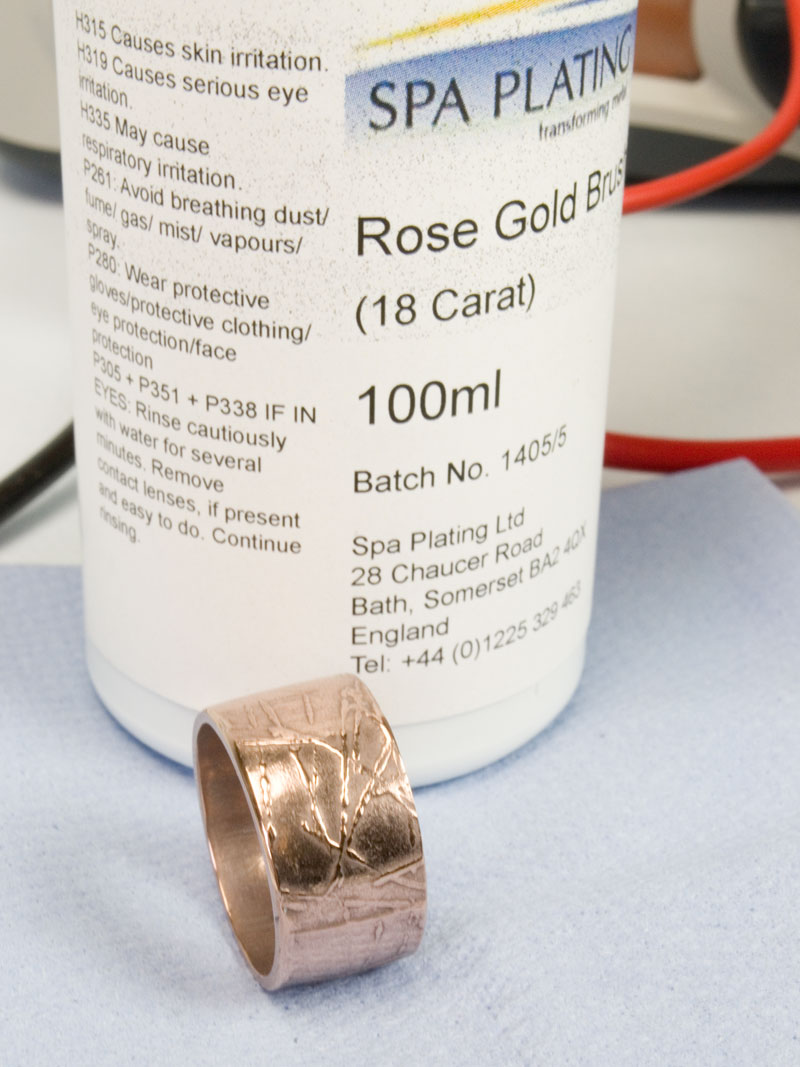
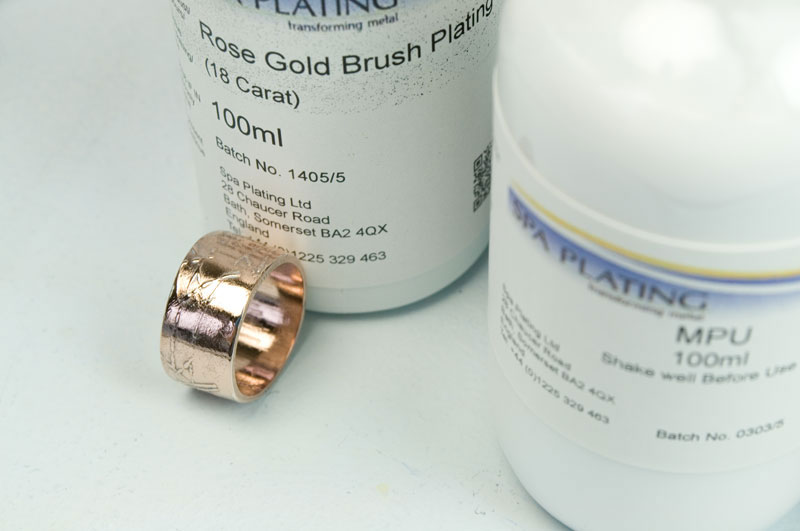
Our Rose Gold Brush Plating Solution creates a stunning shade of 18 karat rose gold. Because you don't need to pre-mix it, it can prove a more economical and time-saving choice over our Rose Gold Mixer and K-Gold solution.
This project demonstrates rose gold plating on to sterling silver using another money saving feature - our Short Swab. This swab is ideal for small, one-off plating jobs such as rings and earrings as it's about half the length of our Standard Swab and so soaks up considerable less plating solution.
This solution can also be used with both of our plating pens.
Please note, the LED Rectifier has now been discontinued and we recommend using the MF Rectifier Mk II in tank and brush mode.
What equipment and solution you will need to rose gold brush plate
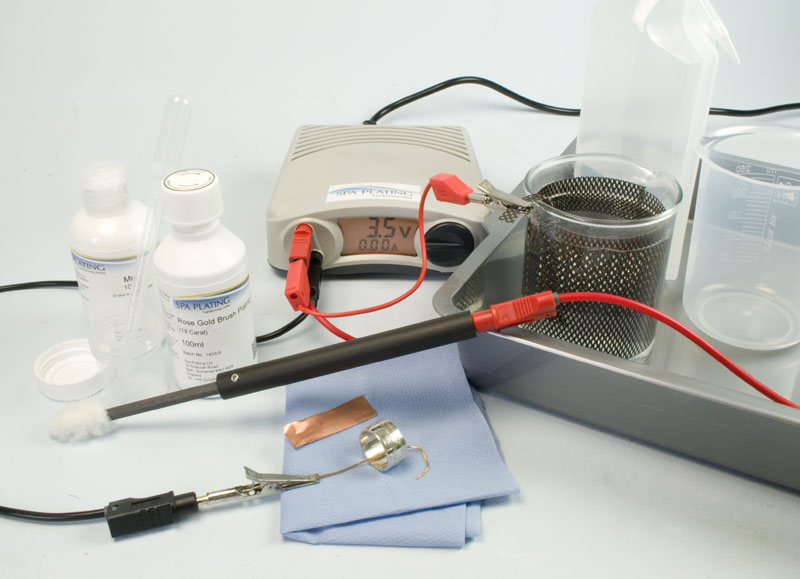
Equipment; MF Rectifier Mk II, Electrode Handle, Carbon Electrode (2 volts) or Platinum Electrode (3 volts), Short Swab, Red Lead Short x 1, Red Lead (1.5 metre) x 1, Black Lead, Crocodile Clip x 2, Plating Baker 250ml, Mesh Electrode 250ml, Rinse Beaker, Rinse Bottle, Conductive Strip, Gold Plated Jigging Wire. Solutions; Rose Gold Brush Plating Solution (18kt) 100ml, Cleaner 250ml, MPU 100ml
Set up your equipment as shown in the picture. If you are using our MF Rectifier Mk II, please click HERE for instructions on setting it up for the tank cleaning part of the project, and HERE for the brush plating part of the project.
Make sure the two red leads connect both the cleaner beaker and the electrode handle to the MF Rectifier. Fashion a hook from your Gold Plated Jigging Wire to hold the item safely while it is hanging in the Cleaner. Fit a Carbon Electrode or a Platinum Electrode into your Electrode Handle and slip on your Short Swab.
Measuring out the Rose Gold Brush Plating Solution
Measure out 2ml of Rose Gold Brush Plating solution using your pipette and transfer it to a small beaker. This amount will be enough for the size of the ring we’re plating and is a suitable amount for the Short Swab.

Cleaning the silver ring; stage 1
Hook the ring on to the jigging wire and check that the rectifier is set to 3 – 4.5 volts.
Cleaning the silver ring; stage 2
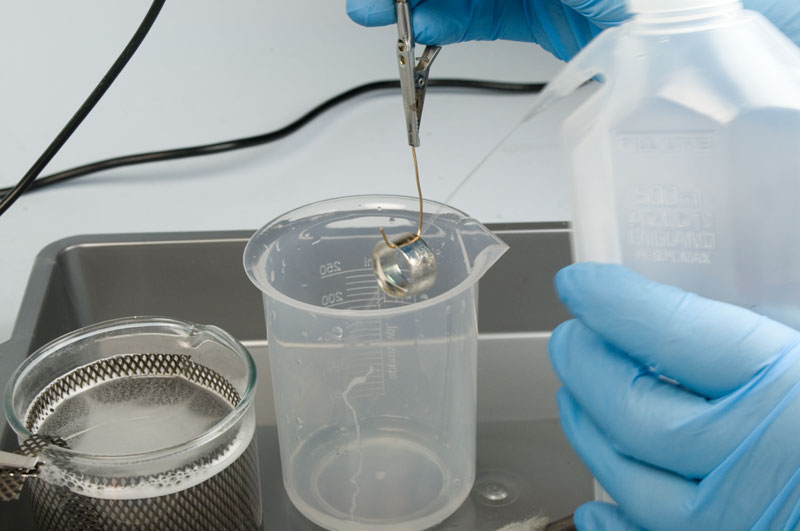
First clean the surface of the ring thoroughly with our MPU using a clean tissue. There’s no need to rinse off the MPU before lowering the ring into the Cleaner. You will see bubbles immediately form as the Cleaner gets to work.
Cleaning the silver ring; stage 3
After a minute or so, rinse off the Cleaner with the Rinse Bottle, first into the cleaner beaker and then into the rinse beaker.
Rose Gold Brush Plating 3 volts if using Platinum Electrode, 2 volts if using Carbon Electrode
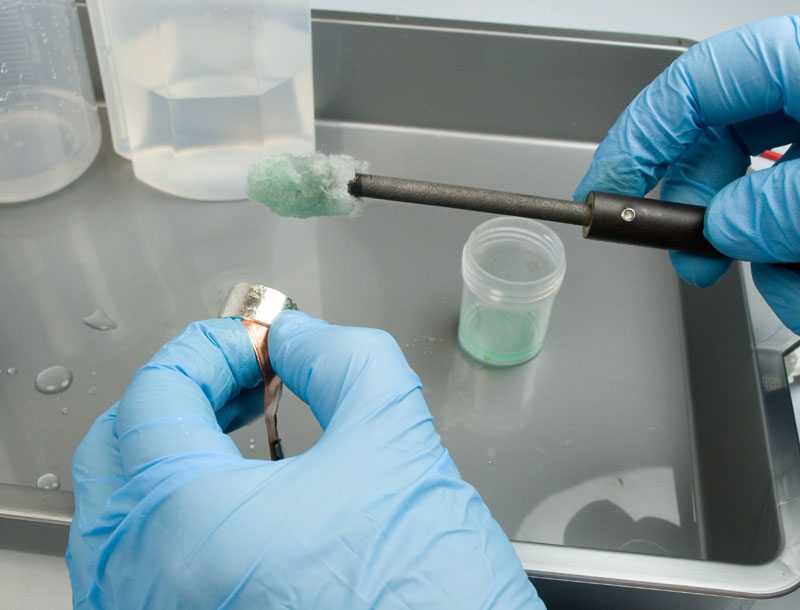
Once the ring is thoroughly rinsed, fit the Conductor Strip into the crocodile clip on the black lead and then soak up the Rose Gold Brush Plating Solution with the Short Swab.
Grip the ring in the Crocodile Clip using the Conductor Strip to make electrical contact and start plating with a regular, circular motion. Because you’re using the Short Swab and all of your solution is in the swab, you don’t need to be dipping the swab back in the solution. This helps you concentrate on getting an even layer of plate all over the surface of your item.
Keep plating for about five minutes, rinse as before and then finish with MPU to bring out the shine.
Finishing the rose gold ring
We recommend finishing the ring with MPU rather than our usual recommendation of MetaSeal as the rose gold is quite a hard layer and requires a greater cut, which MPU affords.
Leave a Reply
You must be logged in to post a comment.