With this kit you’ll be able to accurately plate any thickness of gold you require from thin, decorative layers of 0.1-0.2 microns all the way up to thick layers of gold Vermeil standard (2.5 microns). It includes 1 Litre of our Gold Plating Solution for tank plating which contains 4 grams of pure gold per litre. It’s formulated specifically for tank plating and gives consistently bright results.
Scaling up or down; you can scale the volume of your kit up or down by swapping in different volumes of our plating beakers. You can also switch easily between our different plating solutions, as the Spa Plating tank plating process is very similar across all of our tanks plating solutions.
If you want to scale down the volume of the 1 litre kit to a 500ml kit for example, these are the core items you will need to change;
Gold Tank Plating Kit – 500ml
Gold Tank Plating Solution – 500ml
Cleaner – 500ml
Stirring Bar – Medium
Plating Beaker – 500ml
Mesh electrode – 500ml
Stainless mesh electrode – 500ml
Beaker Lid – 500ml x 2
Rinse beakers x 6 – 500ml
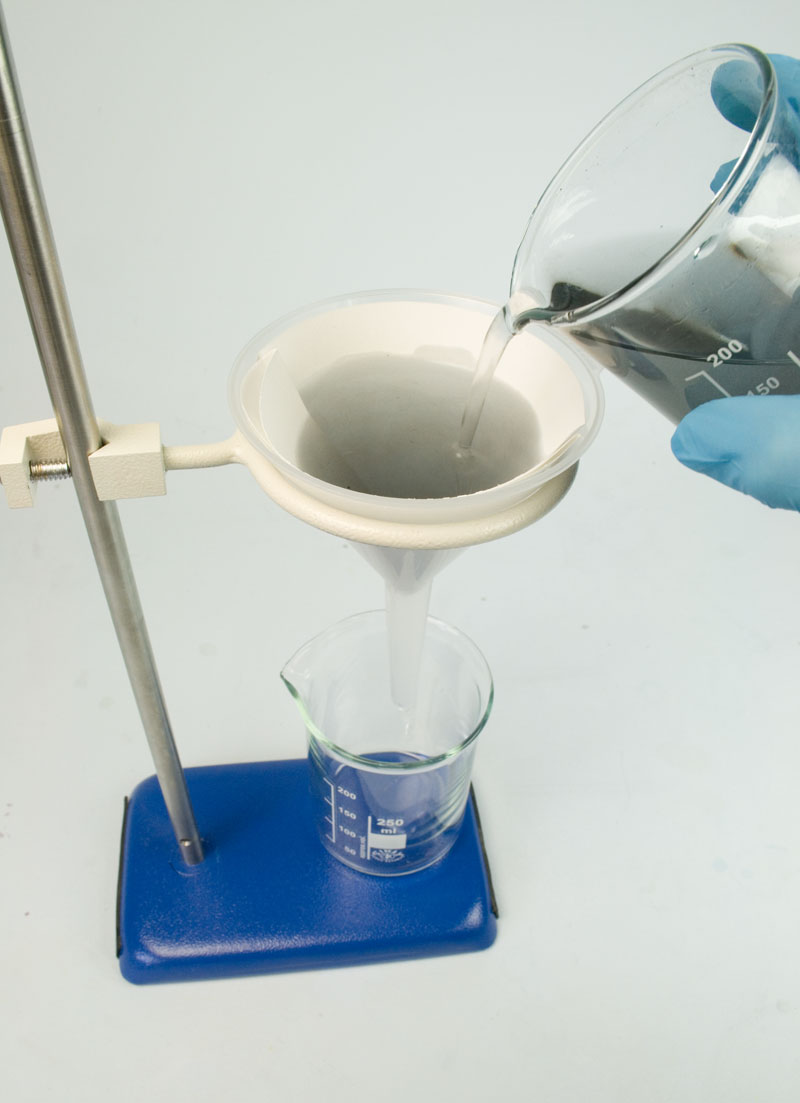
Filter papers (5 Pack) – 500ml
Funnel – 500ml
These same core products can be scaled down further to 250ml or up to 2 litres.
The rest of the items on the kit list can stay.
You can use the Microplater Classic for pen, brush and beaker/tank electroplating
It is particularly useful for tank plating as you can programme it.
You can also monitor the amount of electricity you are using (in amp hours) and this, when used with our online calculators, helps you plate to specific thicknesses.
The default settings do not need to be changed but can be viewed. This is talked about below.
Overview
The Microplater Classic is an electroplating rectifier which outputs dc voltage within the range 0.6 – 30 volts and amps between 0.00 and 3.5
You can set the volts and amps (along with other parameters) using the dial. To control the output, use the yellow on/off switch.
The black negative output and three red positive outputs allow for the three different processes of pen, brush and tank plating to be run from the Microplater.
There is plenty of venting on the sides and base of the unit.
Switching on
To power up the unit, plug in the power lead from the adapter or 9 volt battery into the socket on the back of the unit and press the green button. This will light up when the power is on.
Please note that we only recommend using the battery option with pen plating, not with brush or tank.
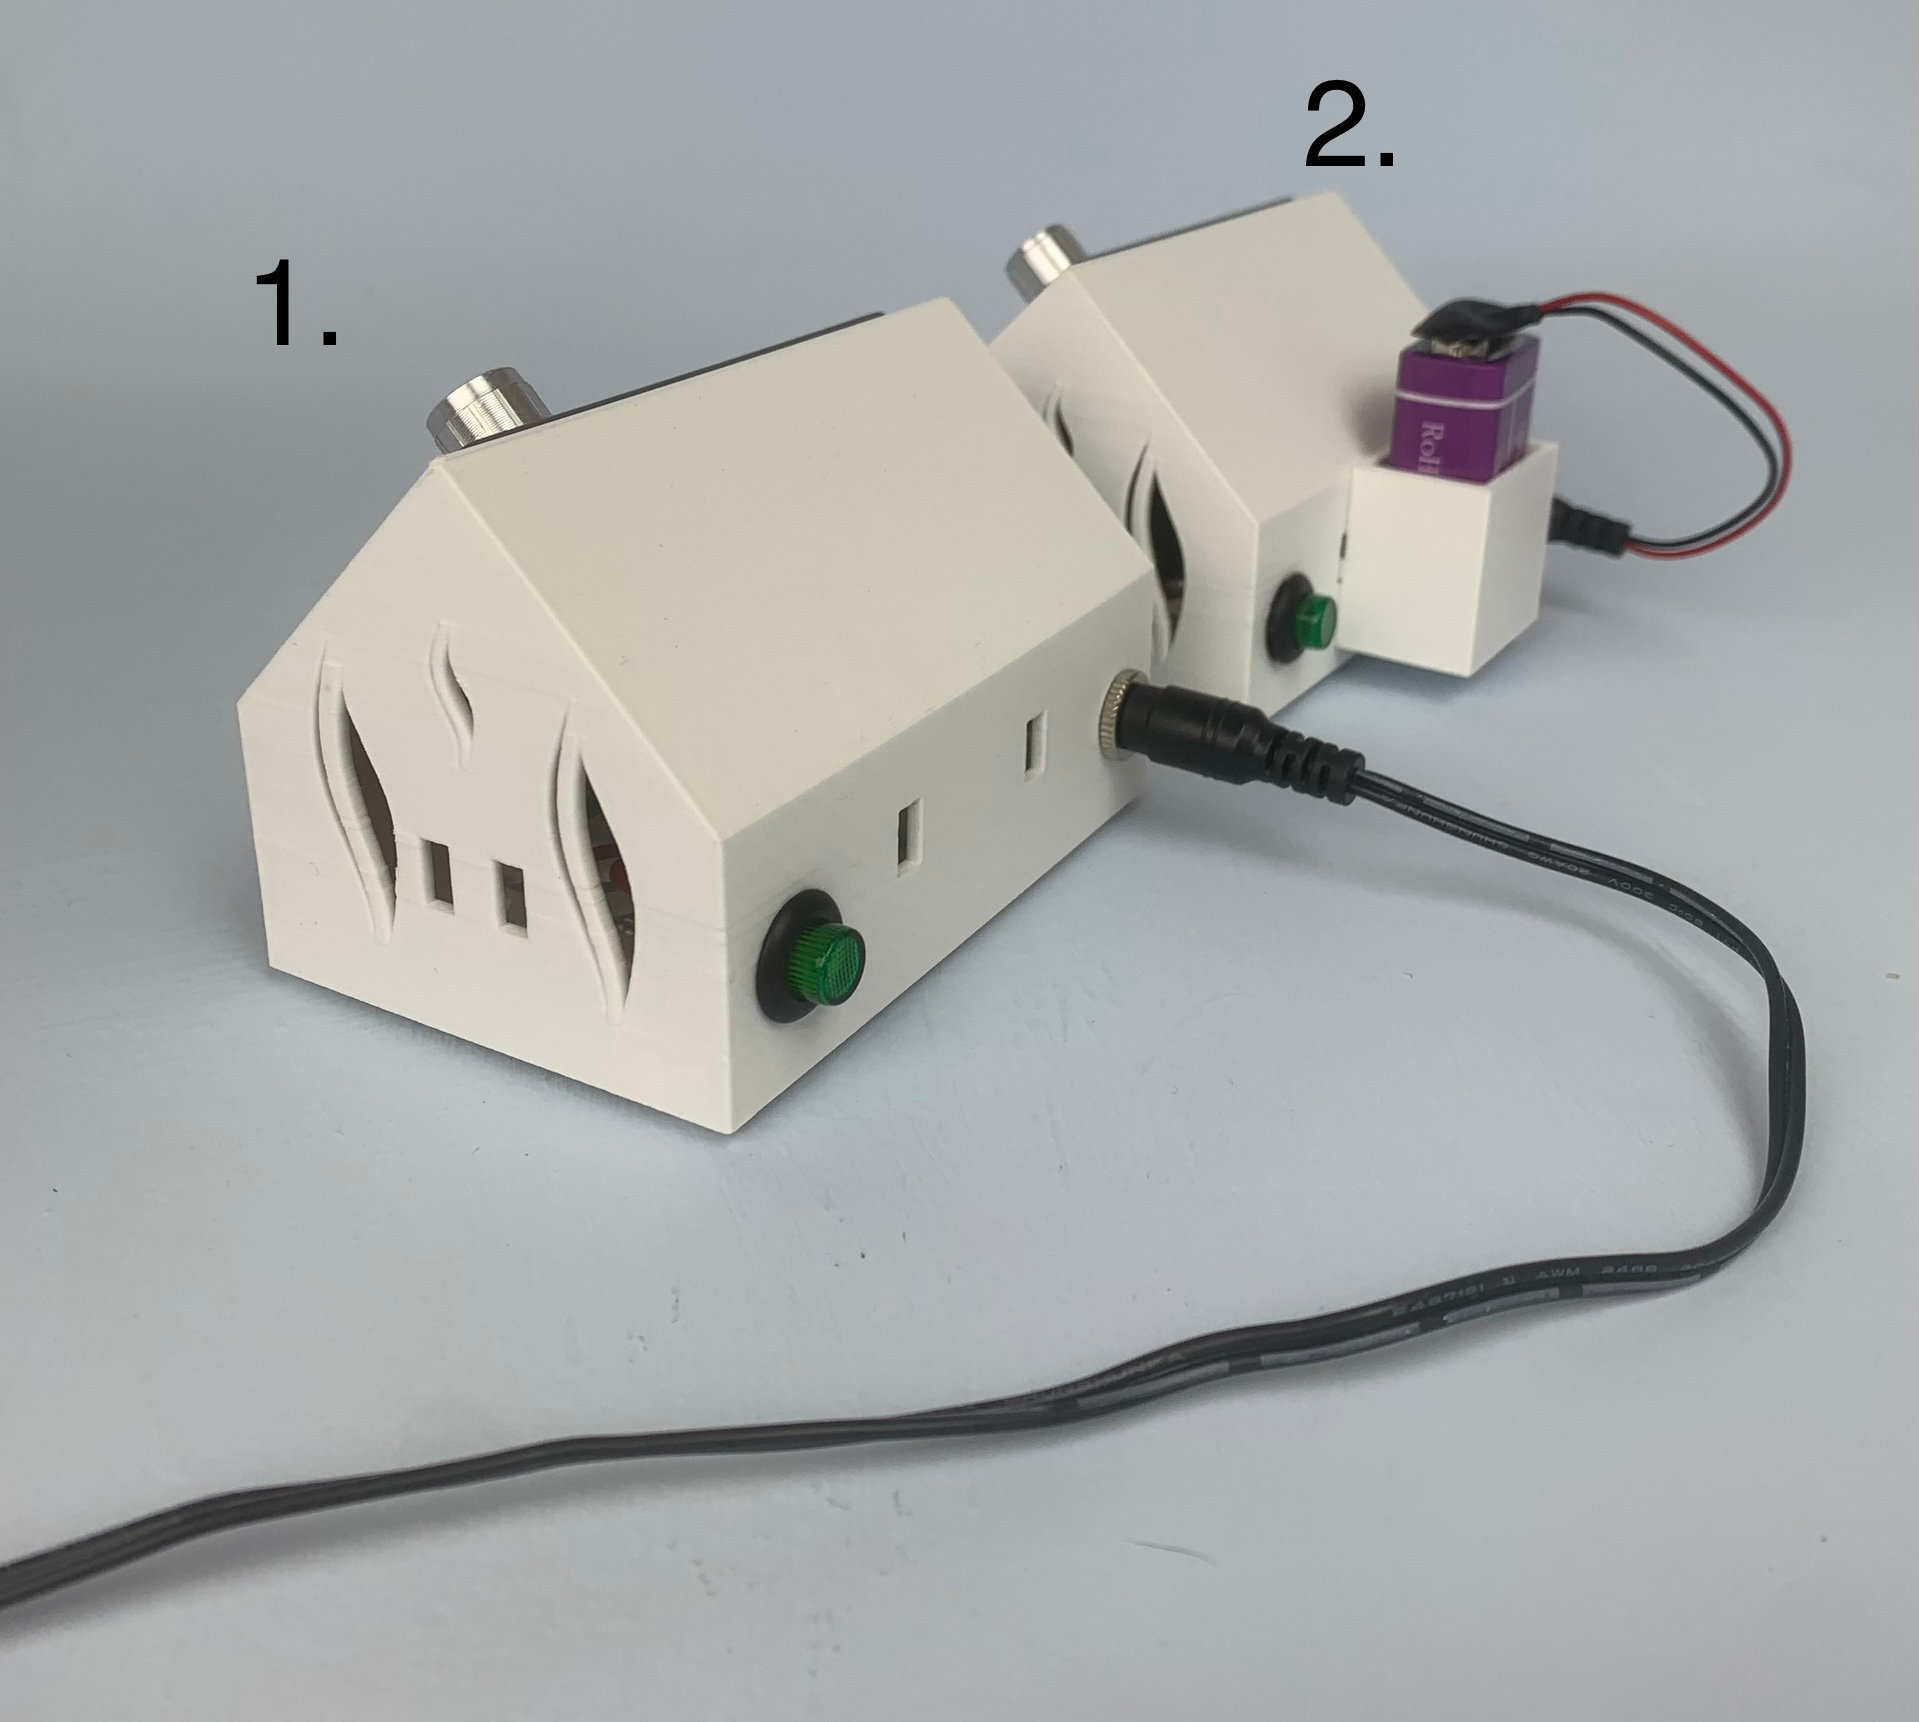
The Microplater can be powered with a lead (1) or with a battery (2).
How to switch the Microplater Classic to pen and brush plating mode
1. Make sure the output indicator (1) displays ‘OFF’ by depressing the yellow Output On/Off switch (3).
Take a note of the correct voltage for your pen or brush plating solution – it is displayed on the side of your plating solution bottle.
2. To set the voltage, briefly depress the dial (2). The last digit in the output indicator will start flashing. You can now adjust this digit up or down by turning the dial clockwise (up) or anticlockwise (down).
To move to the next decimal place, depress the dial again and while this digit is flashing you can adjust this one, by turning the dial.
Continue to the next digit to complete the voltage setting.
3. Select the amps by pressing and holding down the dial until the last digit of the amps starts flashing. As above, adjust the amps by rotating the dial clockwise and anticlockwise. To set all the decimal places of the amps, follow the same procedure you followed for the volts.
4. For both pen and brush plating mode, adjust the amps to 3.5 Please note that 3.5 amps is very unlikely to be reached during the plating process and only indicates a maximum value.
The volts figure, however, should remain unchanged from its set value during the plating process.
6. When you’re ready to start plating, press the output ON/OFF button so that it says ‘On’ in the output indicator.
Please note that you can program the output to be permanently on in Program Mode which is discussed below.
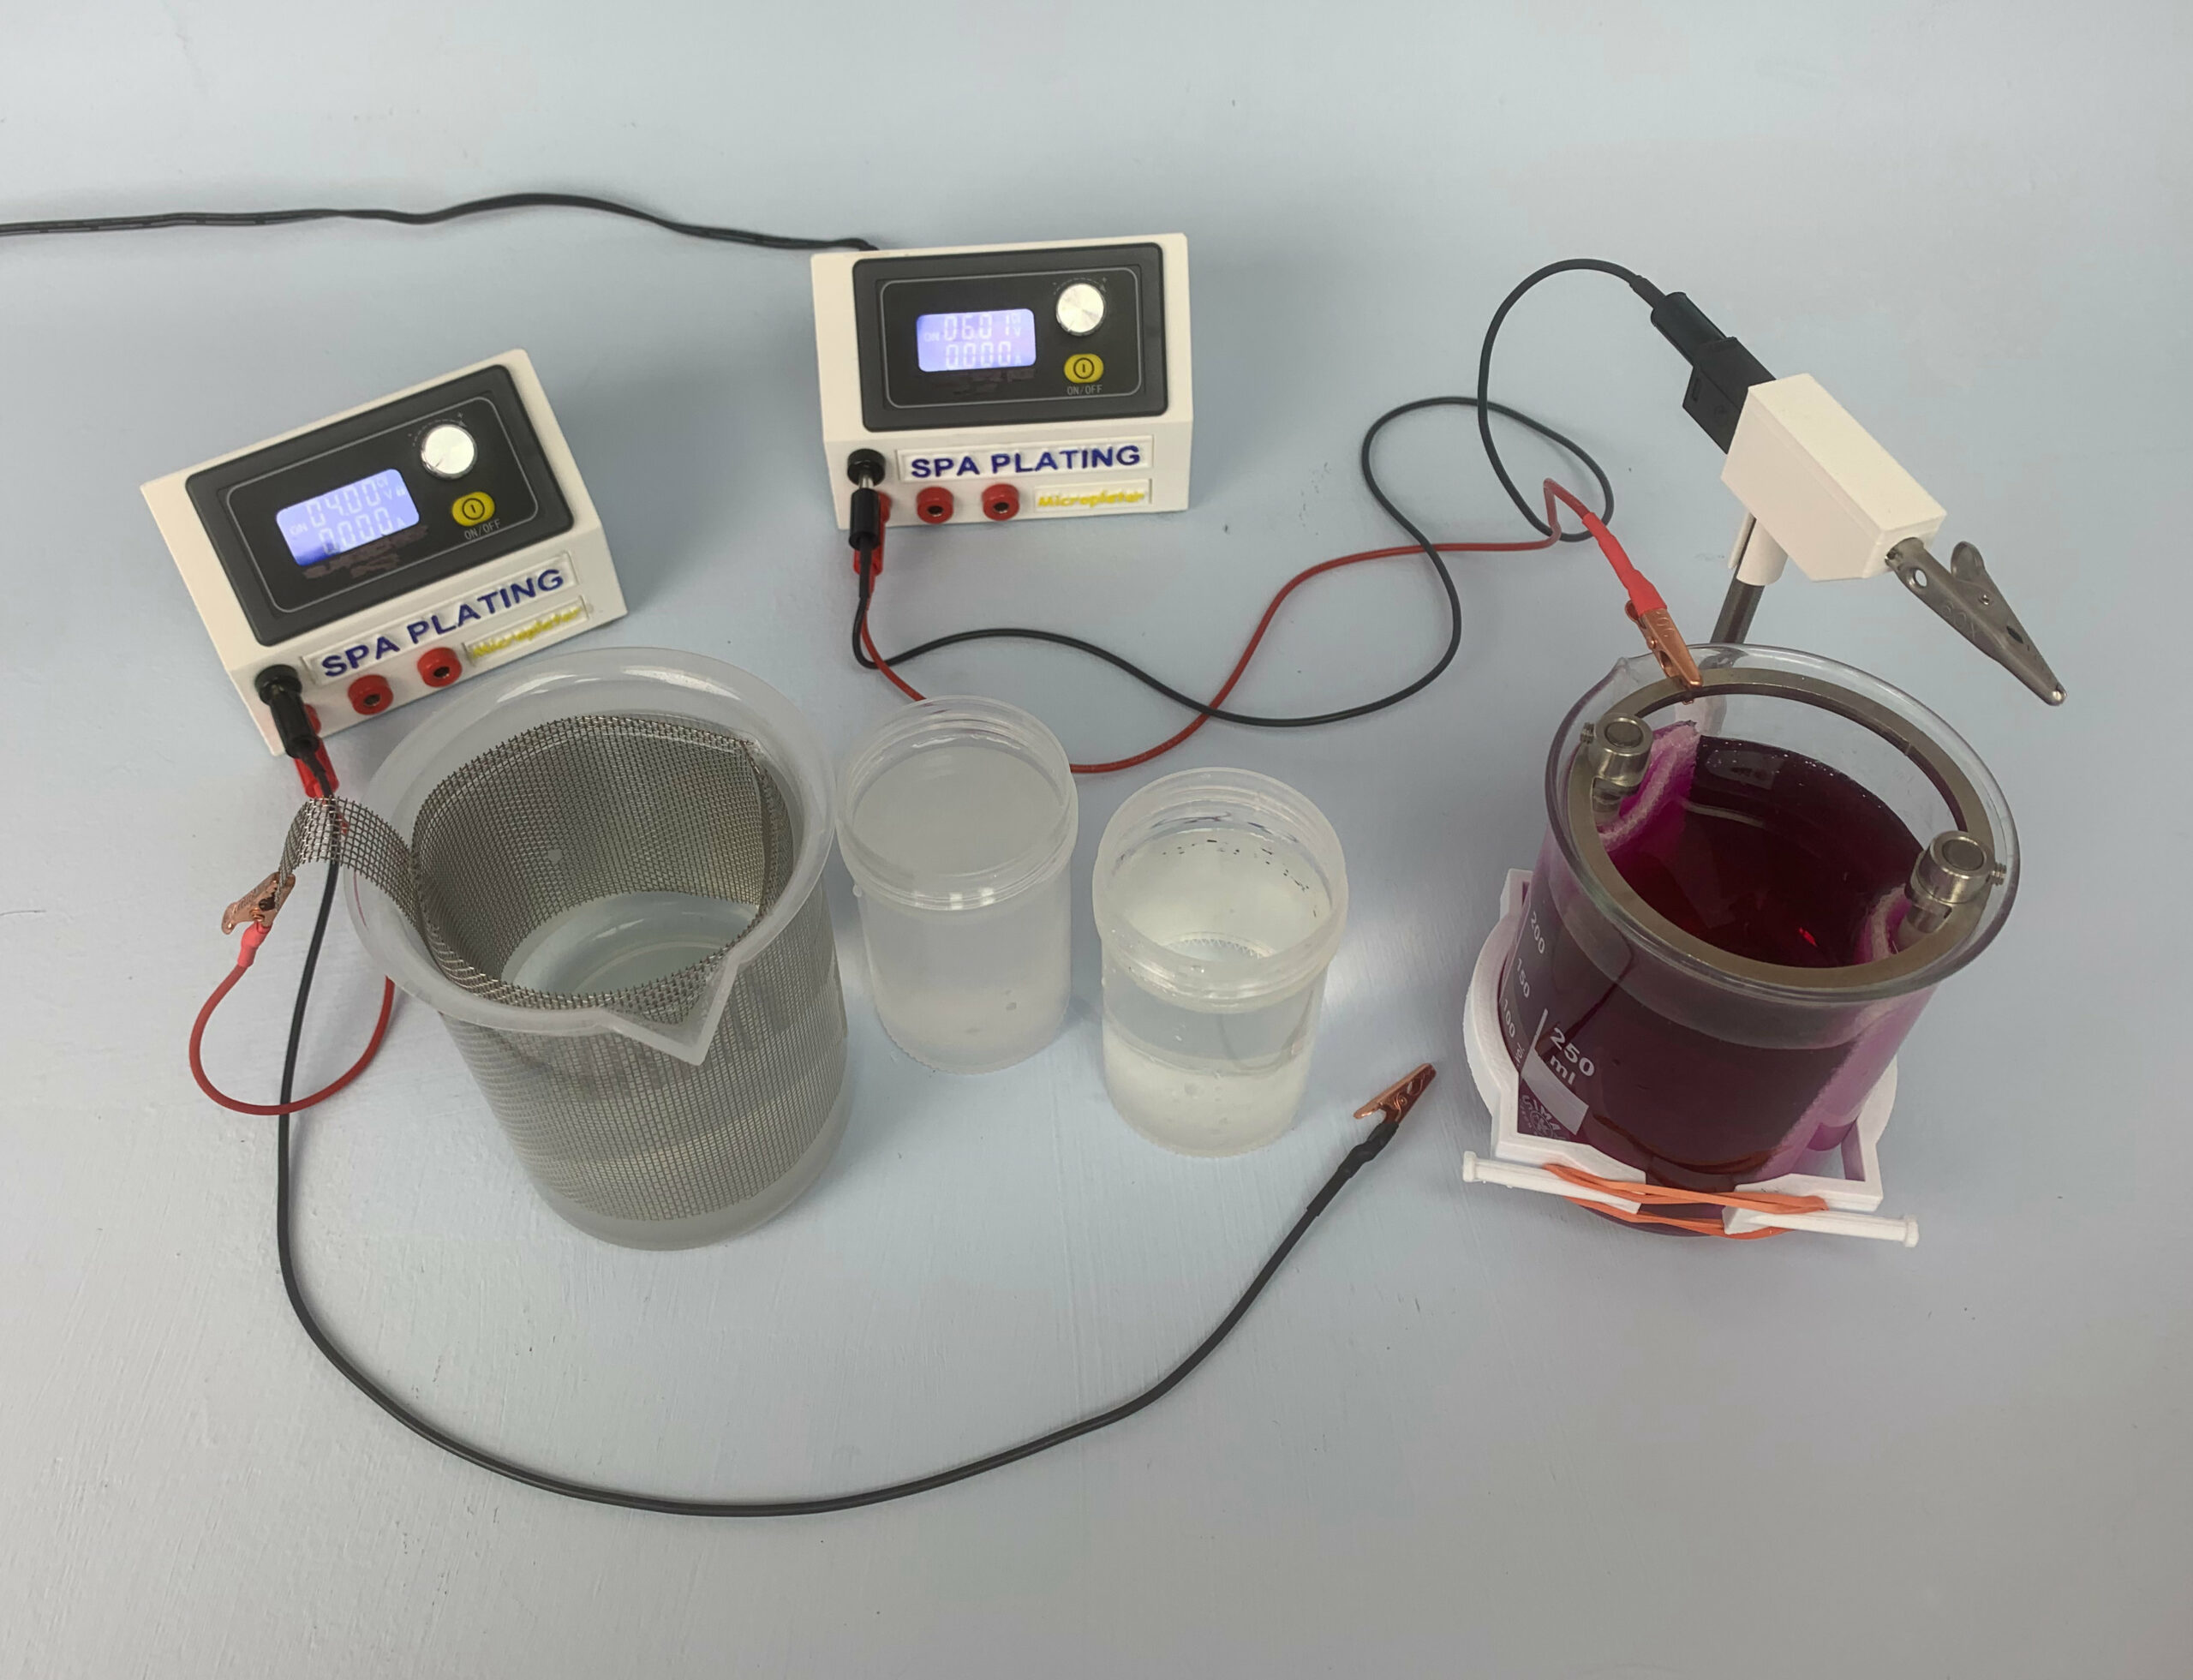
How to switch the Microplater Classic to beaker/tank plating mode
Tank plating is different to pen or brush plating in that the important setting is the amps rather than the volts. To work out the correct amp setting for your piece of work and the tank plating solution you’re using you will need to use one of our online plating calculators. Links to these can be found under ‘Calculators’ on our main menu. Once you have established the correct amp setting, take a note of this.
1. Make sure the output indicator (1) displays ‘OFF’ by depressing the yellow Output On/Off switch (3).
2. First set the volts to 5. This will be the same for every subsequent tank plating job you carry out and is the standard volt setting for tank plating. Follow the same procedure for selecting the correct volts as that outlined above for pen and brush plating.
3. Now you will need to enter in the amp setting you have worked out with one of our online calculators. Select the amps by pressing and holding down the dial (2) until the last digit of the amps starts flashing. As above, adjust the amps by rotating the dial clockwise (up) and anticlockwise (down). The amps figure should remain unchanged during the beaker/tank plating process.
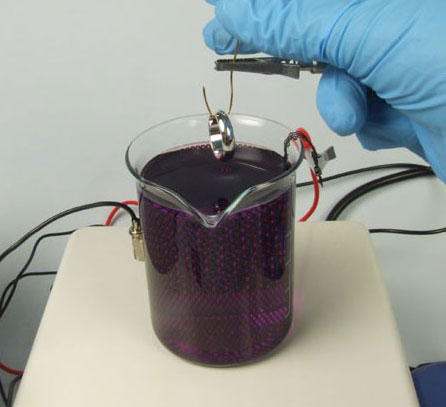
4. Lower your work into the plating solution and press the yellow ON/OFF button to start plating.
For technical specifications on any component of the electroplating kit, please visit its product page and click on the ‘Tech Specs’ tab.
General guide;
Certain small items, for example Swabs, Nibs and Plating Pens can be sent by normal post within the UK
- The courier option for UK deliveries is FedEx
- Free UK mainland delivery available on orders over £200
- International orders usually 3-5 working days.
For all price quotations for deliveries, please add your items to our shopping cart. You will be able to see the shipping costs by clicking on the ‘Calculate shipping’ button in the cart and before checking out.
You can access our MSDS by scanning the QR code which is on our product bottles.
Here is a video to show you how;
Plating Durability
‘Hard’ vs ‘Soft’ gold plating
Q
Hello, can you advise me re durability of plating types. I have a battery pen plater and it’s great for detail on jewellery and I apply to vermeil standard but another jeweller said pen plater plating is not as durable/is softer than tank plating. Can you confirm if this is the case so I know which direction to go with my new kit.
A
Thank you for your enquiry.
The type of plating solutions we sell are hardened but then saying that, they are still quite soft when compared to other metals like copper and brass.
For any given thickness, pen plating is just as durable as tank-plated gold. The important thing is the thickness. Thick deposits can be built up with both pen and brush plating, but it may take a lot longer depending on the surface area and shape of the article you are plating.
It is possible, using our online calculators, to estimate how long it would take to pen plate Vermeil gold (2.5 microns). Once you have established the surface area of your work piece and knowing the thickness (2.5 microns) it is possible to input these into the calculator and get an estimate of time plated.
I have just done this for a ring of surface area 8 square centimetres and the time to pen plate it to Vermeil standard is 95 minutes (just over one and a half hours), while the time to tank plating it is 22 minutes.
So if you’re going for Vermeil-standard work, it may be the best idea to look at out tank/beaker plating kits.
Kind regards
Richard Palmer BSc(Chem.) MRSC
Director