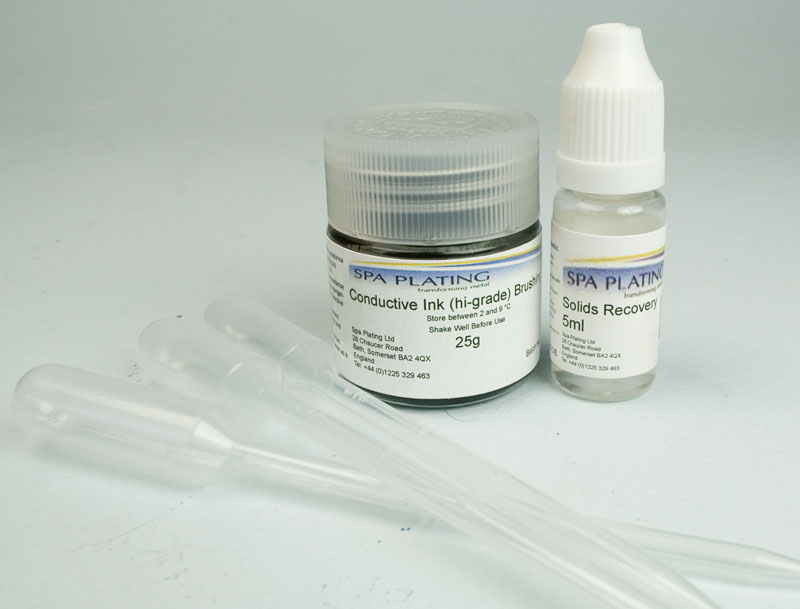
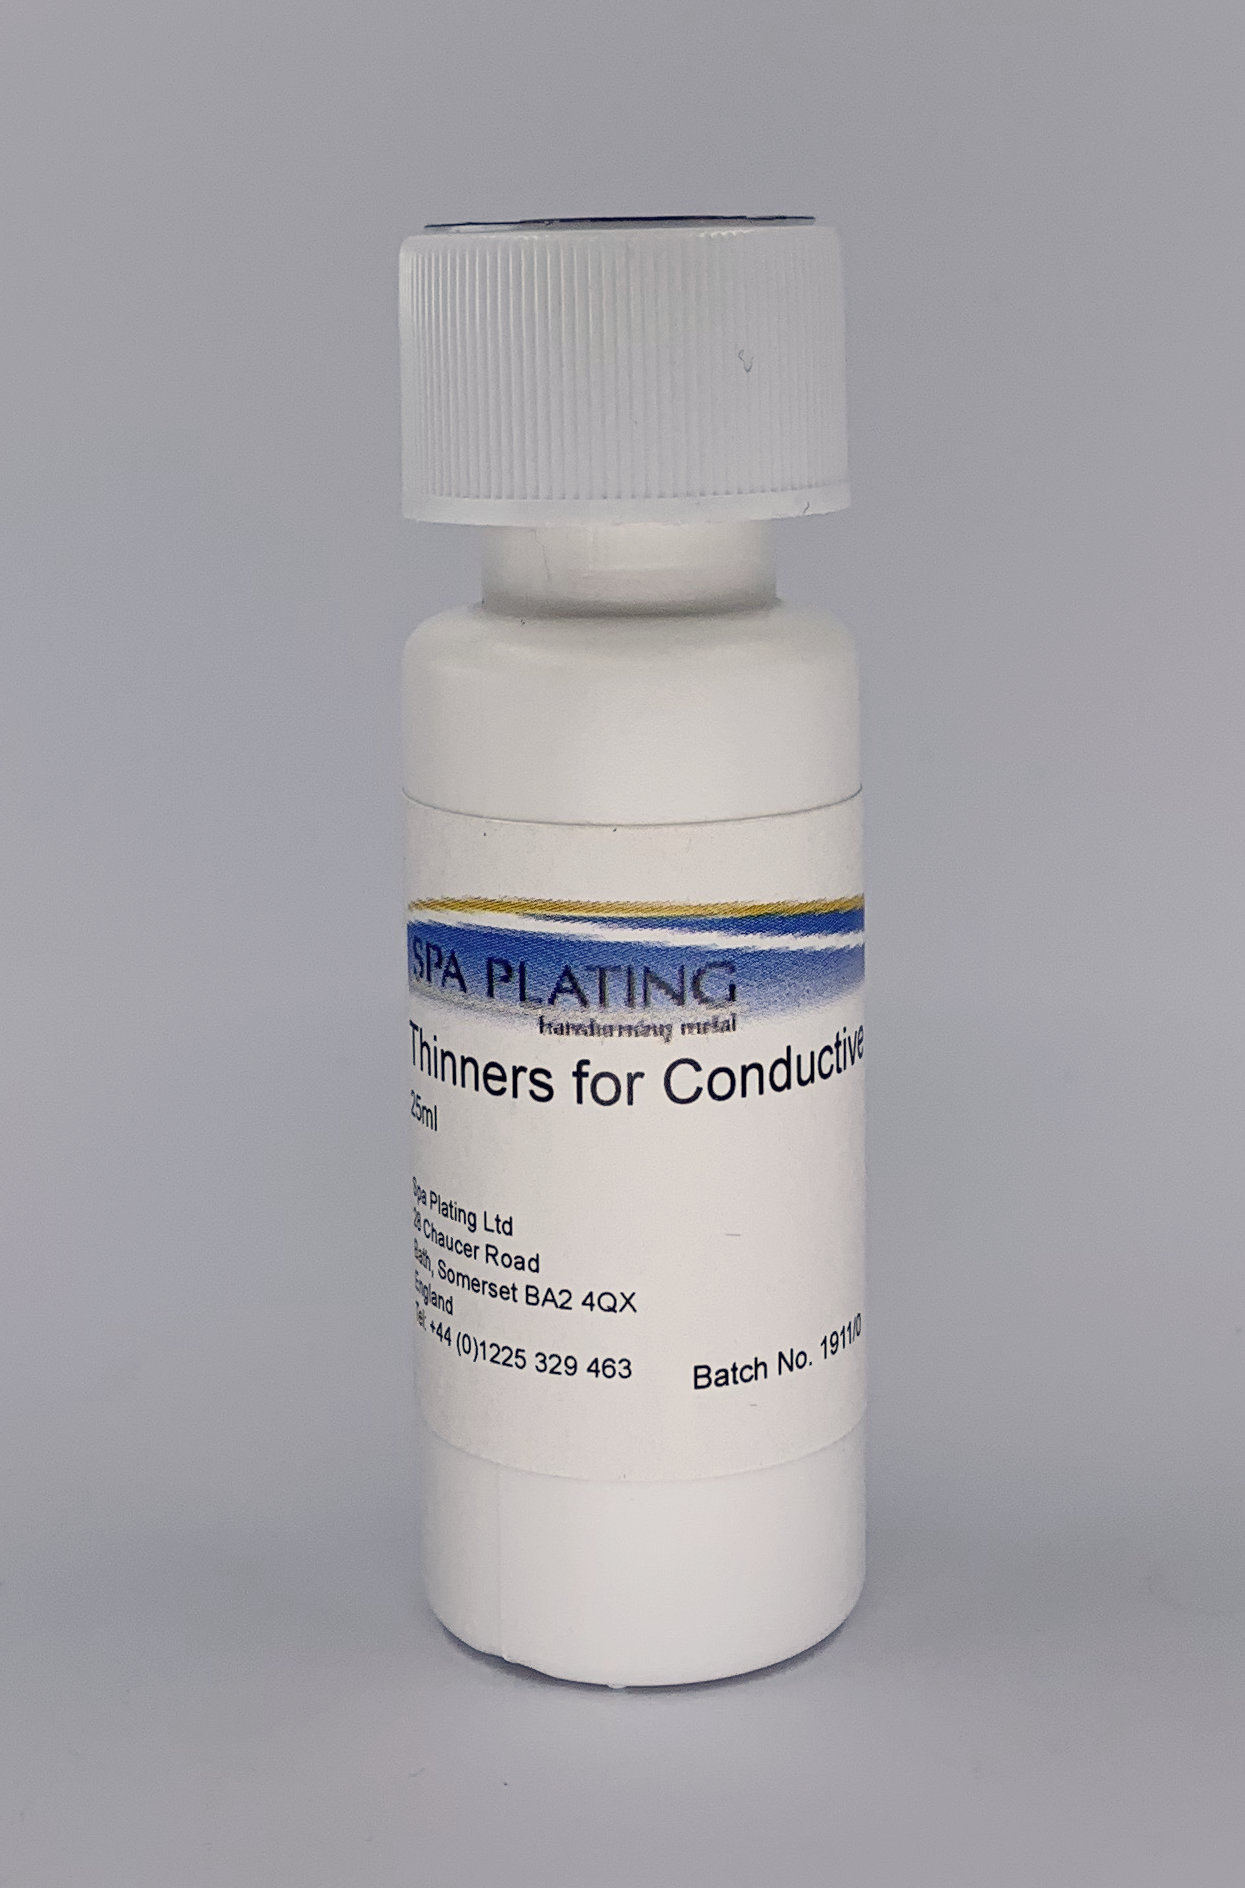
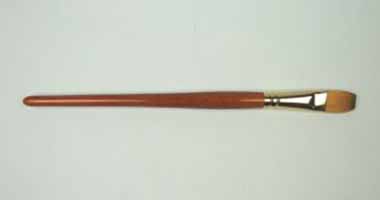
The Conductive Ink (hi grade) is a conductive water-based silver ink for electroplating on non-conductive materials. We recommend that it’s applied with an airbrush.
This ink is best used with the brush plating method, where the copper coating will be relatively thin and where capturing fine detail is required.
We recommend storing this product between 2 and 9 degrees centigrade. Price includes complimentary pipettes for dispensing the ink + 5ml of Solids Recovery.
Please note: This product is considerably more difficult to apply, dry and cure than our solvent-based conductive paints and we recommend a thorough review of the information contained on this page before going any further.
HS Code: 3824 99 70
This product is very economic as a little goes a long way. 1 gram of Conductive Paint will coat a surface area of 250 squared centimetres, roughly the equivalent of 5 golf balls.
| Features |
Benefits |
| Contains pure silver in the form of ultra fine grains |
Consistent, successful results for plating and electroforming on non-conductive material. Will allow a smooth deposit of brush-plated and electroformed gold or silver. |
| Can be sprayed on using an airbrush or brushed on. |
Making any non-conductive surface such as plastic, wood, glass or shell conductive and able to be plated with the usual range of different metals. |
| Drying/curing |
Conductive Ink (hi-grade) must be dried at a certain temperature. For tips on how to convert a domestic oven into a drying oven, please click Here. |
Copper electroforming on plastic is now straightforward with our Electroforming Kit. When used with our on-line Electroforming Calculator, you can now electroform on to most non-conductive and metal surfaces to substantial and measurable thicknesses.
Unlike many other systems, you won’t need to do lots of post electroforming buffing and polishing, as our Copper Electroforming Solution plates consistently bright and smooth.
In this project we have used Conductive Ink (hi-grade) in place of the standard Conductive Paint. The Conductive Ink (hi-grade) is more difficult to apply and cure than Conductive Paint. However it can be transported worldwide and takes a lot less time to build up to brightness than Conductive Paint.
This project has four main stages;
1. Preparing the surface of the plastic model soldier to make it conductive with our Conductive Ink (hi-grade).
2. Preparing your electroforming equipment.
3. Electroforming in the Copper Electroforming Solution.
4. Post electroforming plating of silver and gold.
Please note: The Rectifier shown in this project has now been discontinued and replaced by the MF Rectifier Mk II.
Stage 1. Preparing the surface for electroforming
a) Mounting the model soldier
It’s important to mount you work well before starting as this will make surface preparation and electroforming much easier. Drill a small guide hole in an area where it can’t be seen. At this point it’s a good idea to calculate the surface area of your item, in preparation for entering the correct settings into the Tank Plating Rectifier later on. We estimated that this model has a surface area of approximately 20 squared centimetres.
Screw in a brass screw and then attach a small length of our Gold Plated Jigging Wire to the other end. This will have two functions; it will form a conductive link between the object and the Copper Electroforming Solution and equipment, ensuring a good electrical circuit. It will also be able to be gripped securely in the crocodile clip, making sure there’s no danger of your piece falling in to the electroforming solution.
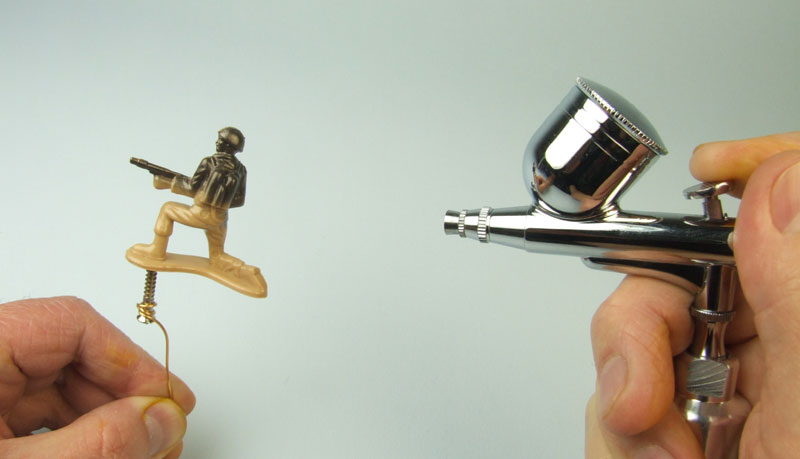
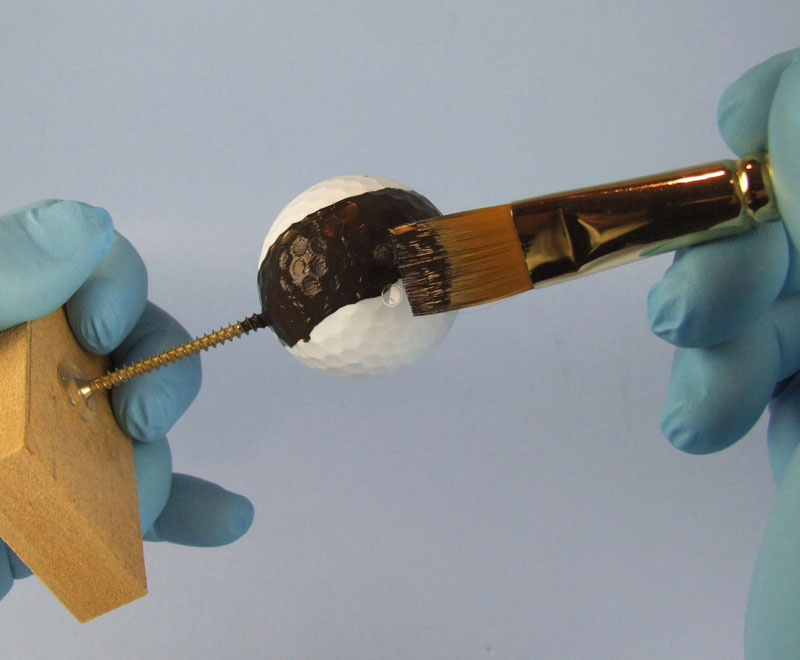
We’ll be spraying on our Conductive Ink (hi-grade) to make the surface conductive and prepare it for electroforming. This could also be painted on.
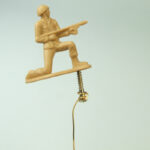
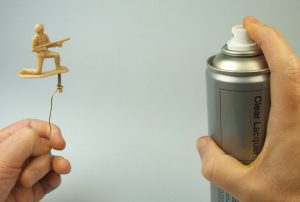
b) Spraying on the lacquer
Adhesion is not so important with copper electroforming so either a solvent or water based lacquer should suffice. Where a lacquer is essential and that’s to seal the work piece if it is porous, for example wood.
Wait for 10-15 minutes and once the lacquer is almost dry but retains a little stickiness, either spray or paint on our Conductive Ink (hi-grade).
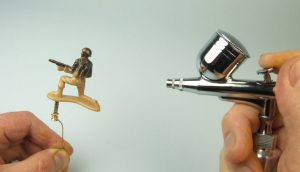
c) Using an airbrush to spray on our Conductive Ink (hi-grade)
Charge your airbrush with our Conductive Ink (hi-grade).
Spray on a fine layer of our Conductive Ink (hi-grade). You only need a small amount of ink. Spray at a distance of 5-6 cm and apply only enough to block out the underlying surface of the object. Leave to air dry for 30 minutes before apply a second coat.
Dry in an oven.
Leave in a fan oven at a temperature of 50 degrees centigrade for three hours.
Please note that this ink dries far quicker and harder at higher temperatures. However most plastics warp at temperatures in excess of 50 centigrade.
The temperature range for drying ranges from minimum of 50 to 80 degrees centigrade.
Stage 2. Preparing your electroforming equipment
a) Working out the amps for the MF Rectifier and electroforming times
First, work out the surface area of your work in centimetres.
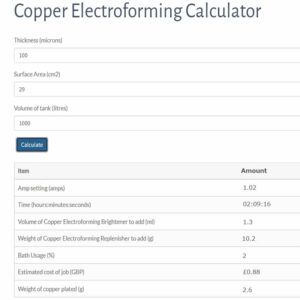
You can then either enter this into the Electroforming Calculator, which you will find on our website and all the calculations will be done for you,
or you can do it manually. If you choose to do the latter, multiply the surface area of your work by the Plating Factor for the Copper Electroforming Solution, which is 0.035
For our plastic model soldier the calculation works out as 29 x 0.035 = 1 amp.
Then you need to decide how thick you require your electroformed layer to be and therefore how long it should be electroformed. If you are electroforming an item that is quite fragile, you will probably need to build a fairly thick layer of copper 100 microns for example.
b) Setting up your electroforming kit
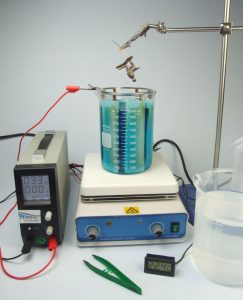
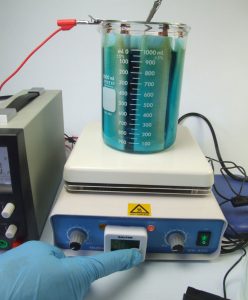
Fill the rinse beakers with tap water and turn the Hot Plate Stirrer on to its lowest setting so that the copper solution is being agitated. Make sure the temperature of the solution is in the range of 18-24 degrees centigrade. Although higher temperatures are possible, brightness falls off rapidly after 25 degrees centigrade. Plug one end of the black lead as shown into the front of the Tank Plating Rectifier and the other end into the base of the Plating Arm.
c) Setting the volts and amps
Set the volts to around 5 volts, it doesn’t have to be exact.
Set the amps to that recommended by our Copper Electroforming Calculator.
Then turn off the power.
Make sure the black lead is attached to the base on the Plating Stand and the red lead is attached to the Beaker Ring.
Stage 3. Electroforming in the Copper Electroforming Solution
a) Placing your work into the solution
Lower your work into the solution and start the timer. Turn on Output and check that the amp level is correct; in this case with the plastic soldier it should be reading 0.5 to be increased after after 5 minutes minutes to 1 amp.
You should quickly see a layer of copper building on your item.
Please note: When electroforming larger pieces or where the layer of conductive ink is particularly thin, it will be necessary to plate for 5 minutes at a quarter of the recommended amps so as to build up a thick enough layer of copper around the contact area to enable full conduction.
So for example, if the calculator recommends 4 amps, then start at 1 amp for 5 minutes, then turn up to 4 amps after 5 minutes.
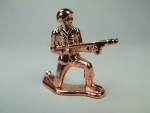
b) Finished electroformed soldier
When the time is up, remove your work from the electroforming solution and pass it through the two rinse beakers. As can be seen in the photograph, your work will be covered in a bright, shiny and substantial layer of copper that will require very little if any, polishing or buffing.
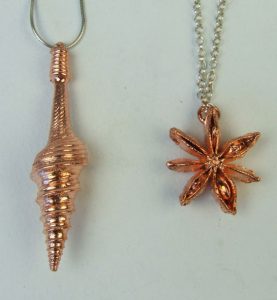
c) Electroforming on other non-conductive surfaces
The same sequence of applying lacquer, conductive ink and then electroforming can be used on natural materials such as shell, wood, stone and leaves.
If you intend to electroform on semi-absorbent surfaces such as wood you will need to apply at least 2-3 layers of lacquer to completely seal the surface.
For electroforming on shell, the surface of the shell must not come into direct contact with the electroforming solution as the solution will etch the shell, so every part of the shell must be covered in layers of lacquer.
If you want to electroform on glass, you’ll need to use our Glass Primer, rather than the spray on lacquer and then follow the same stages with the Conductive Ink. Please see our video on plating a glass plaque which can be found on the Glass Primer page on our shop and see the instructions for use on our online shop.
Stage 4. Brush or tank plating subsequent layers
a) Preparing the copper electroformed surface
Once you have a substantial layer of electroformed copper on your piece and you have passed it through the rinse stages, you can now go ahead and plate other layers such as silver or gold. If you wish to gold plate, you’ll need to plate a barrier layer of white bronze or silver beforehand.
To prepare the copper electroformed surface for further plating, you can simply dip it into some Acticlean to restore it to that freshly copper plated look; you don’t need to use power via the rectifier.
b) Brush plating a silver barrier layer
The beauty of Spa Plating’s system is its flexibility. You can move seamlessly between tank, brush and pen plating once you have our Tank Plating Rectifier.
To brush plate a barrier layer of silver, set up your brush plating equipment as normal by attaching an electrode handle fitted with a platinum electrode to the red lead and grip a Conductor Strip into the crocodile clip on the black lead. Estimate how much Silver Brush Plating Solution you’ll need with the online Plating Calculator, then follow the instructions for brush plating silver that you’ll find in previous projects in this manual.
c) Gold brush plating
To gold brush plate the item, calculate how much gold solution you’ll need with our Plating Calculator and then refer to the previous projects that include gold brush plating for guidance.
Operating Conditions and Deposit Data
| Parameter |
Value |
| Silver content |
38 w/w% |
| Nozzle pressure |
40 – 50 psi |
| Nozzle size |
0.4 mm |
| Spraying temperature |
Between 20 and 25 °C |
| Viscosity at 10s-1 |
48 cP |
| pH |
5.9- 6.0 pH units (see notes below) |
| Density |
1.60 – 1.65 g/l |
| Max coverage |
350 – 400 cm2/ml of paint |
| Touch dry time @ 25 °C |
4 – 5 hours (see notes below) |
| Average cured film thickness |
1 – 2 microns |
| Cure time @ 25 °C |
4 – 5 days (see notes below) |
| Cure time @ 45 °C |
3 – 4 hours (see notes below) |
| Cure time @ 60 °C |
2 hours (see notes below) |
| Cure time @ 80 °C |
1 hour (see notes below) |
| Cure time @ 100 °C |
10 minutes (see notes below) |
| Cure time @ 120 °C |
5 minutes (see notes below) |
| Shelf life at 2 – 9 °C |
6 months to 1 year with use of Solids Recovery |
| Shelf life at 20 °C |
1 month |
| Peel adhesion (cured sample) |
Pass – Sellotape (90°, peel speed: 5mm/sec) |
| Weight resistivity |
1.4 gΩ/m2 |
| Max Temperature |
<220 °C |
| Hardness |
65 – 70 (Shore D) |
Notes:
- For information on how to calibrate an oven for curing Conductive Ink (hi-grade), please click Here.
- Allow the previous layer of ink to dry before applying further layers.
- Higher-temperature curing of moisture-containing items such as wood may give rise to warping of the item and blistering of the deposit. We recommend low-temperature curing for these items.
- After curing – especially low-temperature curing – the film may not achieve full conductivity. In this instance it is possible to use a hair dryer to heat the surface of the item to 40 °C in order to obtain better conductivity.
- Even if full conductivity is not achievable, one plating of PP Copper may create a conductive path that will allow subsequent copper plating to take place.
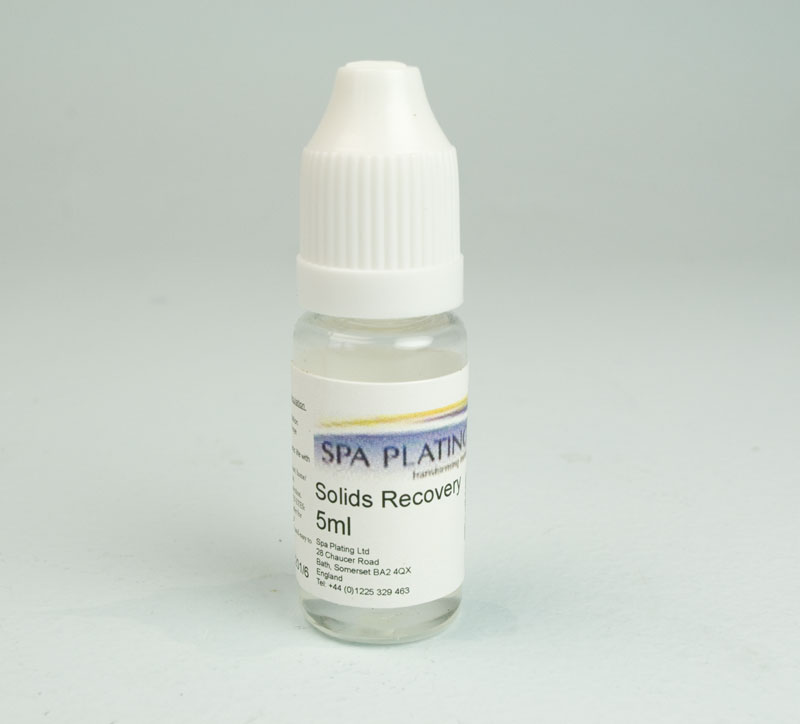
- The pH of the ink reduces over time. Below a pH of 5.8, the ink becomes thick and lumpy. The pH can be restored to optimum range (5.9 – 6.0) by the careful addition (drop-by-drop) of Solids Recovery. Be careful not to add too much Solids Recovery as this will result in the separation of silver from the ink.
General guide;
Certain small items, for example Swabs, Nibs and Plating Pens can be sent by normal post within the UK
- The courier option for UK deliveries is FedEx
- Free UK mainland delivery available on orders over £200
- International orders usually 3-5 working days.
For all price quotations for deliveries, please add your items to our shopping cart. You will be able to see the shipping costs by clicking on the ‘Calculate shipping’ button in the cart and before checking out.