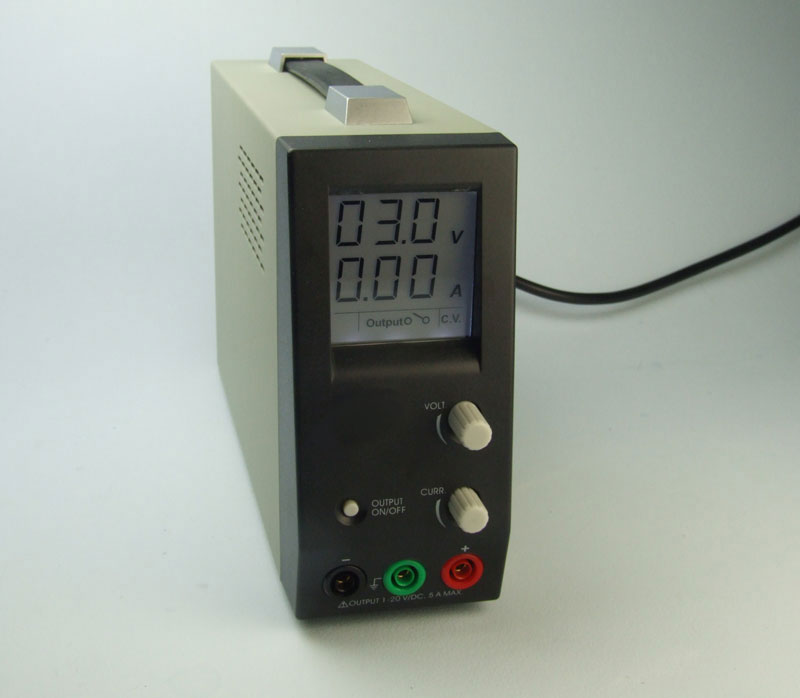
Setting up your MF Rectifier for Brush Plating
Preparing your MF Rectifier for Brush Plating
NB - we no longer sell this rectifier.
This rectifier can be used for tank, brush and pen plating. Here is a quick guide to setting it up for brush plating.
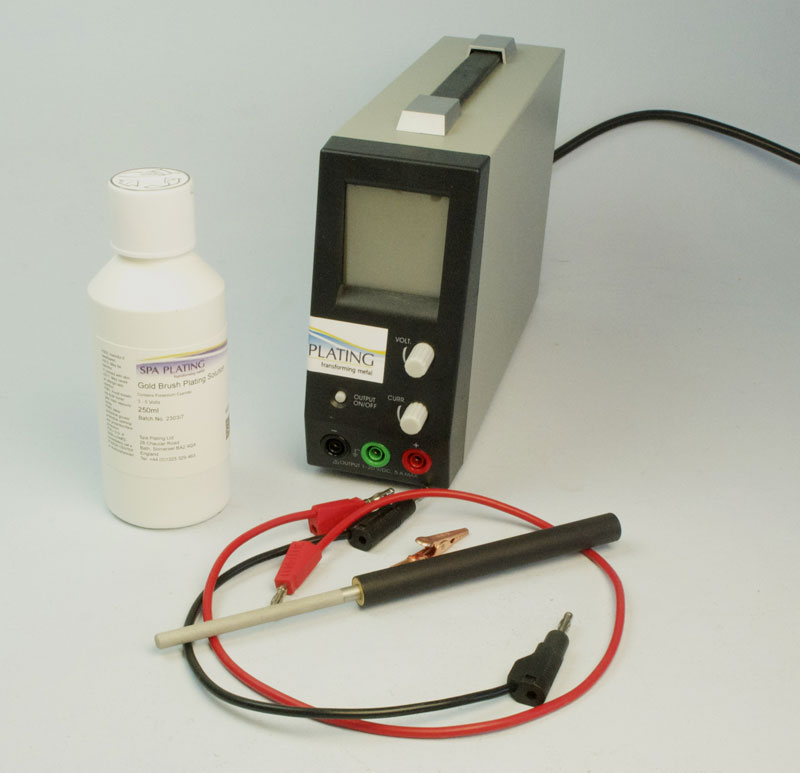
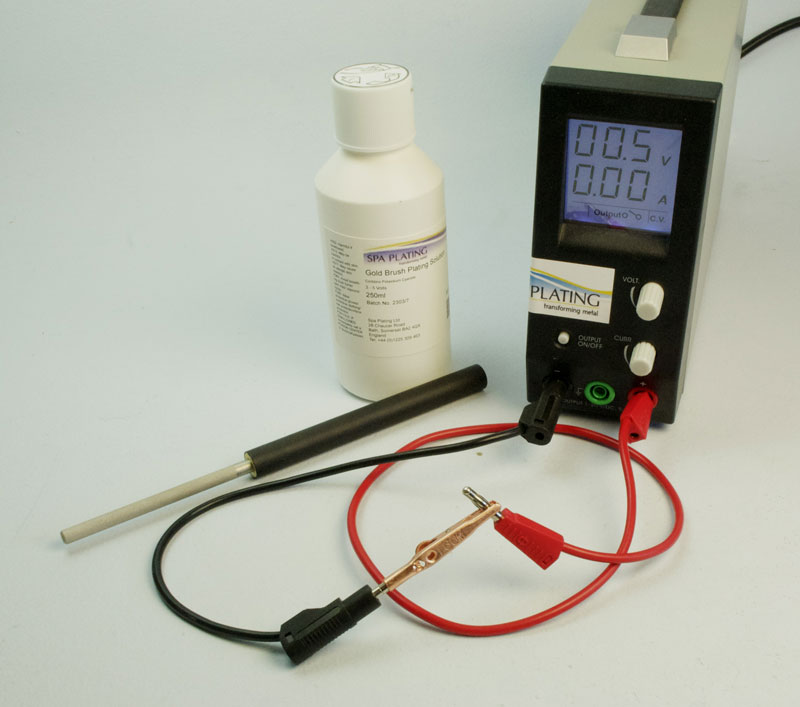
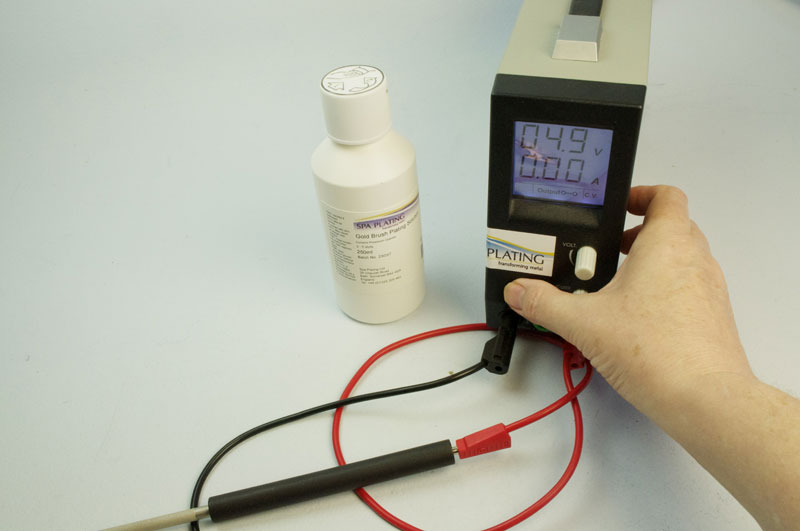
1. Your equipment
Assemble your equipment as shown in the photo:
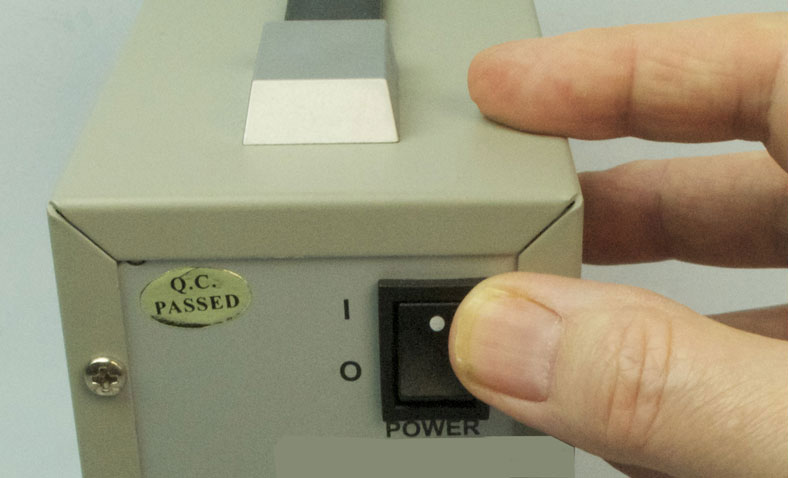
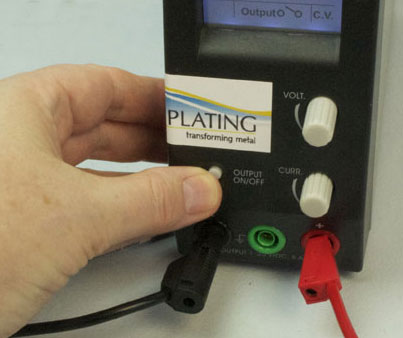
2. Turning on your rectifier
Use the switch on the back of the rectifier to turn it on.
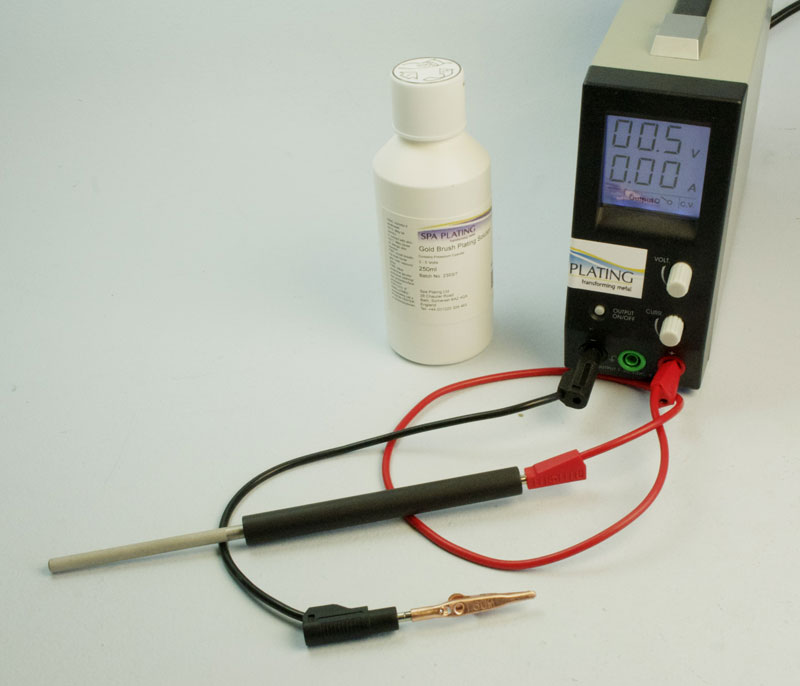
3. Attaching the leads
Fit the crocodile clip to the end of the black lead and plug the other end into the corresponding black socket on the front of the rectifier. Plug in the red lead into the corresponding red socket.
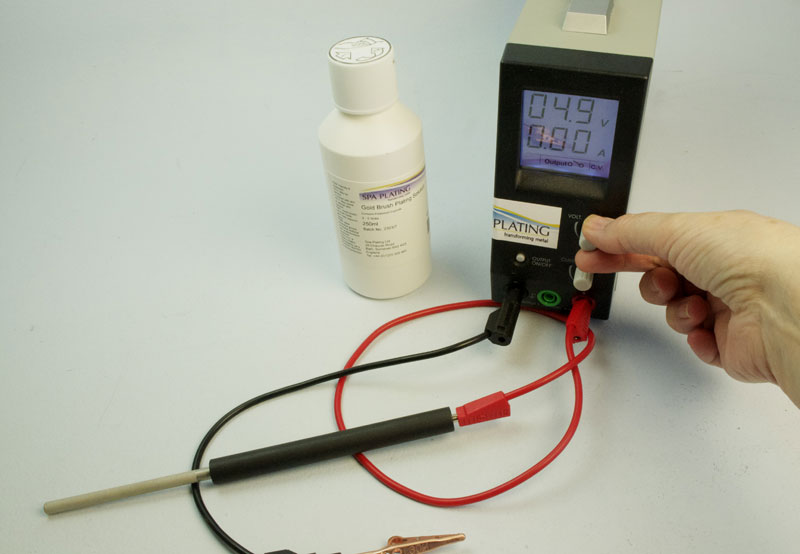
4. Amps and volts
Turn the amps dial clockwise to the stop (maximum) and the volts to the value required by the brush plating solution.
Note: Even though the amps dial is set to maximum, the amps meter will read ‘0.00’.
The amp meter will not read anything until plating commences.
The volts will however be displayed.
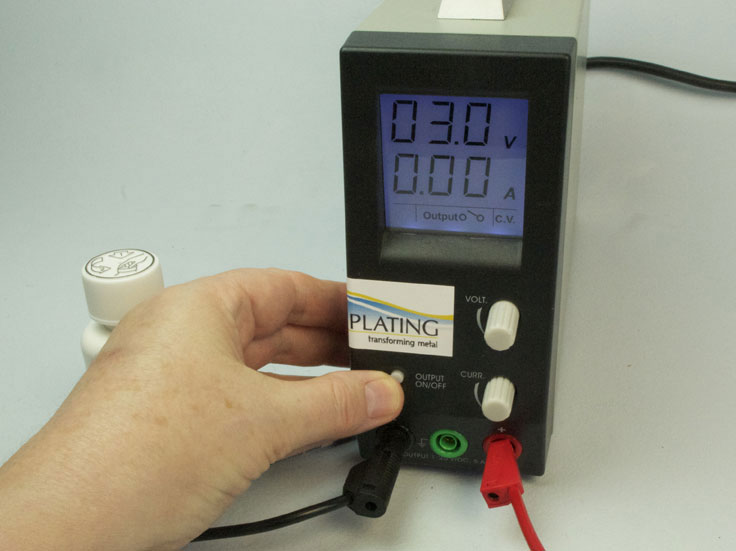
5. Open the circuit
Open the circuit (or turn the circuit off) by switching the Output switch so that the line is in the up position.
6. Set the voltage
Set the voltage to about 3.5

7. Connecting the black lead to the red lead
Using the crocodile clip on the end of the black lead, connect the black to the red lead.
8. Close the circuit
Close the circuit.

9. Adjusting the amps
Adjust the amps to about 4.5 to 5 amps.
NB. This stage sets the maximum amps to prevent damage to the work piece should the bare electrode accidentally come in contact with the work directly.

10. Open circuit
Open the circuit again.
11. Connecting the electrode
Unclip the crocodile clip from the end of the red lead.
Connect the electrode handle to the end of the red lead and attach the swab to the electrode.
12. Selecting the voltage
Select the correct voltage range for your brush plating solution.
13. Closing circuit for plating
Now close the circuit and you’re ready to start plating.
Leave a Reply
You must be logged in to post a comment.