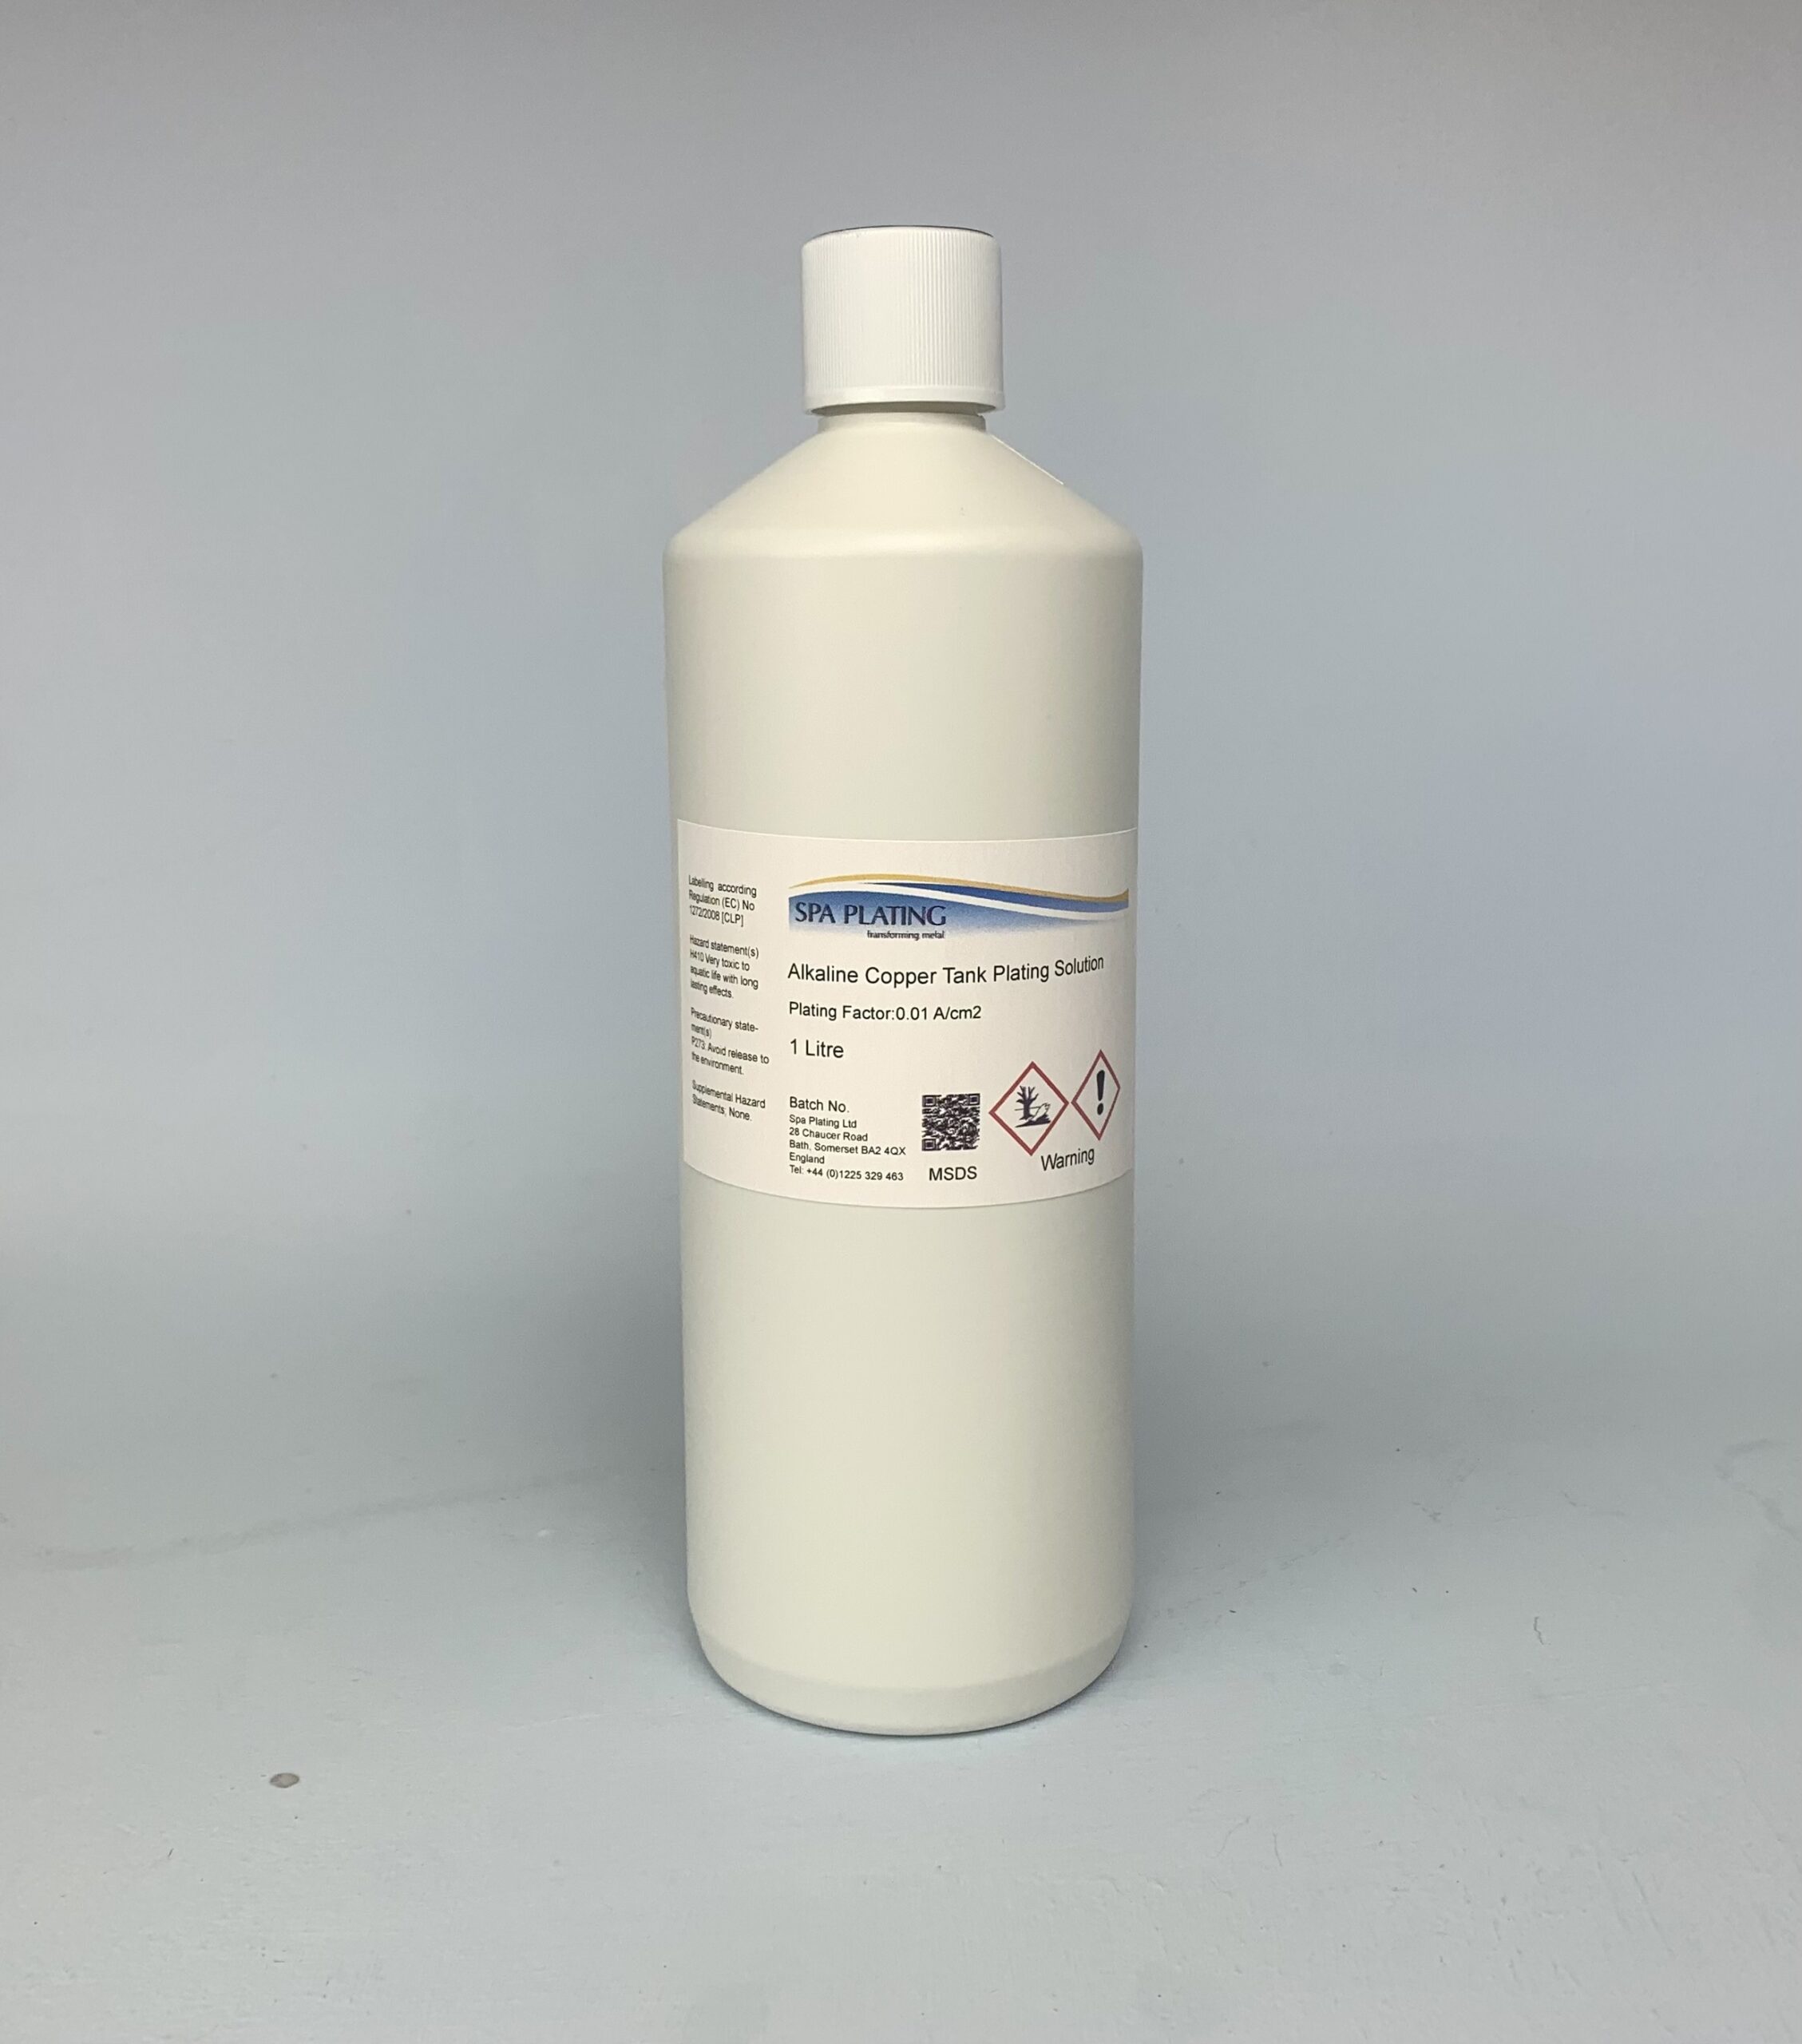
Our copper tank plating solution plates a semi-bright layer of copper. In a lot of instances, for expample plating onto nickel silver and zinc, we recommend a bonding layer of alkaline copper beforehand.
You can use it to build up a thick layer over zinc and zincated aluminium, which has been plated with an adhesion layer of alkaline copper. The thick layer of copper will protect the base layer of zinc or zincated aluminium from corrosion.
If you are plating onto zinc or zincated aluminium we recommend plating 1 micron thickness undercoat of our Alkaline Copper Tank Plating Solution or our Alkaline Brush Plating Solution.
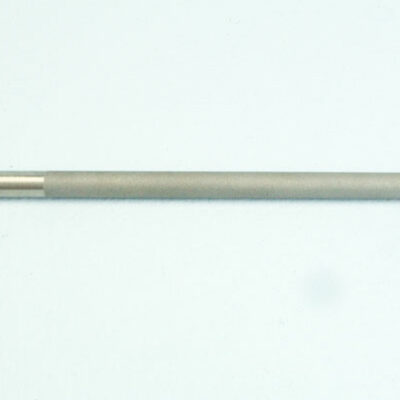
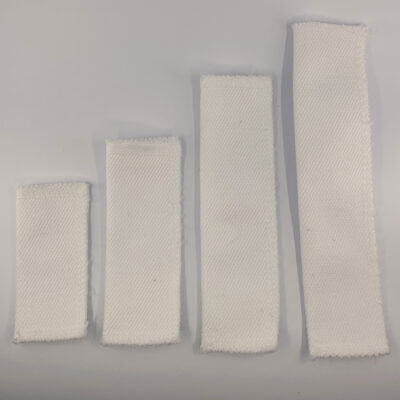
Please use our platinum electrodes and anode bags for plating with our copper tank plating solution to avoid the requrement of continual filtration.
This solution can be used for plating over conductive silver paint, however subequent mechanical polishing may be necessary especially in recessed areas.
This solution contains 56 grams of copper per litre and is designed to be used to exhaustion at approximately 15 grams per litre giving a useable copper per litre is approximatly 40 grams.
Available worldwide.
HS Code: 3824 99 70
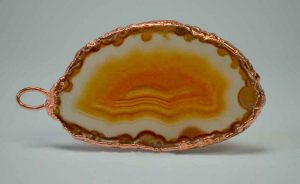
This project shows you how to copper electroform on stone using a slice of agate as an example. This is demonstrated using our Conductive Paint (UK and EU only), which can be used for electroforming on a wide range of non-conductive surfaces.
The benefit of using this paint is that it is a much quicker option than using our other two conductive inks because the Conductive Paint can be applied without having to first spray on a key layer of lacquer. This is great if you’re intending to selectively electroplate, as you don’t have to do any tricky masking out.
As well as this, it becomes touch dry in 15 minutes and is fully cured by 8hr at room temperature and 1 hour at 60 degrees centigrade.
Stage 1. Surface preparation for electroforming
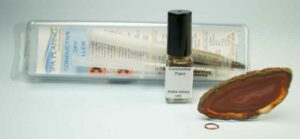
a) Assembling your kit
Get together everything you need for preparing the agate slice; this will include the Conductive Paint, The tubes of Conductive Epoxy and a jump ring to hang the agate piece on the chain, once it is electroformed.
At this stage you need to work out the surface area of part of the item you’re intending to electroform. The rim of this slice of agate was estimated at having a surface area of 3.5 cm squared and this was noted for later use. It will also be useful to have your Conductivity Tester to hand, to check that the Conductive Paint and the Conductive Epoxy you’ll be applying is, in actual fact, conductive.
Mix the Conductive Epoxy according to the instructions on the packet.
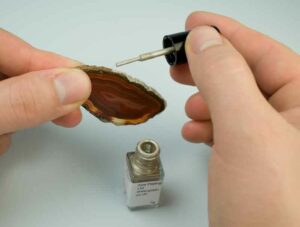
b) Painting on the Conductive Paint
Carefully paint on the Conductive Paint around the rim of the agate slice, using the enclosed brush. Once this is done, either leave to dry at room temperature (25 degrees centigrade) for 24 hours or dry in a fan oven at 60 degrees centigrade for an hour.
c) Using the Conductive Epoxy
To attach the jump ring to the rim of the agate slice, mix up a small amount of our Conductive Epoxy Filler and use this to stick the ring directly onto the dried Conductive Paint. The ring now performs two functions; it allows the piece of agate to be hung from its chain and it also forms the conductive connection that the agate can be held by in the electroforming solution.

Stage 2. Electroforming the agate slice
a) Working out amp settings and electroforming time
Work out the amp setting and electroforming time by entering in the surface area into our online Electroforming Calculator. Then set up your electroforming equipment following the instructions detailed in another section of this manual called ‘Copper electroforming a plastic model soldier‘
b) Using the Electroforming Calculator
The surface area of the rim of this slice of agate is approximately 3.5 cm squared and the required thickness of the electroforming is 100 microns. These details are entered in to our online Electroforming Calculator and this produces an amp level of 0.12 amps and a plating time of 2 hours and ten minutes.

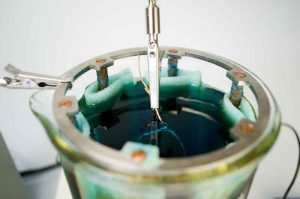
c) Finishing
The finished piece of electroformed agate was taken out at the end of the alloted time and given a rinse. It is now possible to apply other plated layers of silver or gold, for example using either tank or brush plating or a combination of both.
Copper Tank Plating Calculator
How to use this calculator :
1. In the first box, enter the thickness that you want your electroform to be plated to. (thousandths of a millimetre).
2. In the second box, enter the surface area of the article in square centimetres (cm2).
3. Click the ‘Calculate’ button.
4. Read off the amp setting for your rectifier and the plating time.
5. If using an amp-hour meter or our Coulometer to monitor the process, read of these figures.
6. If you wish to keep the pH of the copper solution constant, read off how much stabiliser to add.
7. Finally read off the weight of copper that should be plated.
Operating Conditions and Deposit Data
| Plating Factor |
0.02 – 0.04A/cm2 (optimum: 0.035 A/cm2 |
| Plating rate |
0.7 micron per minute at 0.035A/cm2 |
| Temperature |
18 – 30°C (optimum 26°C) (see note 1) |
| pH (of working solution) |
2 at start: Working range 0.5 – 2.0 (see note 2) |
| Agitation |
Medium to high |
| Copper concentration (start) |
56 g/l (see note 3) |
| Copper concentration (end of bath life) |
~15 g/l (see note 2) |
| Copper concentration (end of bath life) |
~15 g/l (see note 2) |
| Sulphuric acid concentration (start) |
0 g/l (see note 2) |
| Filtration |
Occasional batch filtration may be necessary to remove extraneous particulate contamination (see note 3 |
| Visual qualities of deposit |
Bright to semi-bright depending on thickness (see note 4) |
| Brightener |
The solution is supplied with enough brightener to last to exhaustion. |
| Anode |
Platinum (bagged) (see note 5) |
| Cathode efficiency |
Above 99% at Plating Factor = 0.035A/cm2 |
| Hardness of deposit |
160 VPN falling to 100 VPN over 5 days at room temp |
| Density of deposit |
8.9 g/cm3 |
| Stress |
Low (Tensile) |
| Special storage requirements |
None |
| Shelf life |
Over 2 years |
| Health and Safety classification |
Harmful |
| Transport (UN number) |
Copper Tank Plating Solution is not classified as dangerous for transport. |
Notes:
-
- Higher temperatures favour less burning on exposed areas ie: sharp edges or pointed parts.
- Copper Tank Plating Solution is supplied at a pH of 2. During the plating process, sulphuric acid is generated at the platinum electrode and when most of the usable copper is plated out from the solution (about 25 – 30 grams of copper for every litre) the pH will reduce to around 0.4 – 0.5. This is around 5% sulphuric acid.
The pH can be held at any disired level by adding Copper Tank pH Stabiliser. Caution is advised if adding Stabiliser. You can read more about this on the Copper Tank pH Stabiliser page.
When electroforming on to acid-sensitive like shell or heavilly-recessed zinc or zincated items (where the copper strike may not have reached), it is advisable to keep the pH around 2 using Copper Tank pH Stabiliser to minimise the attack.
- We have designed this solution for use with insoluble electrodes (preferably platinised titanium). This solution only requires the minimal of filtration because it doesnt’s produce
any sludge as with conventional systems using copper anodes.
- Thinner layers up to 10 microns plated on bright surfaces tend to dublicate the brightenss of the underlying surface. Thicker layers, especially in lower current density areas tent to be semi bright.
- Platinum anodes with anode bags must be used with this solution.
- For maximum adhesion, we advise a quick power clean (30 seconds) followed by a dip in Activator or Acticlean after plating with Copper Tank Plating Solution and before continuing to any further plating process.
General guide;
Certain small items, for example Swabs, Nibs and Plating Pens can be sent by normal post within the UK
- The courier option for UK deliveries is FedEx
- Free UK mainland delivery available on orders over £200
- International orders usually 3-5 working days.
For all price quotations for deliveries, please add your items to our shopping cart. You will be able to see the shipping costs by clicking on the ‘Calculate shipping’ button in the cart and before checking out.
Please click on the link below to download the SDS for this product:
https://goldn.b-cdn.net/msds/copper_tank_plating_solution.pdf
Plating on zinc (also see notes below)
- Degrease
- Electroclean
- Rinse
- Microetch in Activator for 20 – 30 seconds
- Rinse
- Plate for 5 minutes at plating factor 0.01 A/cm2
You can now leave the surface with its matt/satin finish or hand polish using Autosol.
You can also apply either tank or brush plated layers.
If the item is likely to be used outdoors, then we advise a copper layer of 5 – 10 microns
which can be plated quickly using Copper Tank Plating Solution.
If nickel tank plating, polishing may not be necessary as the nickel brightens as it plates.
Plating on to Aluminium
- Degrease
- Electroclean
- Rinse
- Zincate in Zincate Dip for 30 seconds to 2 minutes
- Rinse
- Plate for 5 minutes at plating factor 0.01 A/cmhttps://www.goldn.co.uk/product/zincate-dip-uk-and-eu
The same post plating options apply as for zinc above.
Plating on to steel
- Degrease and remove any traces of rust
- Electroclean
- Rinse
- Dip in Activator or ActiClean for 30 seconds – 1 minute
- Rinse
- Plate for 3 – 5 minutes at plating factor 0.01 A/cm
- Rinse and plate in Copper Tank Plating Solution to the thickness you require
Plating on to brass, bronze, pewter and other tin based alloys
- Degrease
- Electroclean
- Rinse
- Dip in Activator or ActiClean for 30 seconds – 1 minute
- Rinse and plate in Copper Tank Plating Solution to the thickness you require
Notes
1) Please note that the Activator dip should be kept exclusive to a single metal for example, if the Activator
has been used for zinc, it is not advisable to use the same solution for steel.
2) Most zinc is cast and contains surface impurities that need to be mechanically removed to achieve good adhesion.
This can be done in a variety of ways including abrading, polishing or tumbling in a barrel with abrasive medium added.
Poorly prepared zinc usually results in deposits which bubble up.
3) For maximum adhesion, we advise a quick power clean (30 seconds) followed by a dip in Activator or Acticlean after plating with Copper Tank Plating Solution and before continuing to any further plating process.