Rose gold tank plating - preparing a test strip
Rose gold tank plating - how to prepare a test strip
Our Rose Gold Tank Plating Kit and a fresh bath of our Rose Gold Tank Plating Solution will plate an 18 karat layer of rose gold plate. This guide takes you through the steps of using this kit by showing you how to prepare a test strip as a sample, or swatch of our 18 karat Rose Gold Tank Plating Solution. Once this is done, you will have established a standard shade of 18 karat rose gold that you can refer back to.
It is vital to do test strip because, as you plate your items, you will deplete your rose gold plating solution and will need to add more of our Rose Gold Tank Replenisher A and B to maintain this 18 karat shade of rose gold. By comparing your plated pieces to the initial test strip, you will be able to judge when the bath needs to be topped up with the replenishers.
This isn't the only way of telling if the rose gold bath needs replenishing, as using our Rose Gold Tank Plating Calculator will also indicate what needs to be added to maintain an 18 karat shade as you plate your items.
Of course, once you have plated a number of items and become used to adding the replenisher A and B to maintain this shade of 18 karat rose gold, you can then experiment with achieving different shades of rose gold. Adding Replenisher A to an 18 karat bath increases the paleness of the deposit by increasing the amount of gold in the deposit. Conversely, adding Replenisher B to an 18 karat bath increases the redness of the deposit by increasing the amount of copper in the deposit.
Please note: The Rectifier shown in this project has now been discontinued and replaced by the MF Rectifier Mk II.
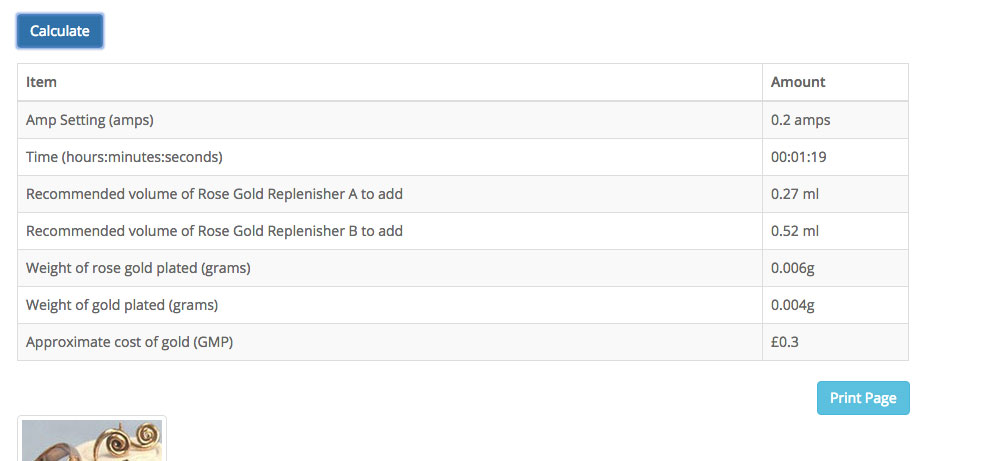
Working out the settings for your Rose Gold Tank Plating Kit with our Rose Gold Tank Plating Calculator and instructions on maintaining the 18kt shade of rose gold of your plating bath
Before you start setting up your kit you will need to use our Rose Gold Tank Plating Calculator to work out plating times and settings for the Tank Plating Rectifier. All of our Palladium Plated Test Strips are a standard surface area of 20 squared centimetres up to the scored line. Open the Rose Gold Tank Plating Calculator and enter in 0.20 where it asks for the thickness in microns. Then for surface area put in 20 and volume of solution purchased, 1000ml. Press the ‘Calculate’ button and make a note of the settings. These are the settings that you will use to set up your MF Rectifier and to time the plating process. It will tell you how much of the Replenisher A and B you will need to add after you have plated, to return the bath to an 18 karat rose gold.
Clearly, it is impossible to measure out the very small amounts of replenisher that the calculator returns on one plate. What you will need to do is to keep a note of the suggested amounts of Replenisher A and B after each plate and when it has reached a measurable amount, add this to the bath.
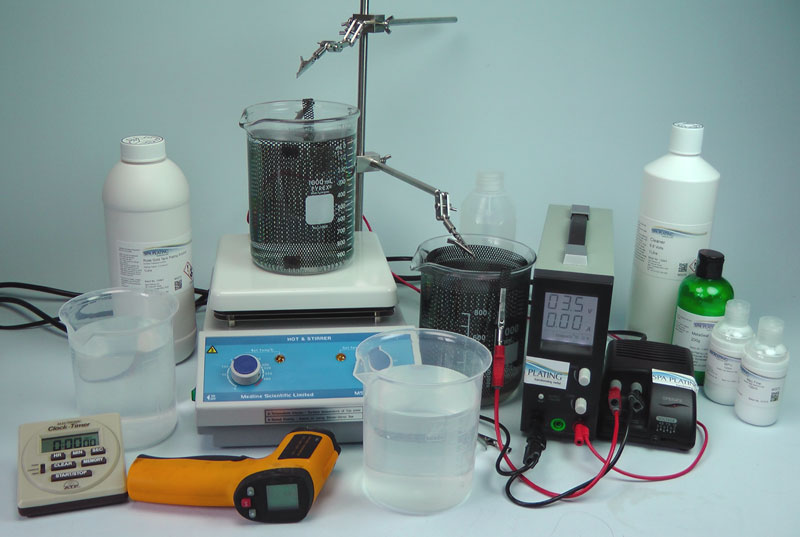
1. Setting up your rose gold tank plating equipment
Below is a video showing you how to set up your tank plating equipment.Please remember to set the Tank Plating Rectifier to the setting recommended on our Rose Gold Tank Plating Calculator and the Economy Rectifier, which is used to power the Cleaner bath, should be adjusted to 3 volts.
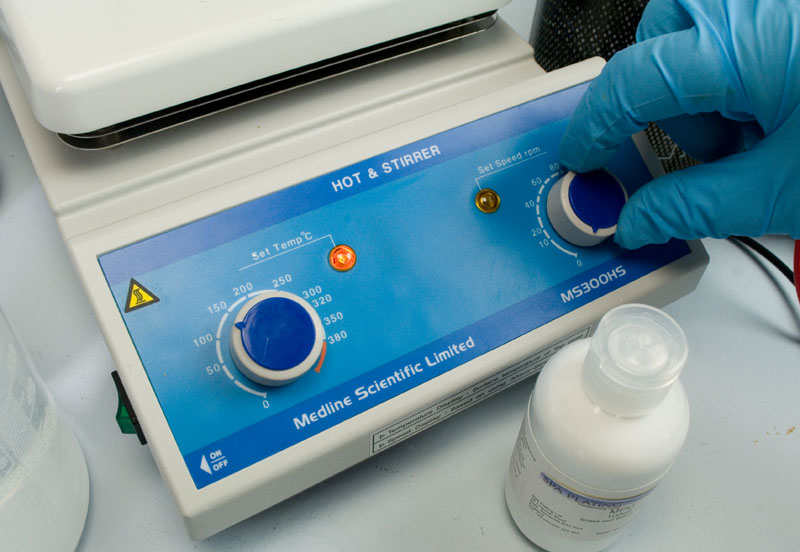
2. Bringing the Rose Gold Plating Solution up to temperature
For the purposes of making a test strip we recommend the operating temperature of your rose gold solution should be 60 degrees centigrade. While the solution is coming up to temperature the stirring mechanism of the Hot Plate Stirrer will need to be turned on. Place the Mini Stirring Bar in the rose gold beaker so that the solution is agitated throughout the heating process, to ensure even heat distribution. Monitor the temperature of your solution with your Temperature Gauge.
3. Turning off the Stirrer
Once the solution is up to temperature, turn off the Stirrer.
4. Peeling off the plastic
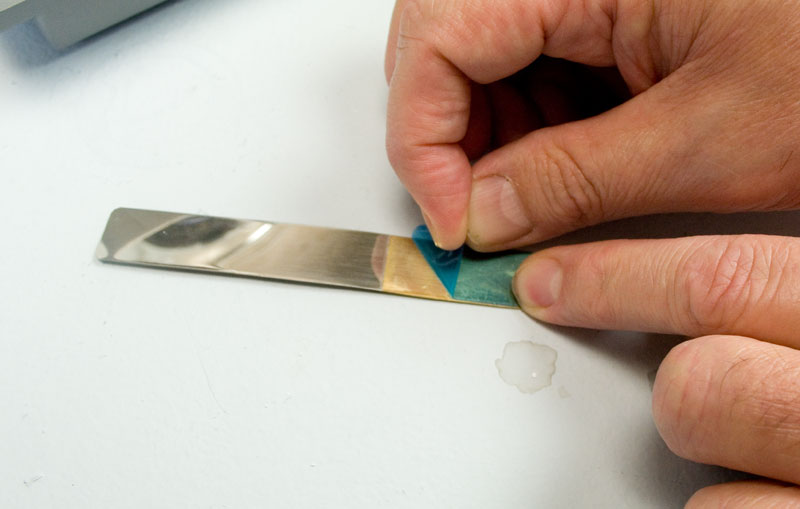
To plate the test strip you’ll first need to peel off the clear strip of blue plastic. You will now clearly see the scored line that you’ll immerse the strip up to in the plating bath.
5. Cleaning the test strip with MPU Fine
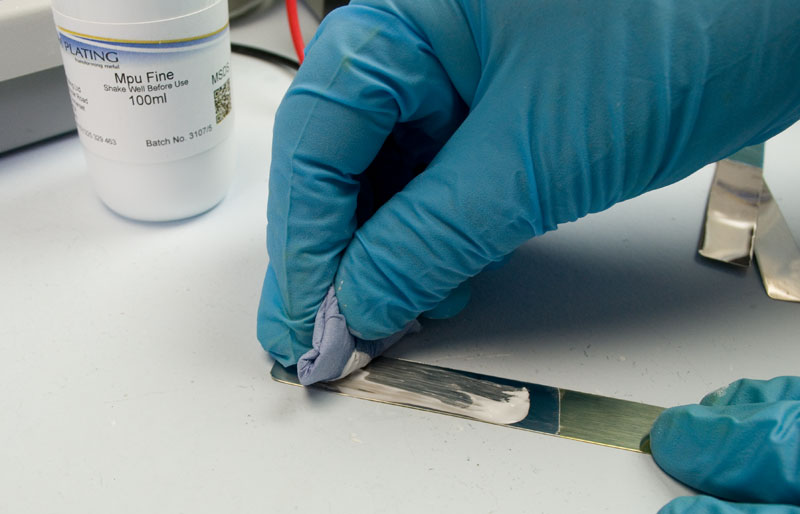
Clean the palladium plated surface with a small amount of our MPU Fine.
6. Electrocleaning the test strip
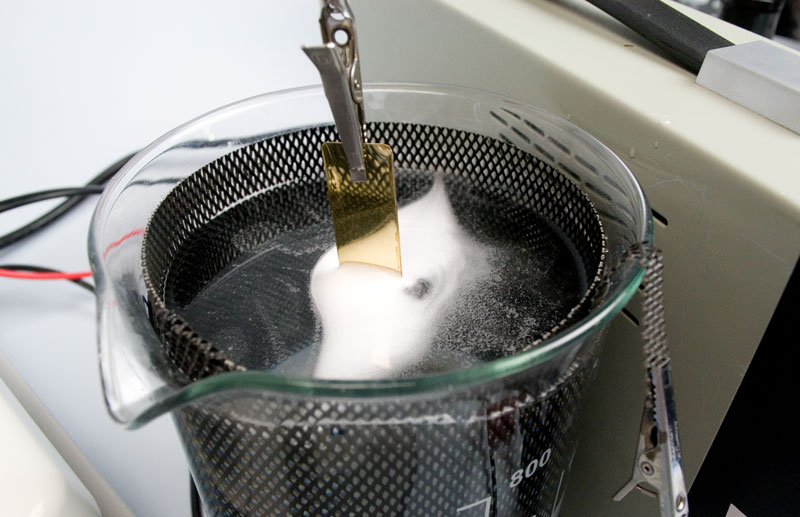
To ensure you have a completely water break free surface, place the test strip in the bath of Cleaner. Leave it in the Cleaner for about a minute.
7. Rinsing the test strip
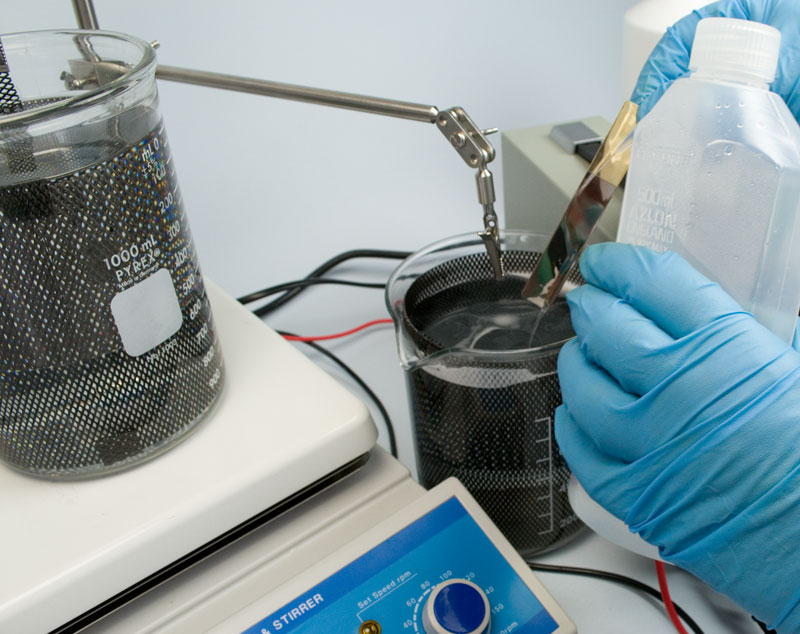
Once the test strip has been cleaned, rinse off the Cleaner by using our Rinse Bottle over the bath of Cleaner. This will contain traces of Cleaner in the Cleaner bath and stop cross contamination of your rose gold solution. Pass the test strip through the two rinse baths.
8. Plating the test strip in the Rose Gold Plating Solution
Position the test strip in the rose gold bath so that the strip is submerged up to the scored line. Switch on the Tank Plating Rectifier to start the plating.
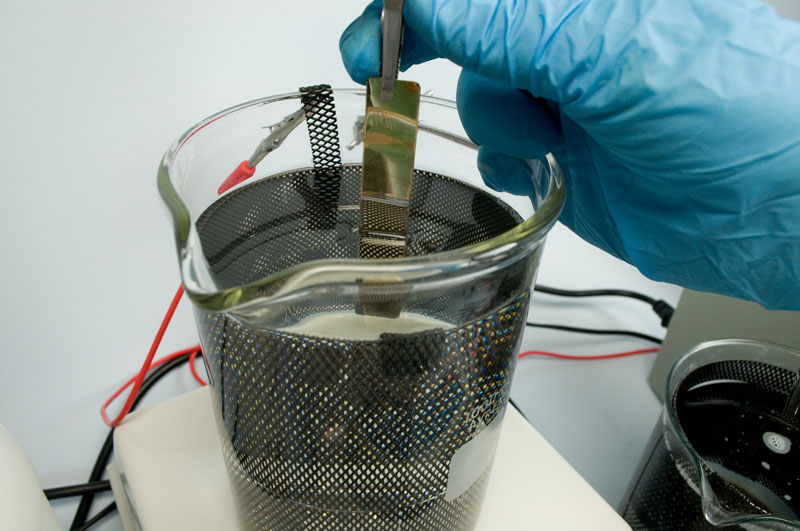
9. Turning on the Tank Plating Rectifier
Switch on the MF Rectifier Mk II to start the rose gold plating.
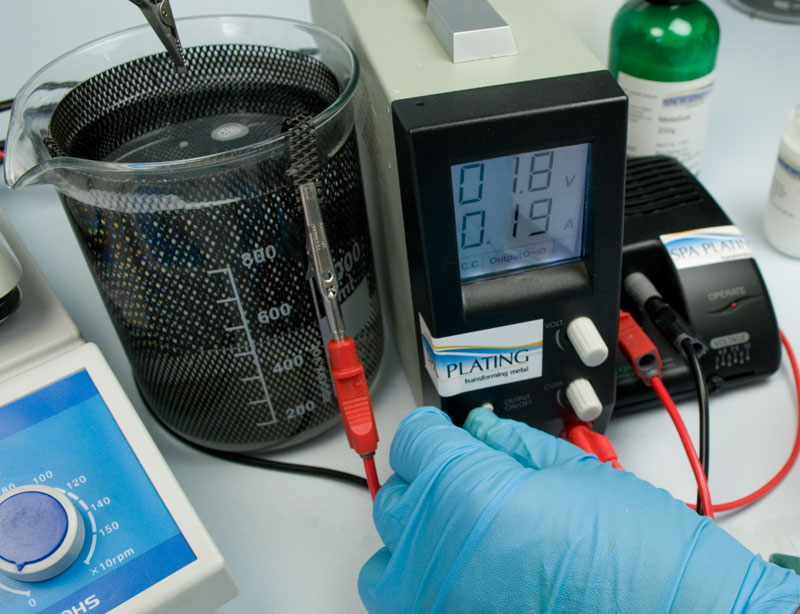
9. Setting the time
Start the Plating Timer.
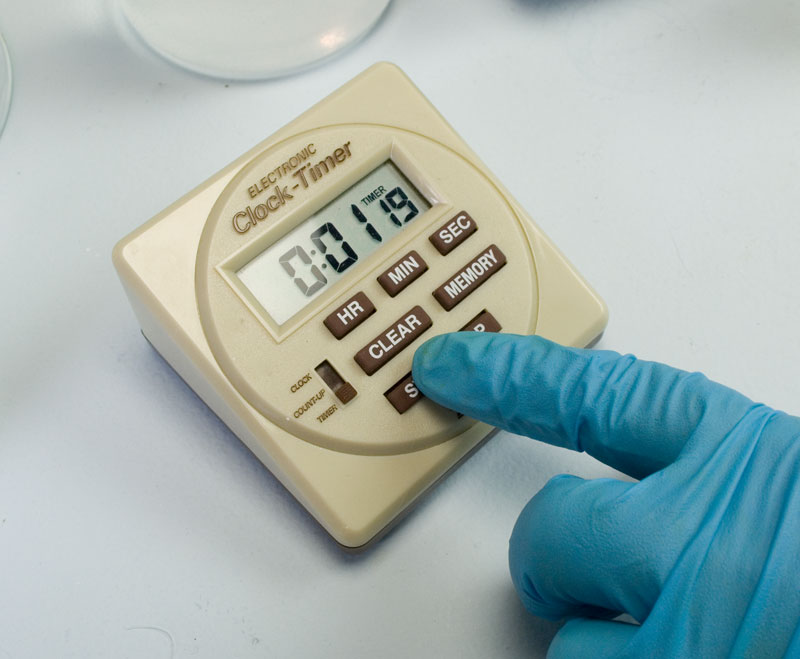
10. Rinsing the test strip
Once the plating time is up, switch off the rectifier and remove the test strip from the crocodile clips. Again, use the Rinse Bottle to rinse off any solution back into the plating beaker to contain as much as the contents of the bath in the plating beaker as possible.
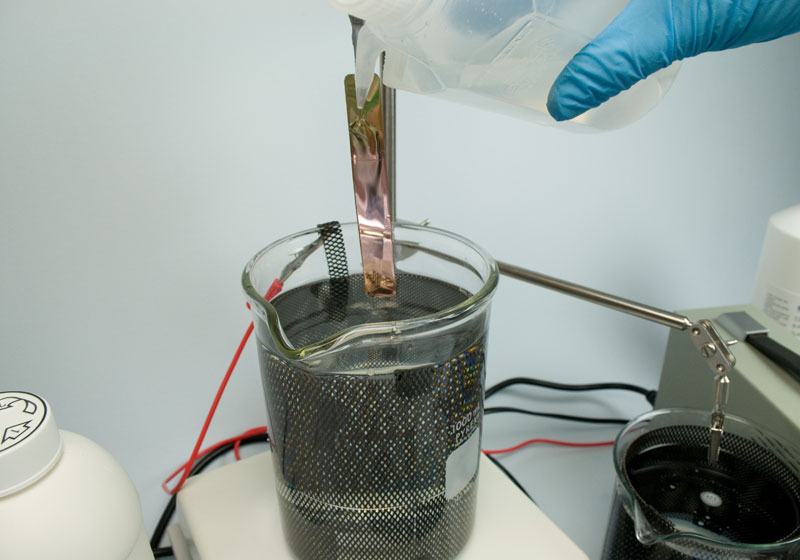
11. Final rinse
Pass the test strip through the final rinse bath.
12. Final finishing
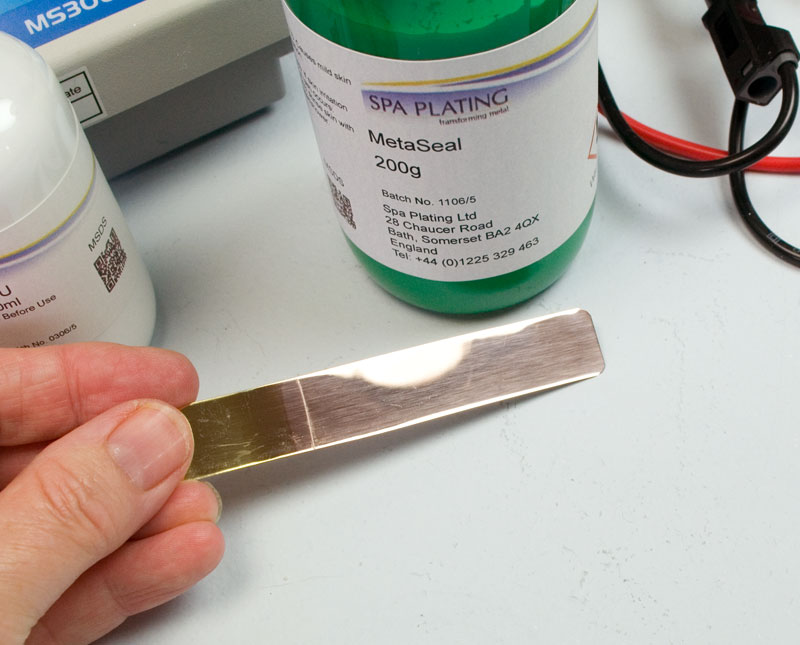
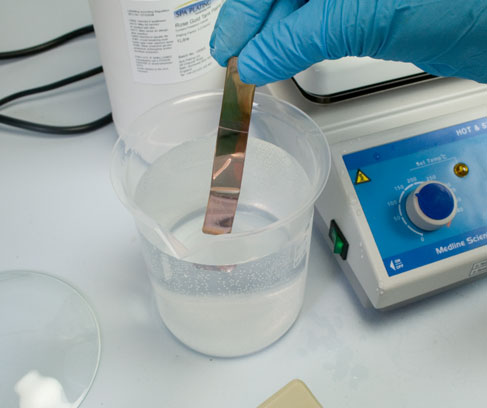
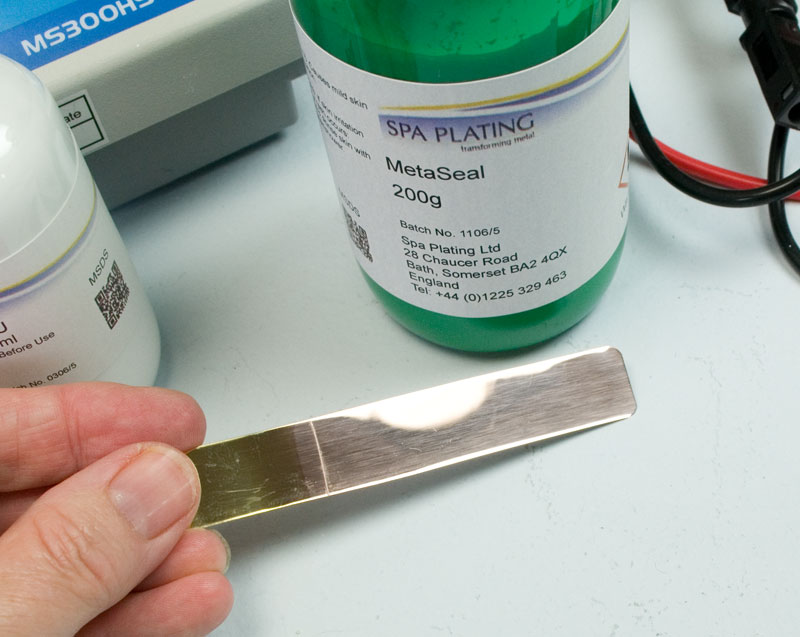
Finish your 18kt rose gold test strip with MetaSeal.
This test strip now provides a record of how the plate looks for 18kt rose gold and will provide an essential reference point for subsequent plating results.

Leave a Reply
You must be logged in to post a comment.