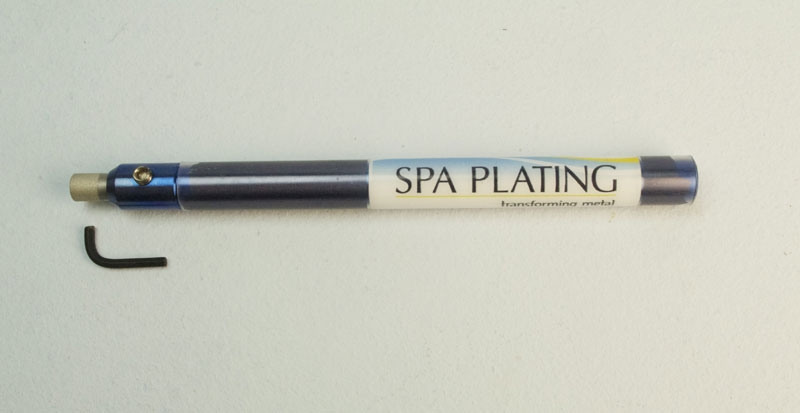
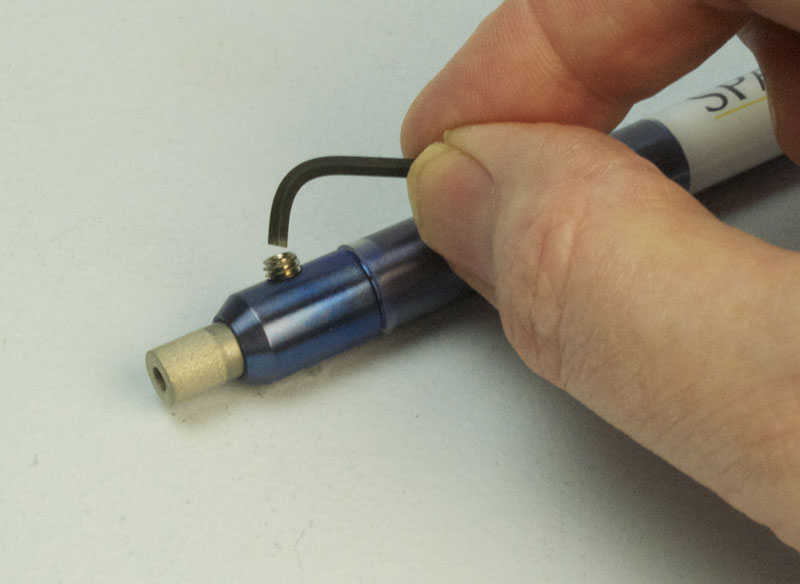
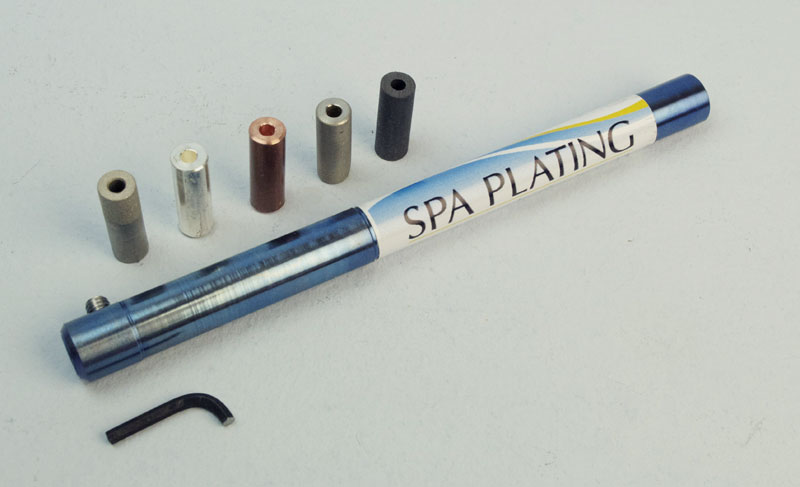
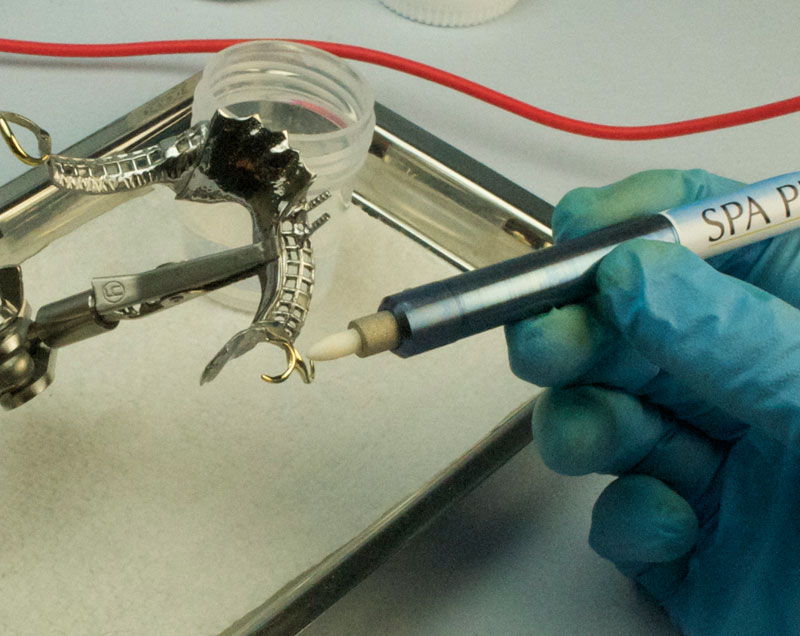
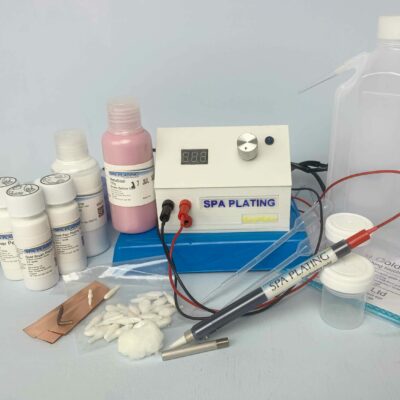
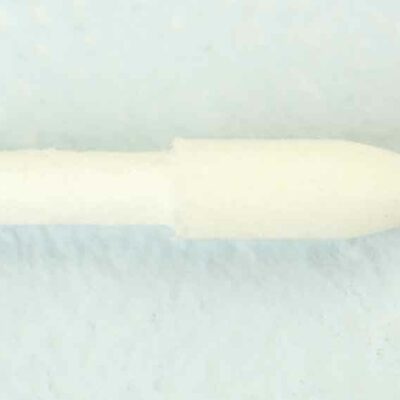
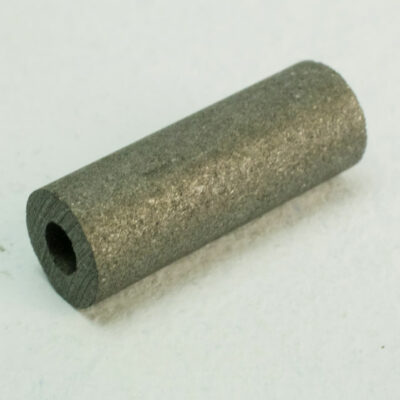
Our plating pen is ideal for pen plating small items such as jewellery and PCBs. It works with our range of precious and non-precious pen plating solutions and our pen plating nibs. It’s robust and easy to maintain as you can remove the platinum electrode (with the allen key provided), allowing you to clean the pen thoroughly. You can also swap between our range of specialised electrodes, should you wish.
Please note the Plating Pen includes the Platinum Pen Electrode, but does not include nibs.
Please see below for further options in the ‘Related Products’ section.
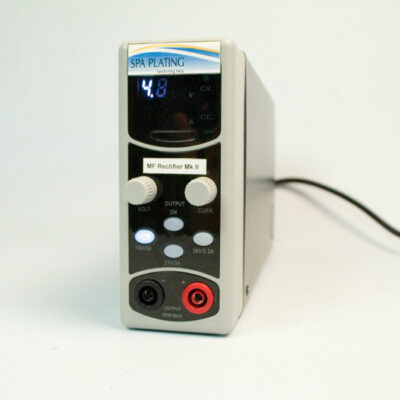
NB - We no longer sell this rectifier.
This rectifier can be used for tank, brush and pen plating. Here is a quick guide to setting it up for pen plating.
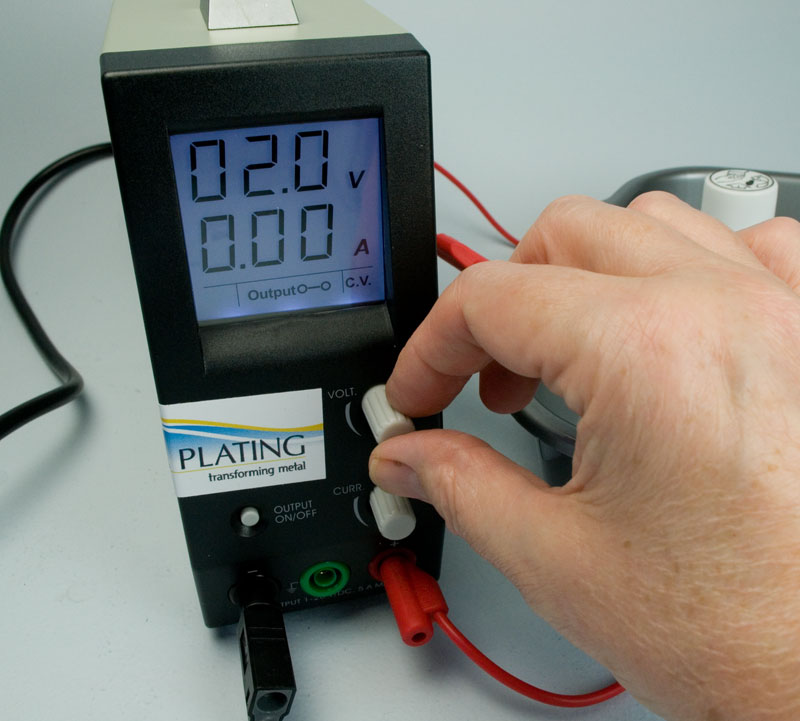
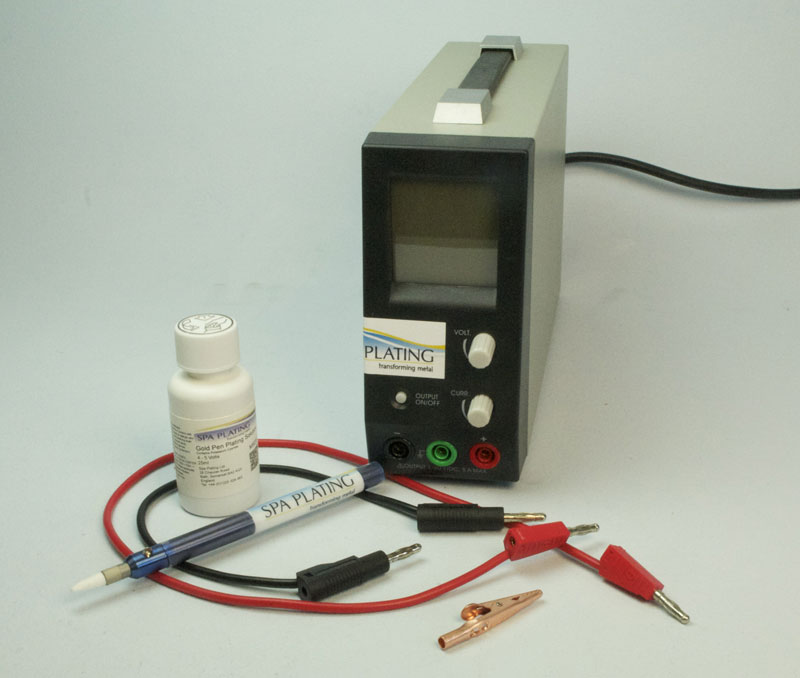
1. Your equipment
Setting up your MF Rectifier for pen plating is a straightforward process. Assemble your equipment as shown in the photo. For this demonstration, we’ll be using our plating pen.
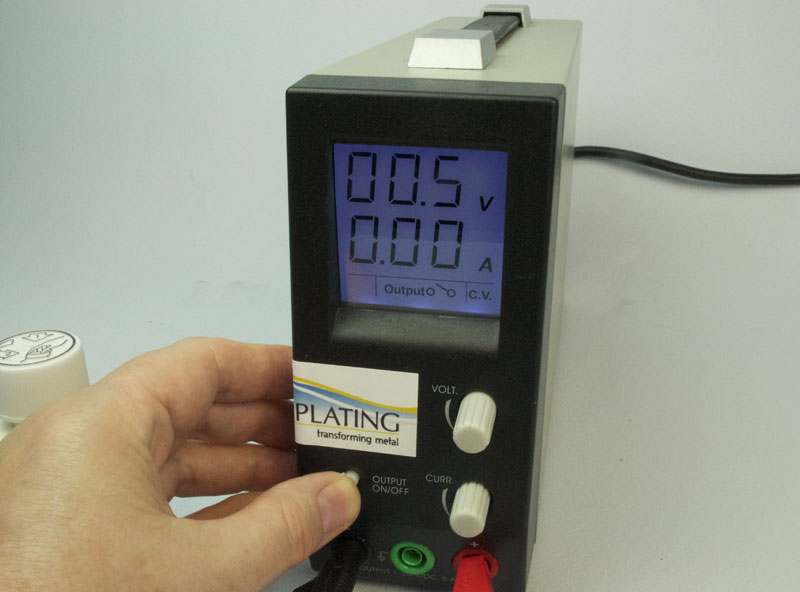
2. Turning on your rectifier
Use the switch on the back of the rectifier to turn it on.
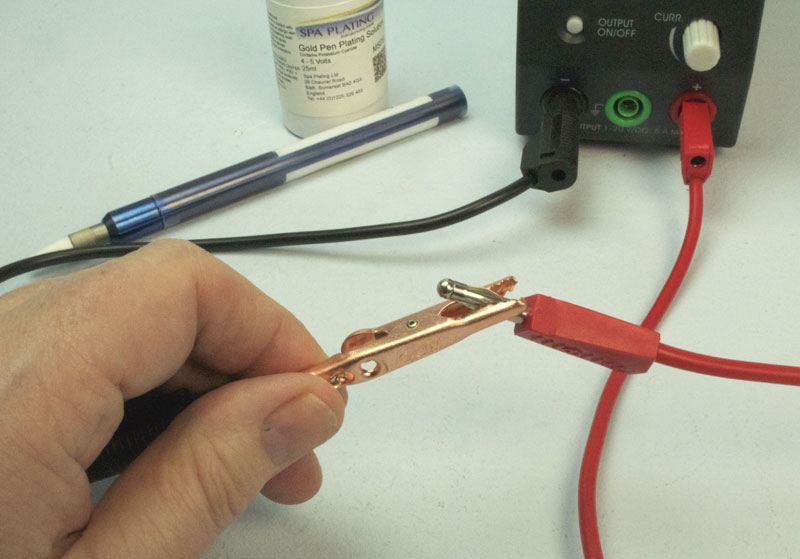
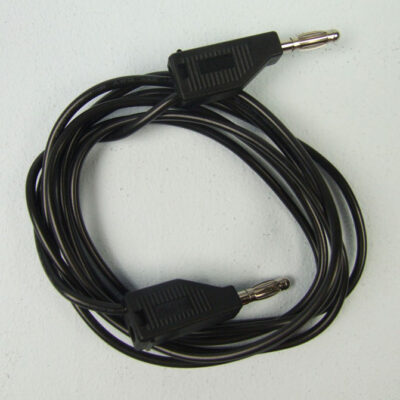
3. Attaching the leads
Fit the copper crocodile clip to the end of the black lead and plug the other end into the corresponding black socket on the front of the rectifier. Plug in the red lead into the corresponding red socket.
4. Amps and volts
Turn the amps dial anticlockwise to the stop (minimum) and the volts to the value required by the pen plating solution.
Note: Even though the amps dial is set to maximum, the amps meter will read ‘0.00’.
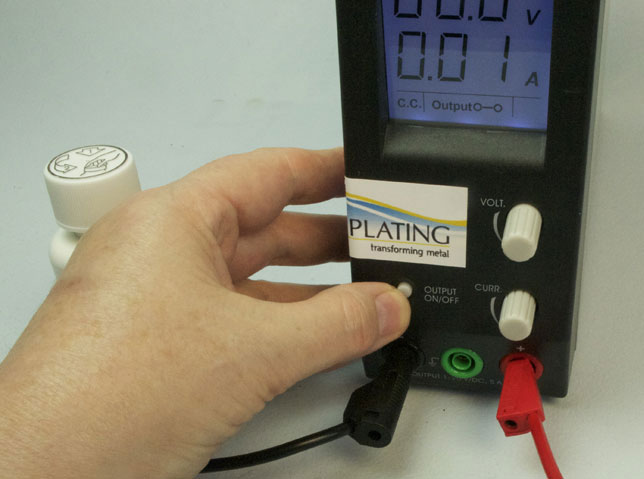
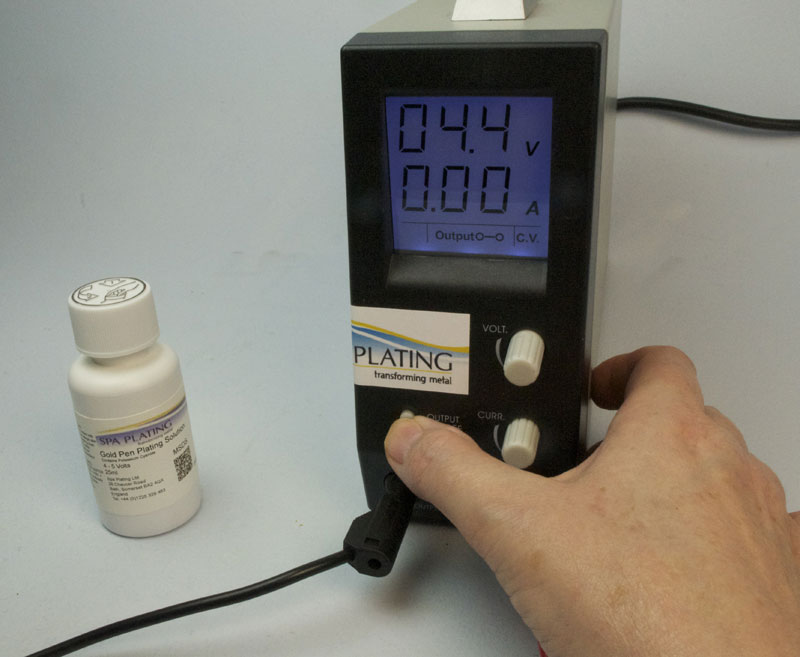
5. Open the circuit
Open the circuit (or turn the circuit off) by switching the Output switch so that the line is in the up position.
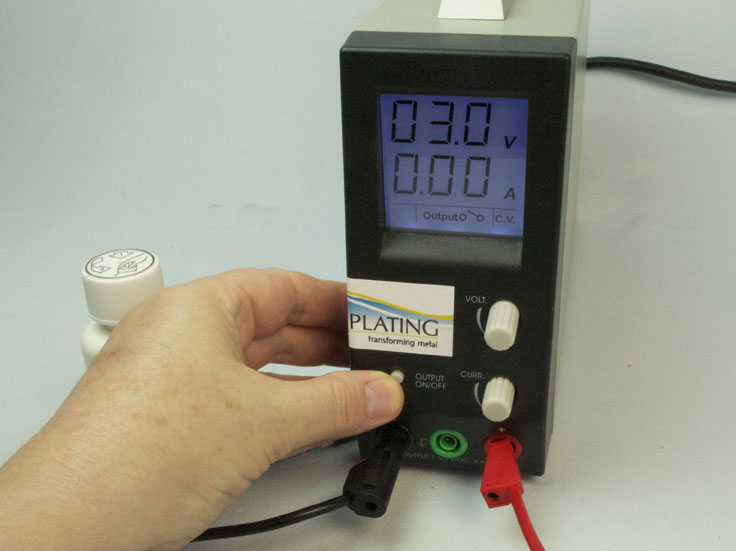
6. Set the voltage
Set the voltage to about 3.5
7. Connecting the black lead to the red lead
Using the crocodile clip on the end of the black lead, connect the black lead to the red lead.
8. Close the circuit
Close the circuit.
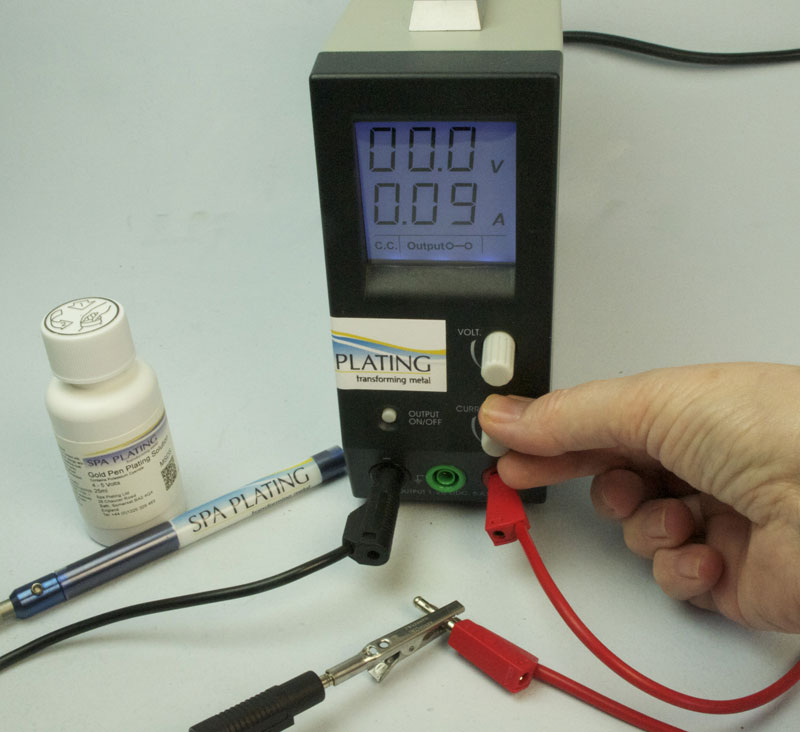
9. Adjusting the amps
Adjust the amps to about 0.4 to 0.5 amps.
Note: This stage sets the maximum amps to prevent damage to the work piece should the bare electrode accidentally contact the work piece directly
10. Open circuit
Open the circuit again.
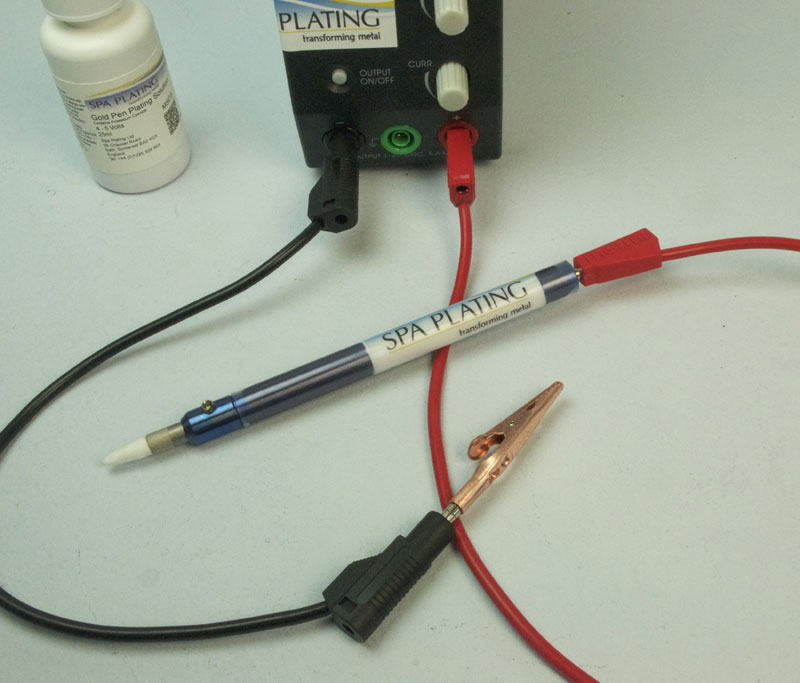
11. Connecting the plating pen
Unclip the crocodile clip from the end of the red lead.
Connect the plating pen to the end of the red lead.
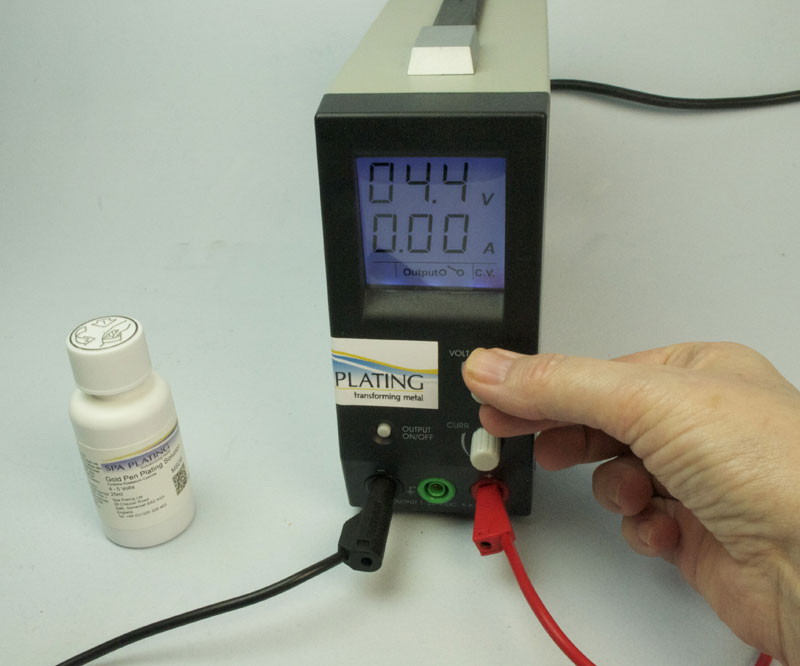
12. Selecting voltage
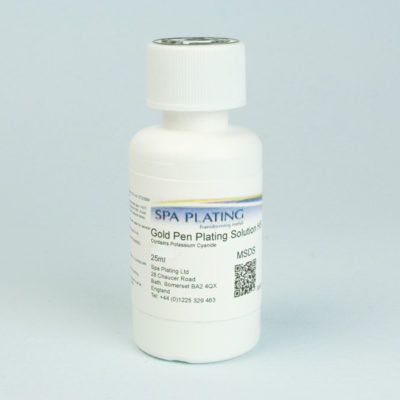
Select the correct voltage range for your plating solution. In this case the solution is our Gold Pen Plating Solution and the range is 4-5 volts.
13. Closing circuit for plating
Now close the circuit and you’re ready to start plating.
General guide;
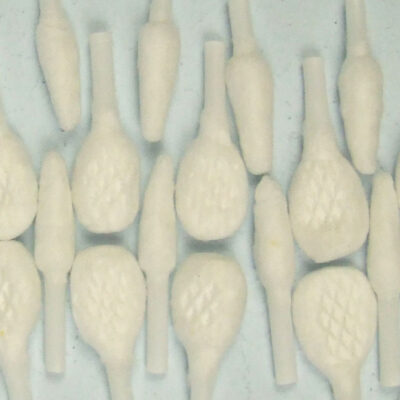
Certain small items, for example Swabs, Nibs and Plating Pens can be sent by normal post within the UK
- The courier option for UK deliveries is FedEx
- Free UK mainland delivery available on orders over £200
- International orders usually 3-5 working days.
For all price quotations for deliveries, please add your items to our shopping cart. You will be able to see the shipping costs by clicking on the ‘Calculate shipping’ button in the cart and before checking out.
You can access our MSDS by scanning the QR code which is on our product bottles.
Here is a video to show you how;