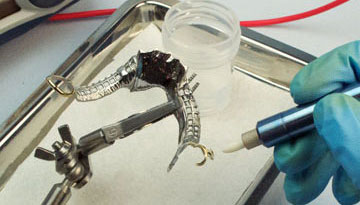
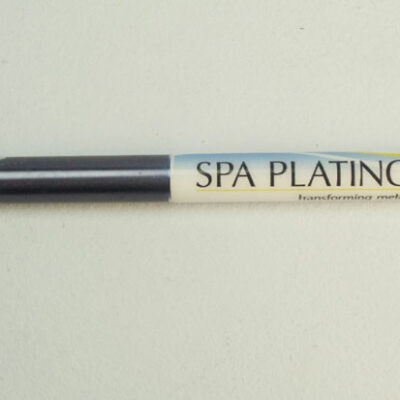
You can use our Gold Strike Pen (UK and EU only) to gold plate very adhesive layers on to difficult-to plate metals such as chrome, surgical steel and dental alloys. Gold Strike pen plating solution is especially useful for plating dental prosthetics.
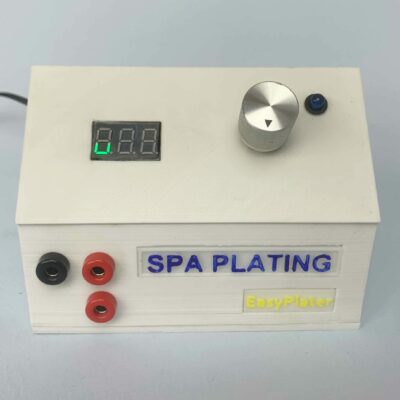
Recommended voltage: 9 – 10 volts
Gold concentration: 20 grams per litre
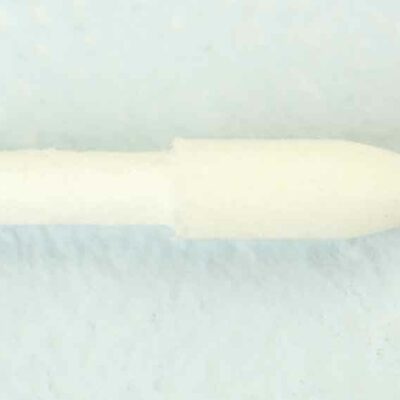
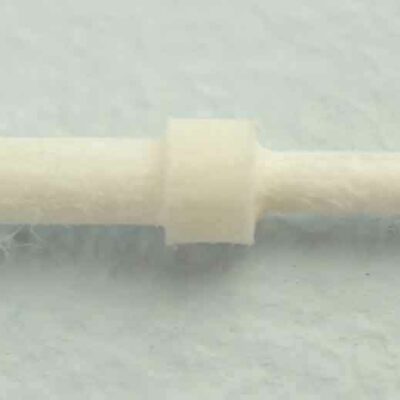
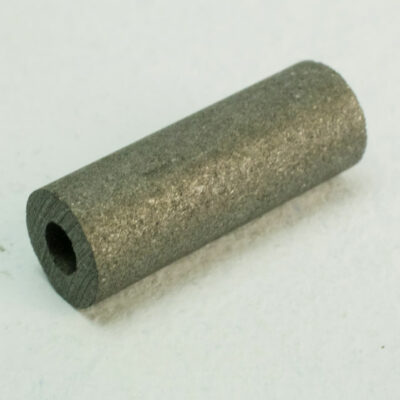
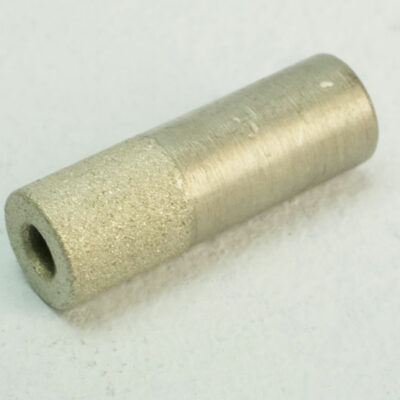
Fibre nibs strongly recommended
Gold content: 20 grams per litre
HS Code: 3824 99 70
This solution is ideal for dental technicians plating prosthetics and medical technicians plating difficult-to-plate alloys of cobalt, chromium and molybdenum.
Adhearent coatings can also be plated on to chromium, tungsten and electrical alloys such as nichrome.
This video shows how to gold pen plate using our rectifier powered plating pen:
This solution is ideal for dental technicians plating prosthetics and medical technicians plating difficult-to-plate alloys of cobalt, chromium and molybdenum.
Adhearent coatings can also be plated on to chromium, tungsten and electrical alloys such as nichrome.
NB - We no longer sell this rectifier.
This rectifier can be used for tank, brush and pen plating. Here is a quick guide to setting it up for pen plating.
1. Your equipment
Setting up your MF Rectifier for pen plating is a straightforward process. Assemble your equipment as shown in the photo. For this demonstration, we’ll be using our plating pen.
2. Turning on your rectifier
Use the switch on the back of the rectifier to turn it on.
3. Attaching the leads
Fit the copper crocodile clip to the end of the black lead and plug the other end into the corresponding black socket on the front of the rectifier. Plug in the red lead into the corresponding red socket.
4. Amps and volts
Turn the amps dial anticlockwise to the stop (minimum) and the volts to the value required by the pen plating solution.
Note: Even though the amps dial is set to maximum, the amps meter will read ‘0.00’.
6
5. Open the circuit
Open the circuit (or turn the circuit off) by switching the Output switch so that the line is in the up position.
6. Set the voltage
Set the voltage to about 3.5
7. Connecting the black lead to the red lead
Using the crocodile clip on the end of the black lead, connect the black lead to the red lead.
8. Close the circuit
Close the circuit.
9. Adjusting the amps
Adjust the amps to about 0.4 to 0.5 amps.
Note: This stage sets the maximum amps to prevent damage to the work piece should the bare electrode accidentally contact the work piece directly
10. Open circuit
Open the circuit again.
11. Connecting the plating pen
Unclip the crocodile clip from the end of the red lead.
Connect the plating pen to the end of the red lead.
12. Selecting voltage
Select the correct voltage range for your plating solution. In this case the solution is our Gold Pen Plating Solution and the range is 4-5 volts.
13. Closing circuit for plating
Now close the circuit and you’re ready to start plating.
Operating Conditions and Deposit Data
Voltage (for pen fitted with Fibre Nib)
8 – 10 volts (see notes)
Temperature
20 – 25 °C (see notes)
Gold Concentration
20 g/l
Electrode
Carbon or platinum
Gold content in plate
99% – 99.5%
Recommended plating thickness
0.1 micron
Coverage
10ml will cover 800 cm2 to 0.1 micron
Hardness
185 Hv
Density of deposit
19.3 g/cm3
Stress
Not known
Special storage requirements
Away from sunlight
Shelf life
1 – 2 years
Health and Safety classification
Harmful
Special considerations
None
Transport (UN number)
2796
Notes:
It is possible to plate as low as 4 – 5 volts using the Battery Plating Pen at a much reduced plating rate.
when plating in recesses, we recommend using the using the Plating Pen (8 – 10 volts, Fibre Nib).
Some items are regulated for transport and can only be delivered to destinations in the UK and countries within the EU. Alternative or substitute products are detailed in the ‘Description’ tab of this tabbed panel or under Related Items below this tabbed panel.
For all price quotations for deliveries, please add your items to our shopping cart. You will be able to see the shipping costs by clicking on the ‘Calculate shipping’ button in the cart and before checking out.
You can access our MSDS by scanning the QR code which is on our product bottles.
Here is a video to show you how;