How to gold plate on wood using Spa Plating's equipment and brush plating solutions
Gold brush plating on wood
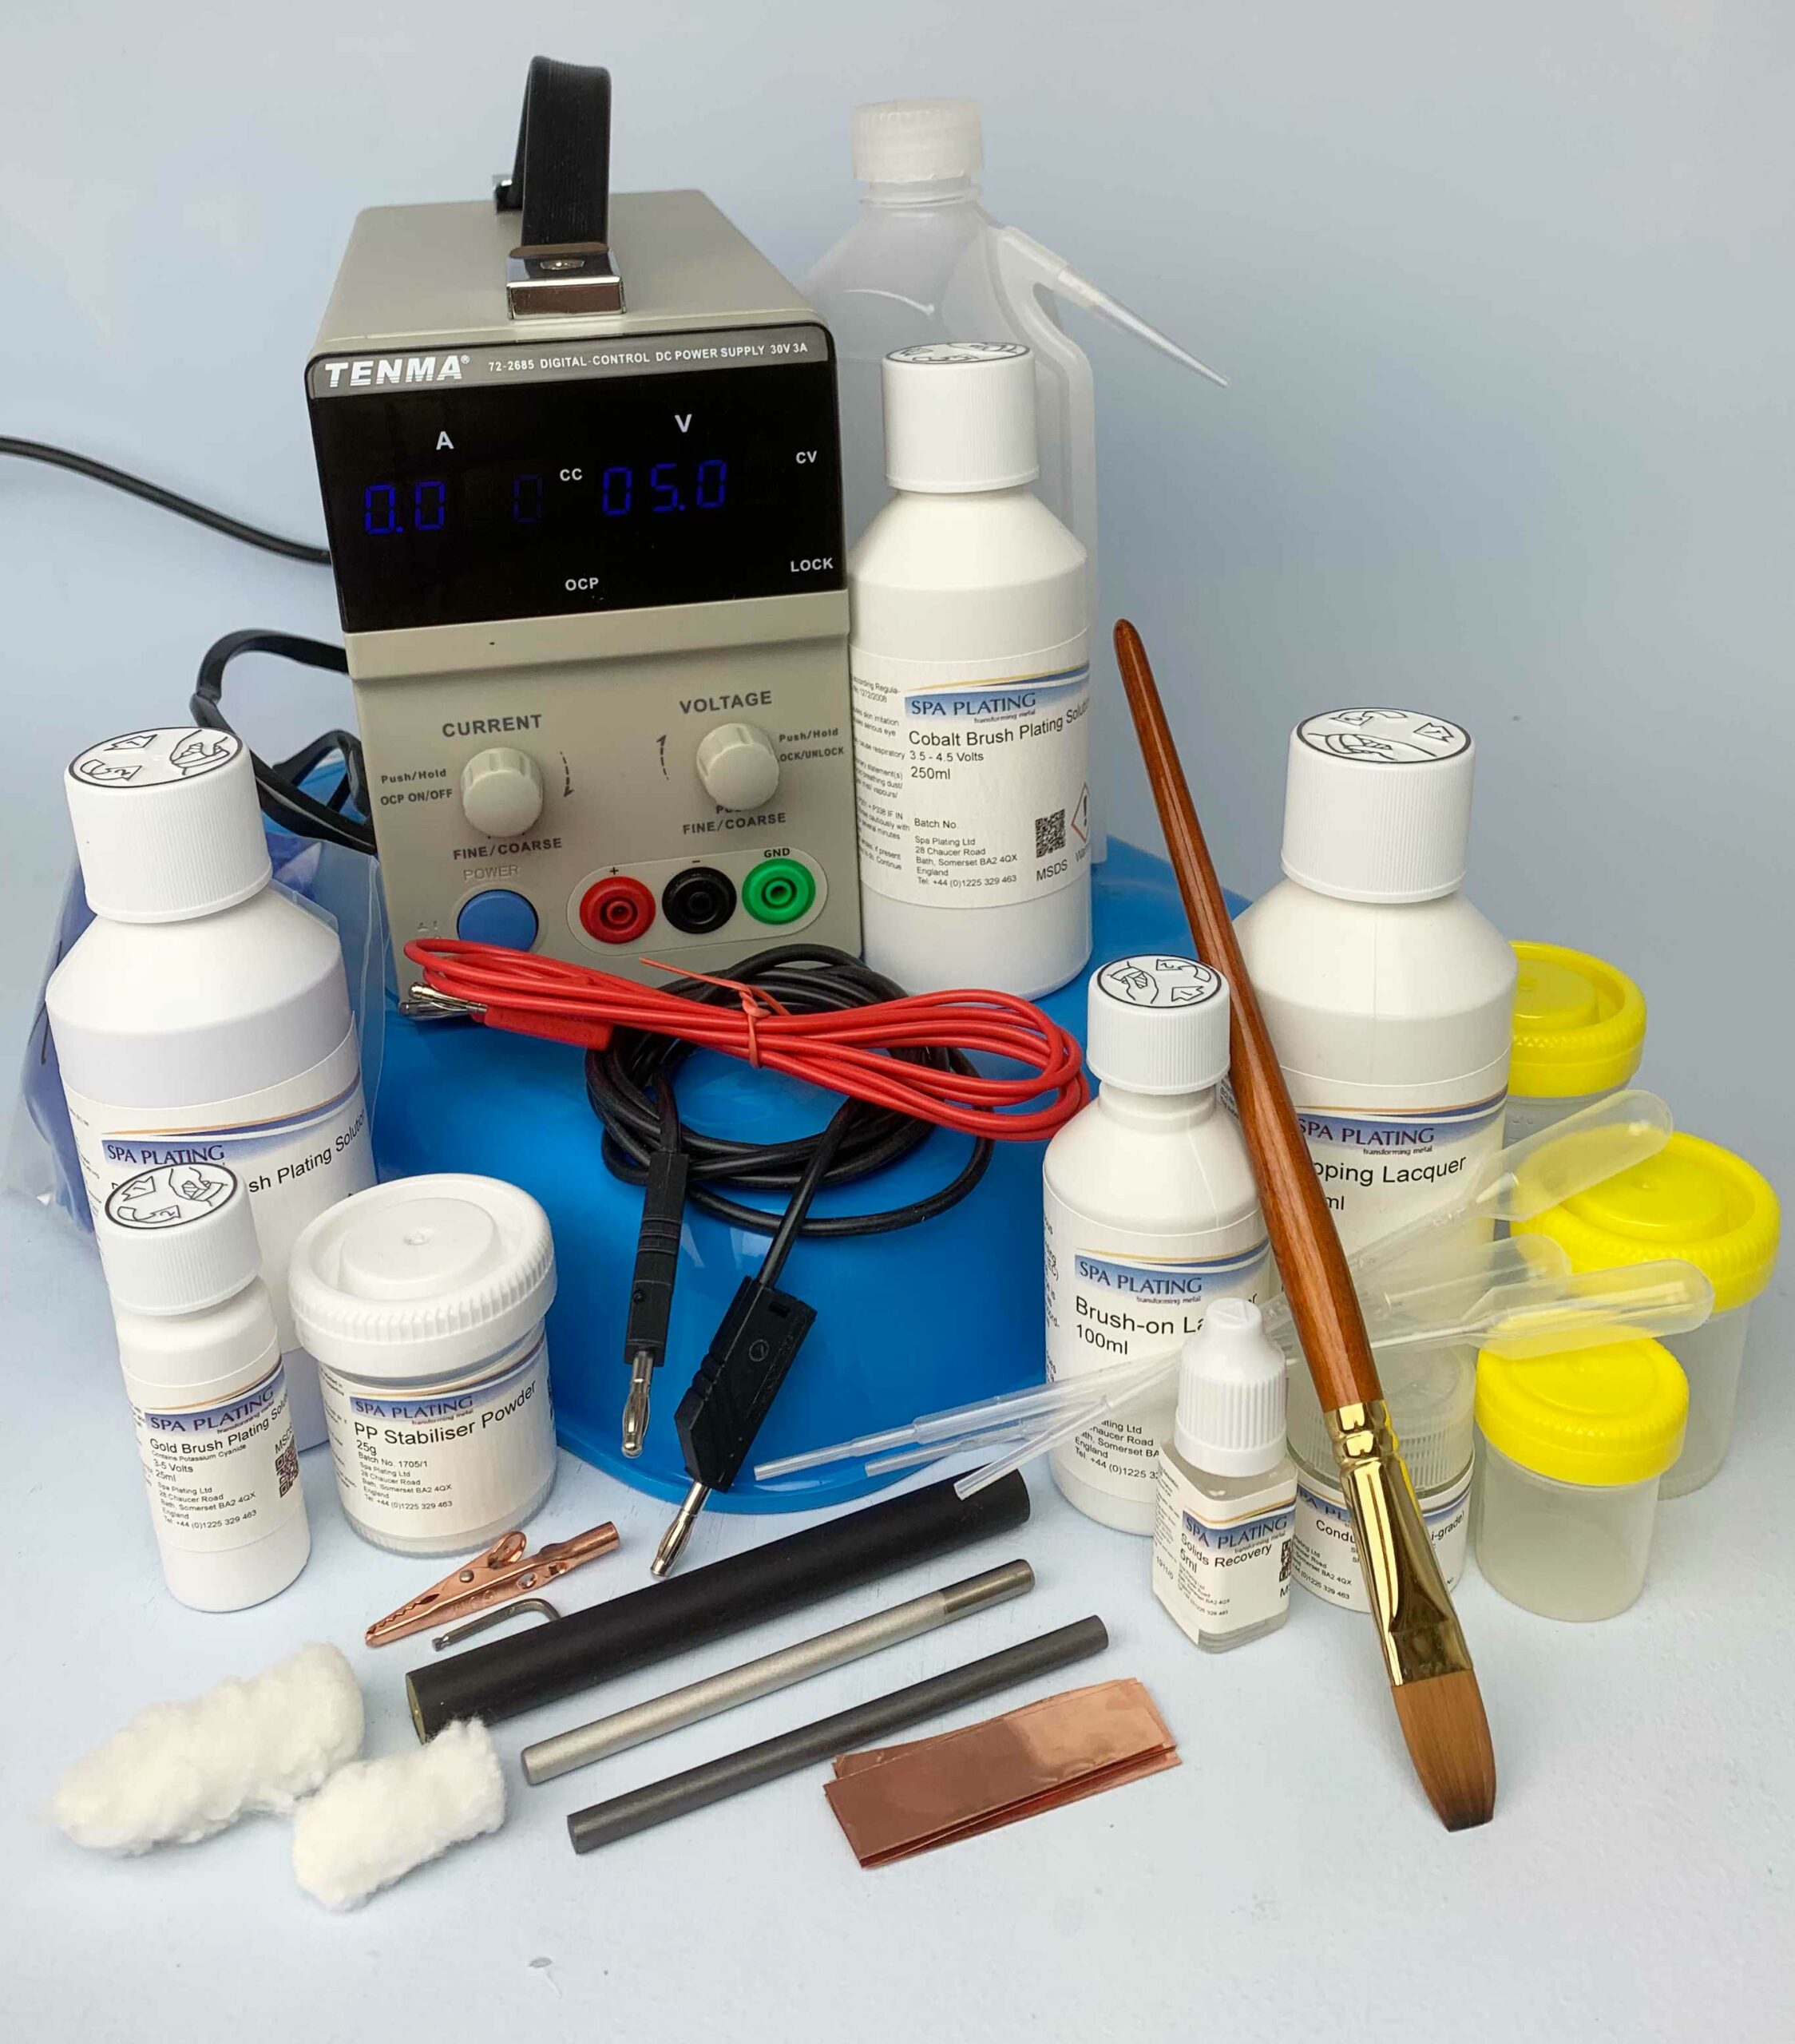
Our Gold Plating on Wood Kit includes the items you need for successful plating on wood. Below is a step-by-step guide on how to plate on wood, including a video demonstrating the process.
1. Surface preparation
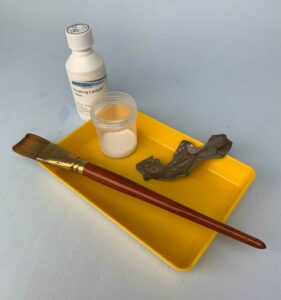
Before you start brush plating on wood you will need to prepare the surface carefully.
Ensure the item is completely dry; this piece of bark was left to dry at room temperature for at least a week. Gently remove any part of the surface that is loose or damaged.
To seal the surface of the wood and to create a key layer for our Conductive Ink (hi grade), either dip or brush on with our Dipping Lacquer or our Brush-on Lacquer.
In either case let the lacquer dry overnight for at least 12 hours.
2. Making the surface conductive
To make the surface of your piece of wood conductive, you will need to apply a thin but continuous layer of our Conductive Ink (hi-grade) with an airbrush. This is by far the most important part of the process and the one which requires good airbrushing skills.
Further information on the type of airbrush we use and its settings can be seen by clicking on the Tech Specs tab on the Gold Brush Plating on Wood product page.
For cure times of the conductive ink and detailed instructions for application, please read the information contained under the Tech Specs tab on the Conductive Ink (hi-grade) product page.
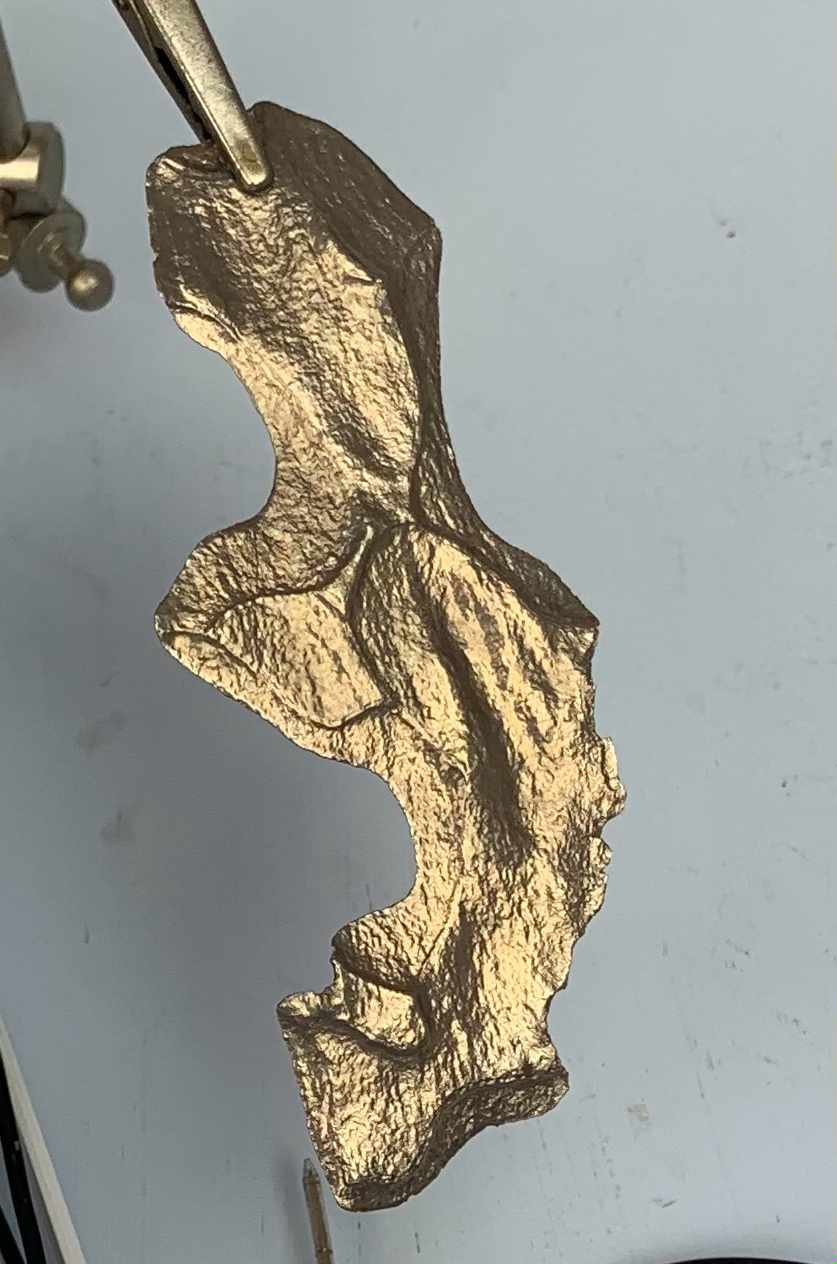
Piece of wood with layer of conductive ink applied
3. Plating a layer of copper
The first plated layer is our PP Copper Brush Plating Solution. This will form the base for subsequent layers of plate, for example silver or gold. You will need to use one of our carbon electrodes and we suggest using one of our short extra fluffy swabs.
4. Plating the barrier layer in preparation for gold plating
If you intend to finish with a layer of our gold brush plating solution, then you will need to plate a barrier layer, so that the gold doesn’t diffuse back into the copper. We recommend using our cobalt brush plating solution to achieve this as it plates fast and is hard wearing.
Again, you’ll need a carbon electrode and a short extra fluffy swab.
If you don’t intend to plate a layer of gold and instead want to plate a layer of our silver brush plating solution, then you don’t need a barrier layer and can go straight ahead with the silver.
A barrier layer of cobalt
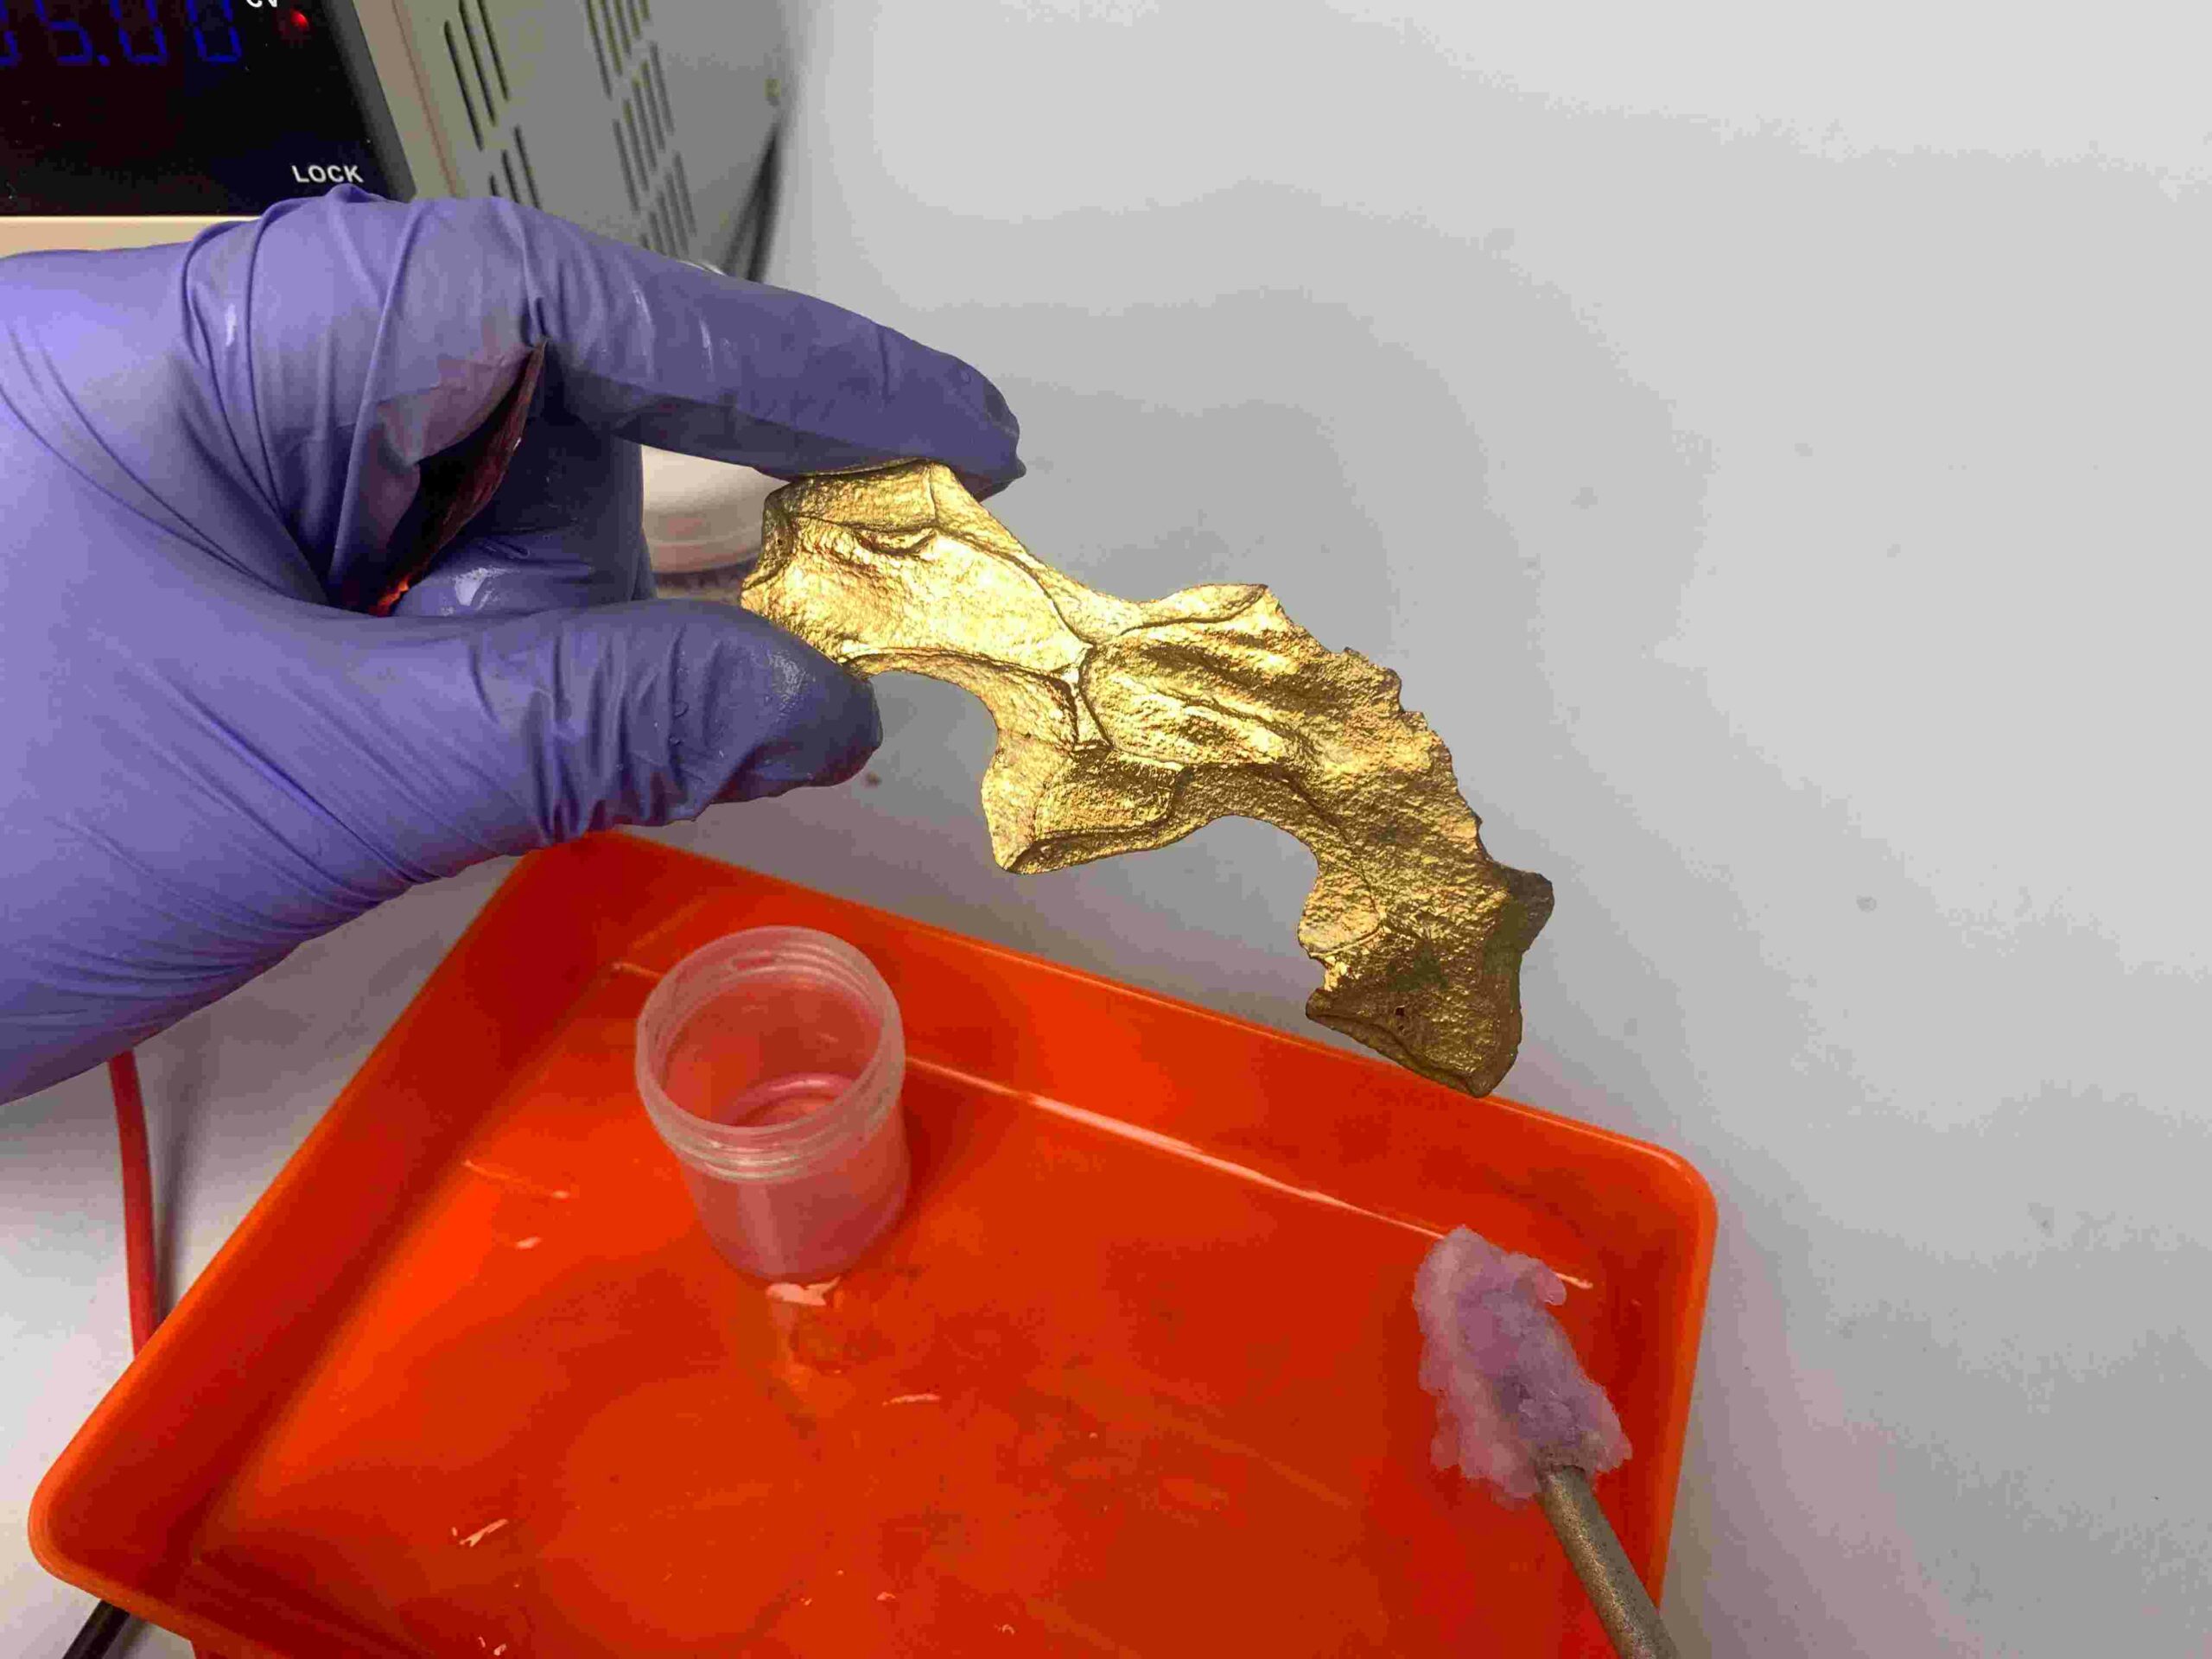
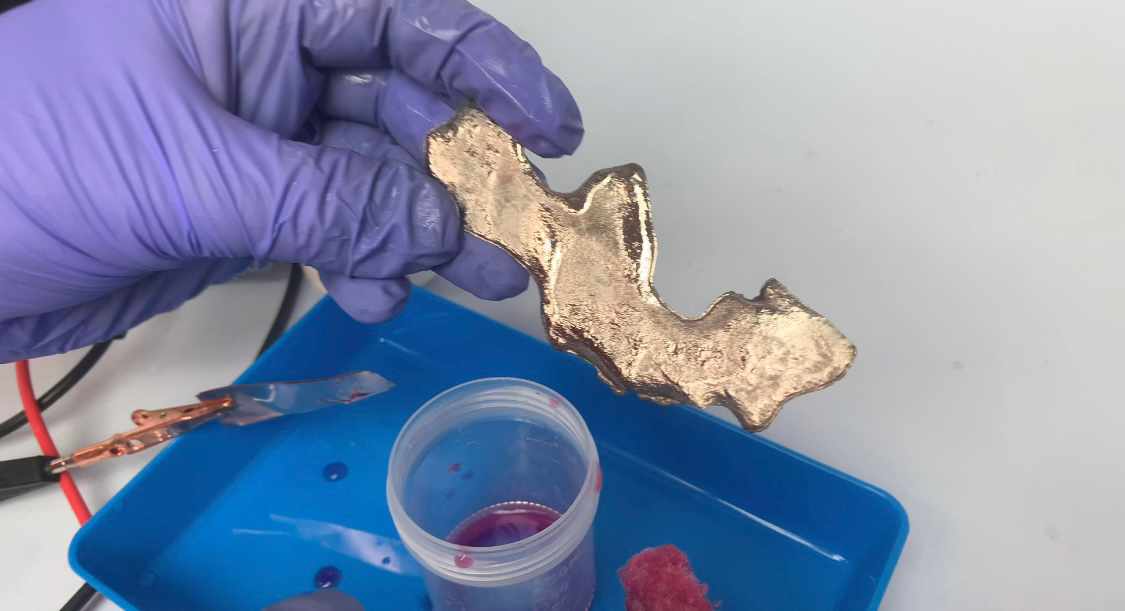
5. Plating the final layer of gold
Once the layer of cobalt has been plated it’s ready for the final layer of our gold brush plating solution. You will need to use one of our platinum electrodes for this and we suggest one of our short swabs would be an economical choice.