You can use our Alkaline Copper Tank Plating Solution to plate onto difficult-to-plate metals such as zinc and zincated aluminium. Once you have built up a good layer of our Alkaline Copper Tank Plating Solution you can then go ahead and plate other metal layers such as our nickel and gold. It plates a matt-satin finish.
HS Code: 3824 99 70
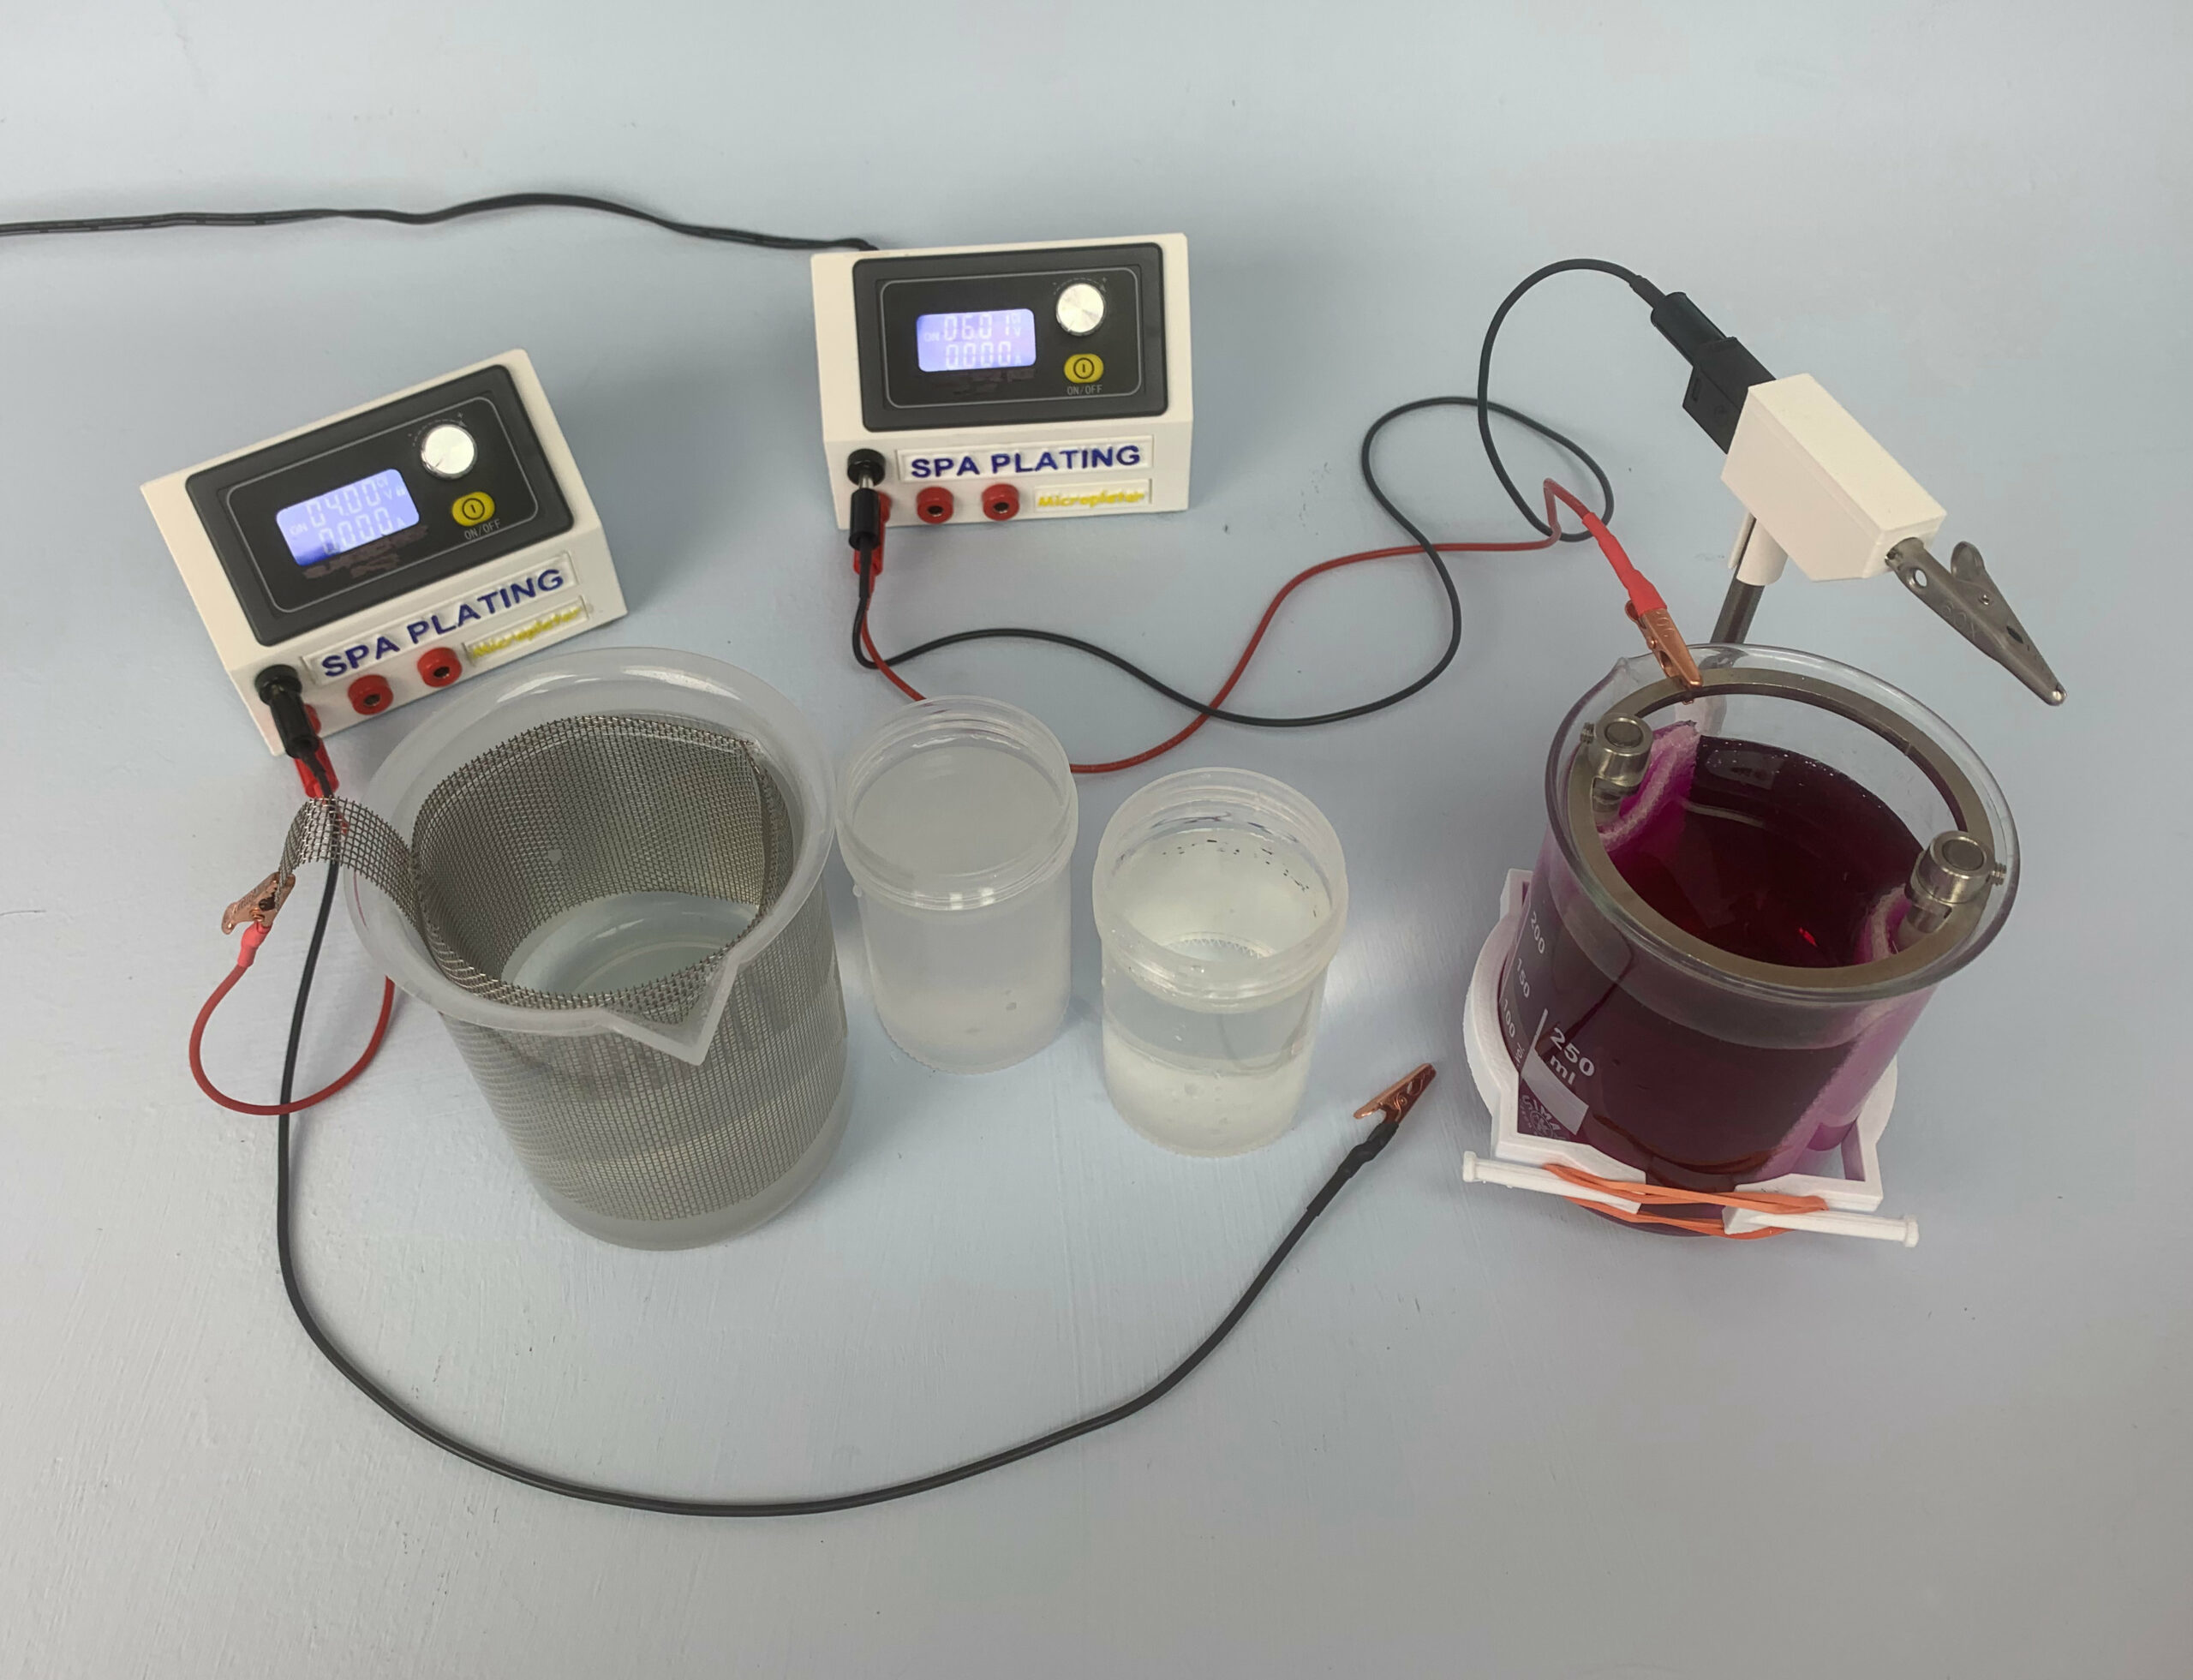
You can use the Microplater Classic for pen, brush and beaker/tank electroplating
It is particularly useful for tank plating as you can programme it.
You can also monitor the amount of electricity you are using (in amp hours) and this, when used with our online calculators, helps you plate to specific thicknesses.
The default settings do not need to be changed but can be viewed. This is talked about below.
Overview
The Microplater Classic is an electroplating rectifier which outputs dc voltage within the range 0.6 – 30 volts and amps between 0.00 and 3.5
You can set the volts and amps (along with other parameters) using the dial. To control the output, use the yellow on/off switch.
The black negative output and three red positive outputs allow for the three different processes of pen, brush and tank plating to be run from the Microplater.
There is plenty of venting on the sides and base of the unit.
Switching on
To power up the unit, plug in the power lead from the adapter or 9 volt battery into the socket on the back of the unit and press the green button. This will light up when the power is on.
Please note that we only recommend using the battery option with pen plating, not with brush or tank.
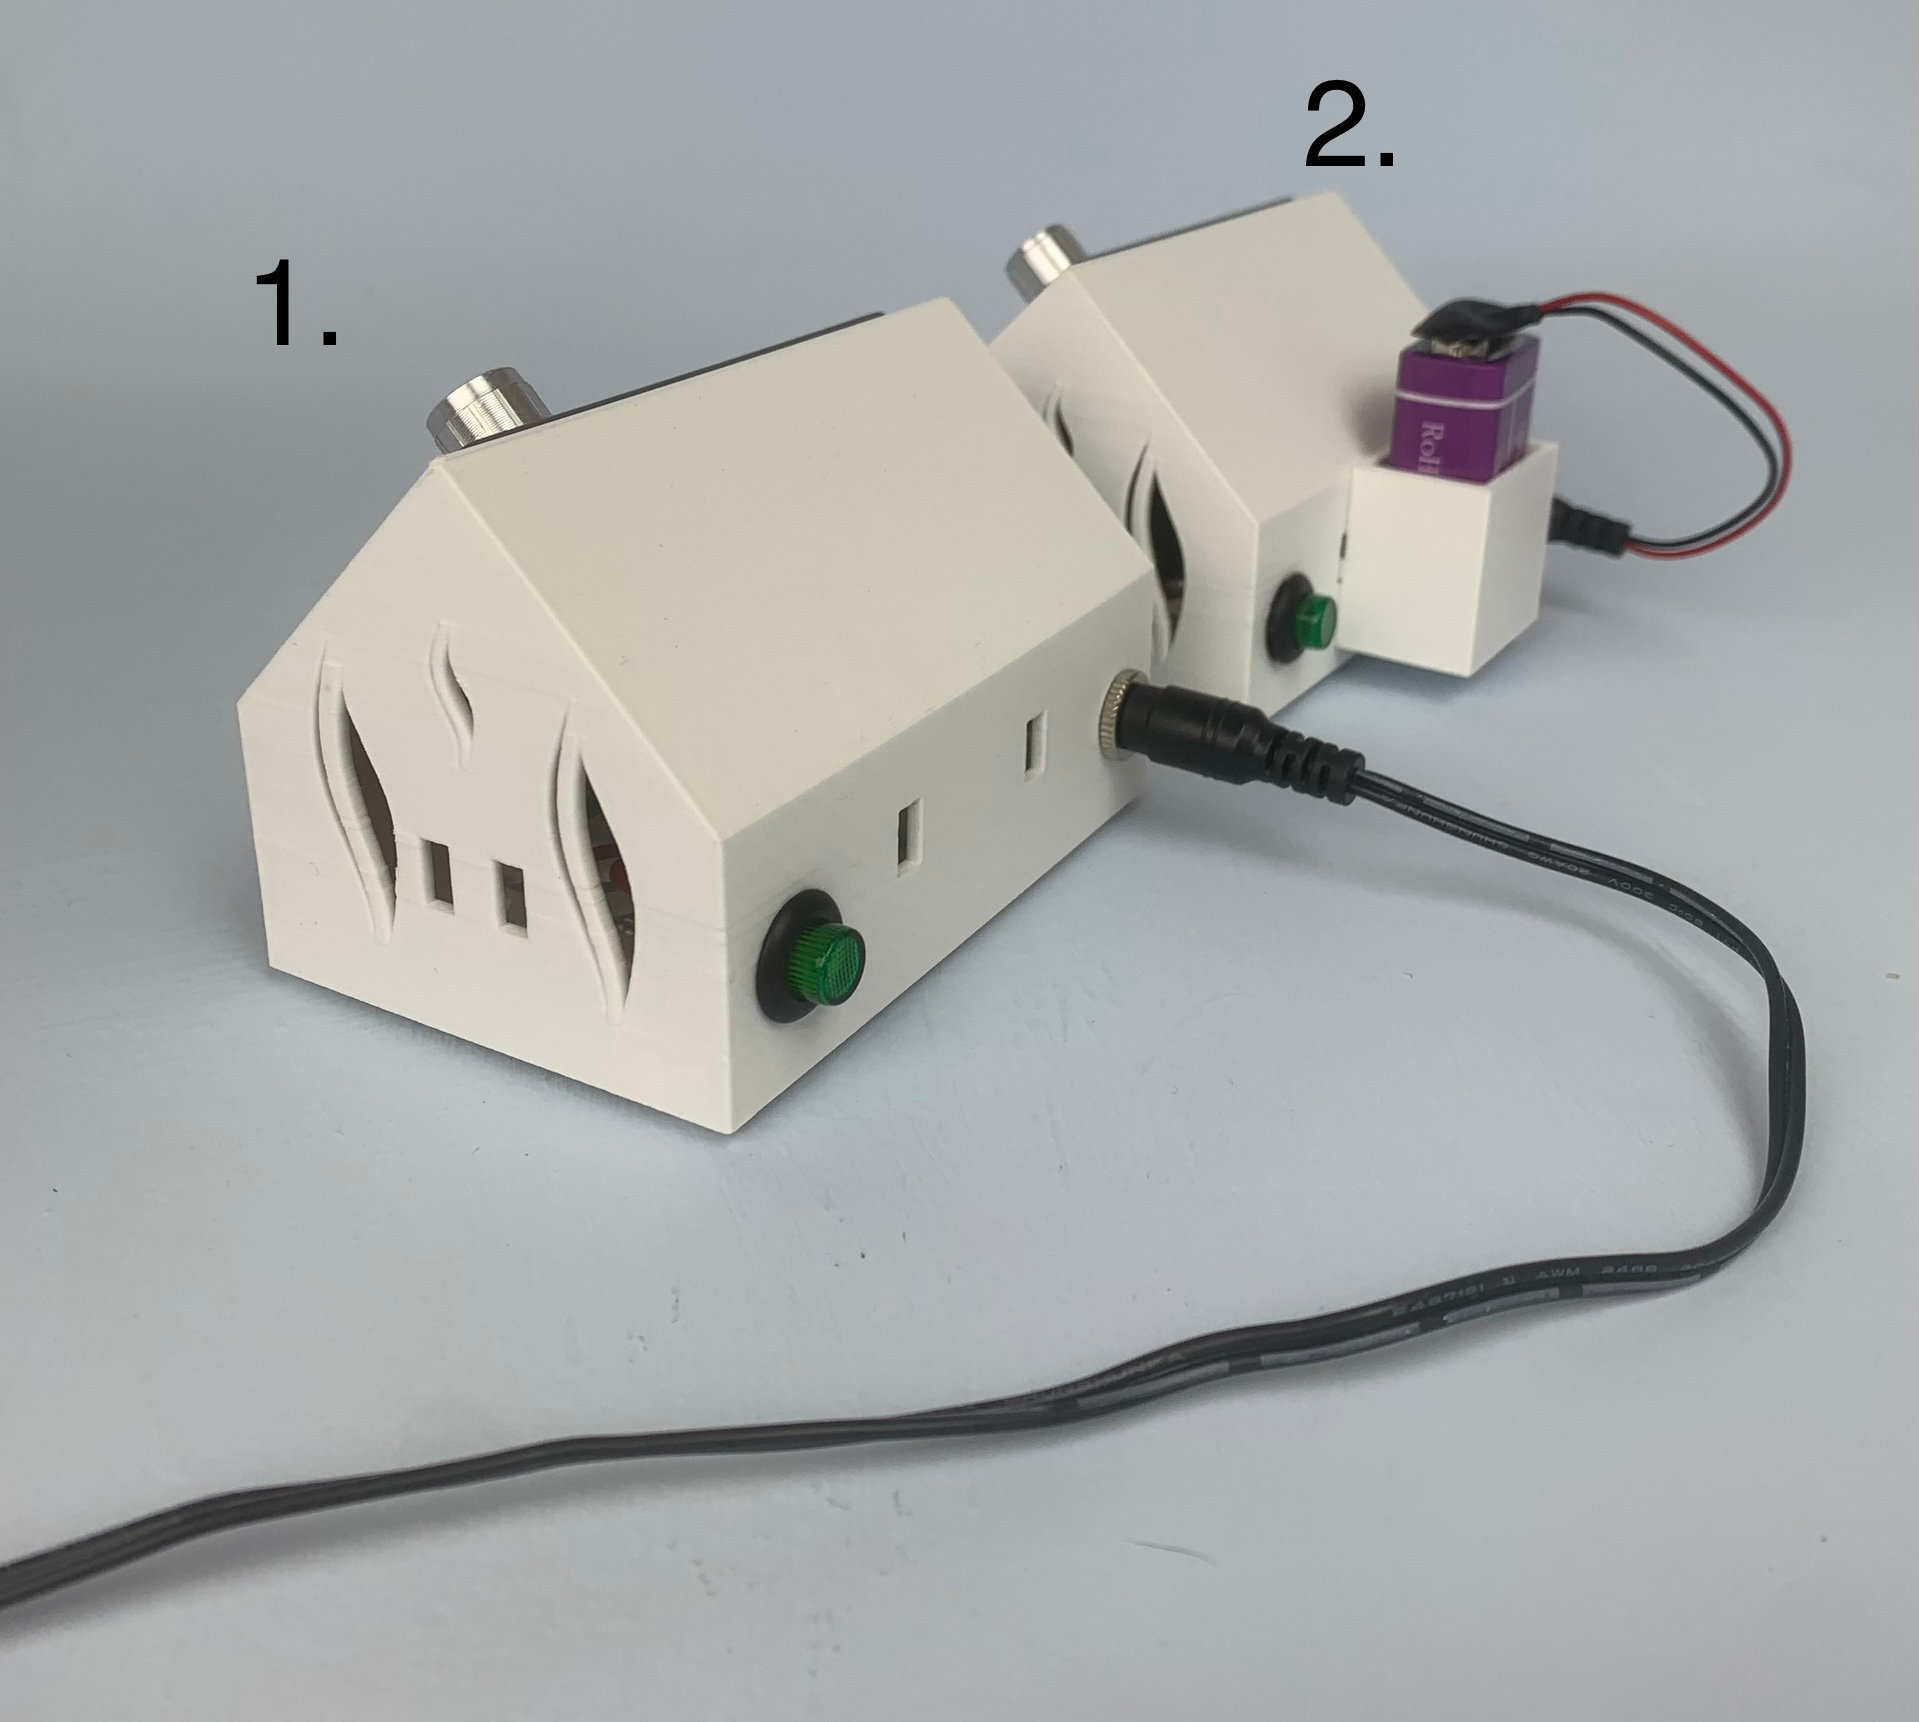
The Microplater can be powered with a lead (1) or with a battery (2).
How to switch the Microplater Classic to pen and brush plating mode
1. Make sure the output indicator (1) displays ‘OFF’ by depressing the yellow Output On/Off switch (3).
Take a note of the correct voltage for your pen or brush plating solution – it is displayed on the side of your plating solution bottle.
2. To set the voltage, briefly depress the dial (2). The last digit in the output indicator will start flashing. You can now adjust this digit up or down by turning the dial clockwise (up) or anticlockwise (down).
To move to the next decimal place, depress the dial again and while this digit is flashing you can adjust this one, by turning the dial.
Continue to the next digit to complete the voltage setting.
3. Select the amps by pressing and holding down the dial until the last digit of the amps starts flashing. As above, adjust the amps by rotating the dial clockwise and anticlockwise. To set all the decimal places of the amps, follow the same procedure you followed for the volts.
4. For both pen and brush plating mode, adjust the amps to 3.5 Please note that 3.5 amps is very unlikely to be reached during the plating process and only indicates a maximum value.
The volts figure, however, should remain unchanged from its set value during the plating process.
6. When you’re ready to start plating, press the output ON/OFF button so that it says ‘On’ in the output indicator.
Please note that you can program the output to be permanently on in Program Mode which is discussed below.
How to switch the Microplater Classic to beaker/tank plating mode
Tank plating is different to pen or brush plating in that the important setting is the amps rather than the volts. To work out the correct amp setting for your piece of work and the tank plating solution you’re using you will need to use one of our online plating calculators. Links to these can be found under ‘Calculators’ on our main menu. Once you have established the correct amp setting, take a note of this.
1. Make sure the output indicator (1) displays ‘OFF’ by depressing the yellow Output On/Off switch (3).
2. First set the volts to 5. This will be the same for every subsequent tank plating job you carry out and is the standard volt setting for tank plating. Follow the same procedure for selecting the correct volts as that outlined above for pen and brush plating.
3. Now you will need to enter in the amp setting you have worked out with one of our online calculators. Select the amps by pressing and holding down the dial (2) until the last digit of the amps starts flashing. As above, adjust the amps by rotating the dial clockwise (up) and anticlockwise (down). The amps figure should remain unchanged during the beaker/tank plating process.
4. Lower your work into the plating solution and press the yellow ON/OFF button to start plating.
Operating Conditions and Deposit Data
| Plating Factor |
0.01 A/cm2 |
| Plating rate |
0.2 micron per minute at 0.01A/cm2 |
| Temperature |
Room temperature – 18 – 40 °C |
| Deposit appearance |
Matt-satin finish |
| pH |
8.8 – 9.5 |
| Copper concentration |
10 grams per litre |
| Agitation |
Medium |
| Anodes (rod electrodes) |
Copper OFHC |
| Copper content in plate |
99% (balance carbon) |
| Cathode efficiency @ 20 °C |
100% |
| Cathode efficiency @ 40 °C |
100% |
| Hardness |
370 Hv |
| Density of deposit |
8.9 g/cm3 |
| Stress |
Medium |
| Special storage requirements |
None |
| Shelf life |
1 – 2 years |
| Health and Safety classification |
Harmful |
| Special considerations |
None |
| Transport (UN number) |
None: Not classified as dangerous for transport |
Notes:
- A plating factor of 0.01 A/cm2 generally yields a semi-bright coating while a plating factor of 0.02 A/cm2 yields a
matte effect. Do not exceed 0.01 A/cm2 at this will cause the production of powdery copper turning the plate brown/matt
and contaminate the solution reducing filter cartridge live (if used) or necessitating the need for batch filtration or both.
- Alkaline copper is mostly used to provide an adhesion layer onto zinc and zincated aluminium prior to build up in Copper Tank Plating Solution.
It is however a nice finish on its own which ages to an antique patina within a few weeks.
When plated as a final finish, layers of up to 5 microns are possible.
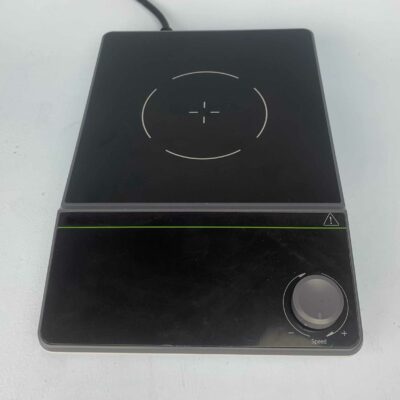
- Agitation is best provided using the Magnetic Stirrer in reversing mode as this helps minimising tide marks especially on flat work pieces.
- Anode bags help to reduce particulate contamination from dissolving electrodes by retaining it in the bag. However due to the requirement for agitation, some of this contamination will find its way into the solution.
Occasional/continuous filtration is recommended.
General guide;
Certain small items, for example Swabs, Nibs and Plating Pens can be sent by normal post within the UK
- The courier option for UK deliveries is FedEx
- Free UK mainland delivery available on orders over £200
- International orders usually 3-5 working days.
For all price quotations for deliveries, please add your items to our shopping cart. You will be able to see the shipping costs by clicking on the ‘Calculate shipping’ button in the cart and before checking out.
Please click on the link below to download the SDS for this product:
https://goldn.co.uk/msds/alkaline_copper_tank_plating_solution.pdf
Plating on zinc (also see notes below)
- Degrease
- Electroclean
- Rinse
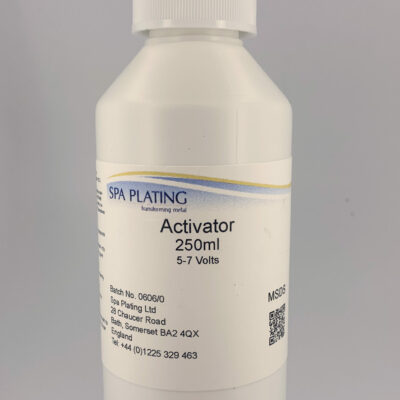
- Microetch in Activator for 1 – 2 minutes
- Rinse
- Plate for 5 minutes at plating factor 0.01 A/cm2
You can now leave the surface with its matt/satin finish or hand polish using Autosol.
You can also apply either tank or brush plated layers.
If the item is likely to be used outdoors, then we advise a copper layer of 5 – 10 microns
which can be plated quickly using Copper Tank Plating Solution.
If nickel tank plating, polishing may not be necessary as the nickel brightens as it plates.
Plating on to Aluminium
- Degrease
- Electroclean
- Rinse
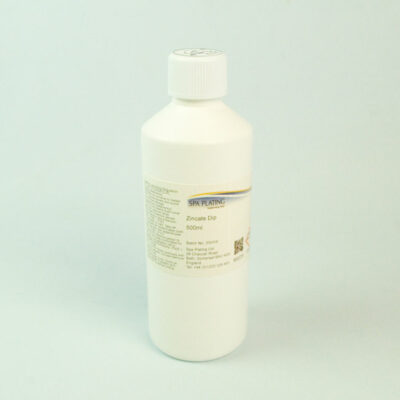
- Zincate in Zincate Dip for 30 seconds to 2 minutes
- Rinse
- Plate for 5 minutes at plating factor 0.01 A/cmhttps://www.goldn.co.uk/product/zincate-dip-uk-and-eu/
The same post plating options apply as for zinc above.
Plating on to steel
- Degrease
- Electroclean
- Rinse
- Dip in Activator or ActiClean for 30 seconds – 1 minute
- Rinse
- Plate for 5 minutes at plating factor 0.01 A/cm
As with zinc and zincated aluminium, copper can be built up using Copper Tank Plating Solution.
Notes
1) Please note that the Activator dip should be kept exclusive to a single metal for example, if the Activator
has been used for zinc, it is not advisable to use the same solution for steel.
2) Most zinc is cast and contains surface impurities that need to be mechanically removed to achieve good adhesion.
This can be done in a variety of ways including abrading, polishing or tumbling in a barrel with abrasive medium added.
Poorly prepared zinc usually results in deposits which bubble up.