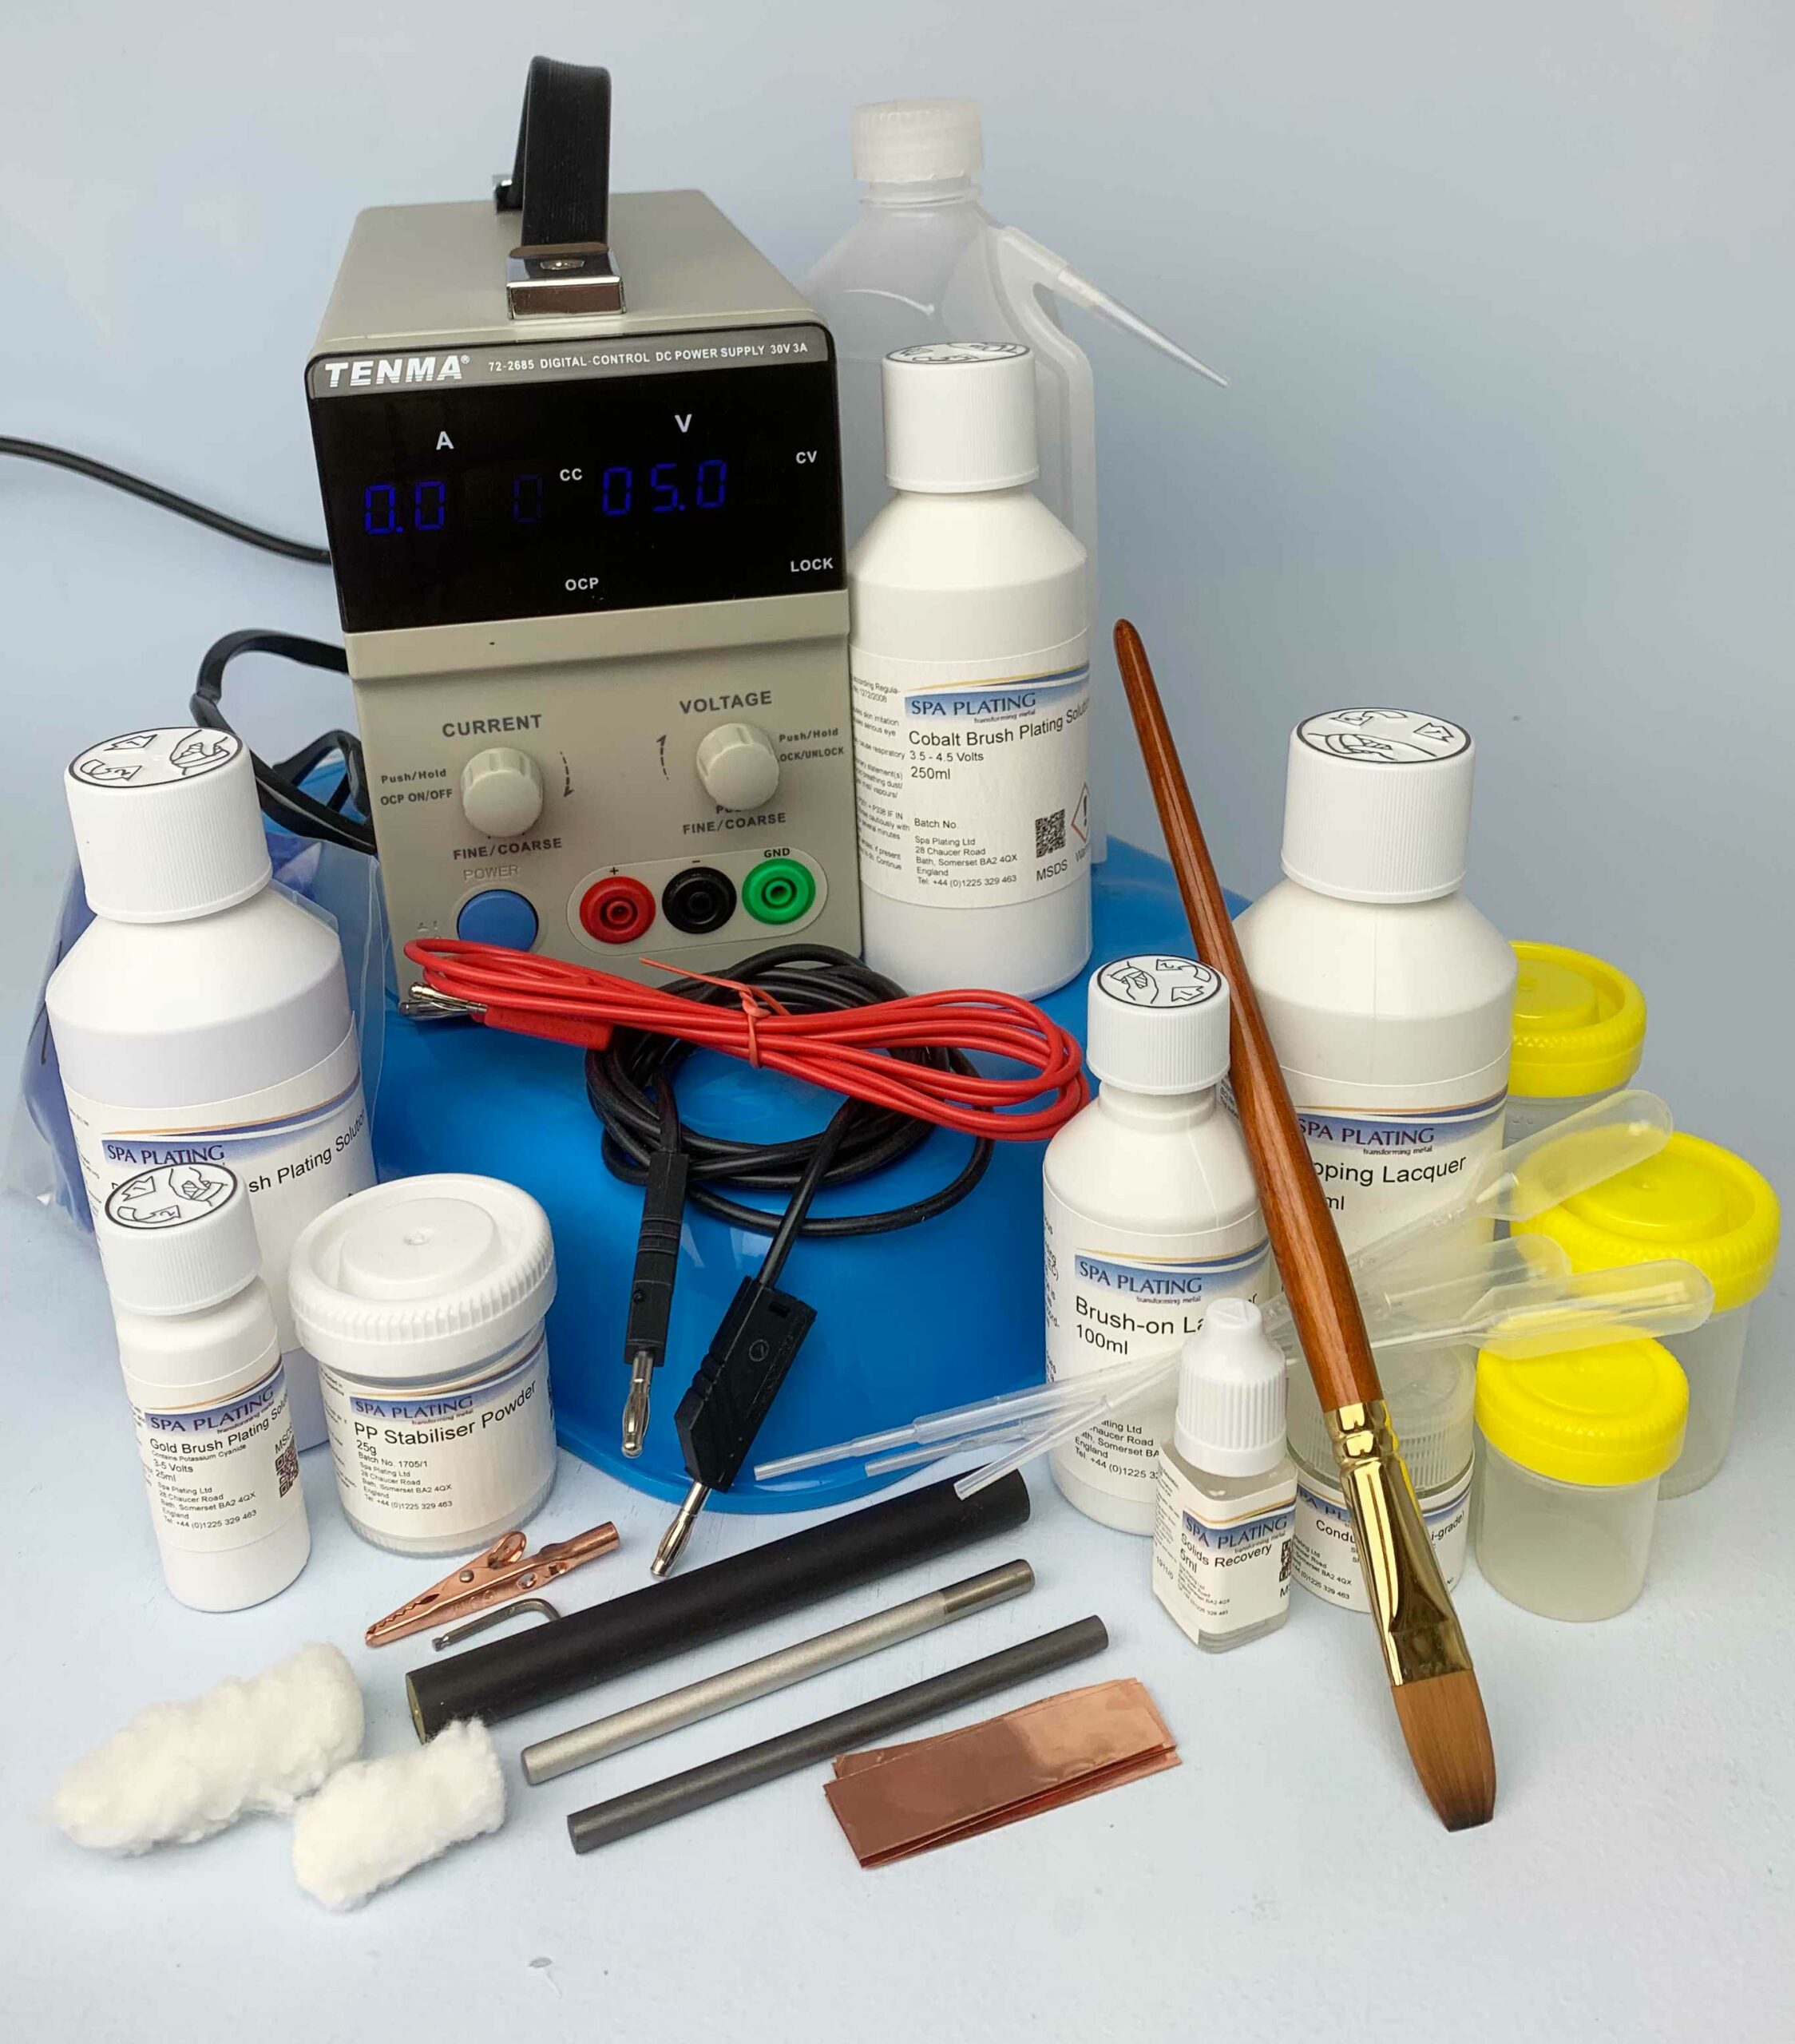
You can purchase this kit as it is or if you wish, you can use it as a guide to put together your own bespoke kit. Click on the items in the list to see detailed product information.
This kit has been designed to apply a decorative brush-plated final coating of gold onto items such as wood and shell.
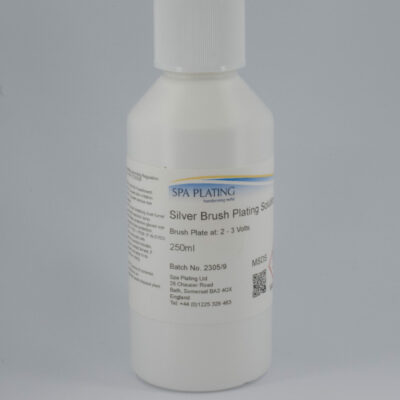
The finish is not limited to gold; as copper brush plating is one of the stages of the process, the item can be left as copper. Silver can be substituted as a final layer, which can be plated directly over the copper.
We highly recommend that Conductive Ink (hi-grade) is applied with an airbrush and therefore good airbrush skills are essential for a good brush plated finish.
Please note: We only recommend this process for decorative applications such as shop window display and not for functional applications
such as jewellery.
Further information on the process and specifications is available by clicking on the various blue tabs in this tabbed panel.
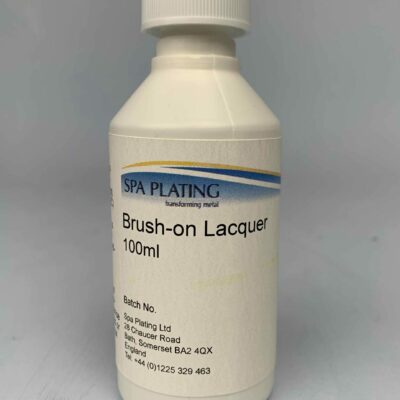
When plating on non-conductive surfaces, one of the first stages is to apply a sealing/key layer of our sealing lacquer. This can either be our Dipping Lacquer or our Brush-on Lacquer.
If you then intend to plate a layer of gold using our Gold Brush Plating Solution, you’ll need to first plate a barrier layer with our Cobalt Brush plating Solution. This will prevent the layer of gold diffusing back into the layer of copper. You don’t need to plate a barrier layer over the copper if you’re planning on plating with Silver Brush Plating Solution.
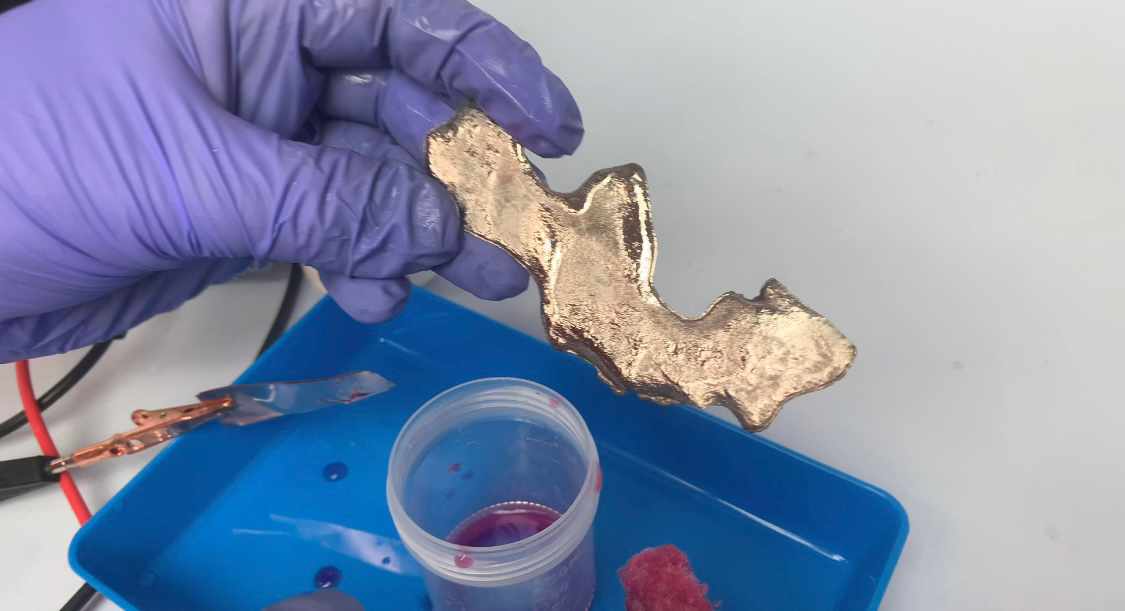
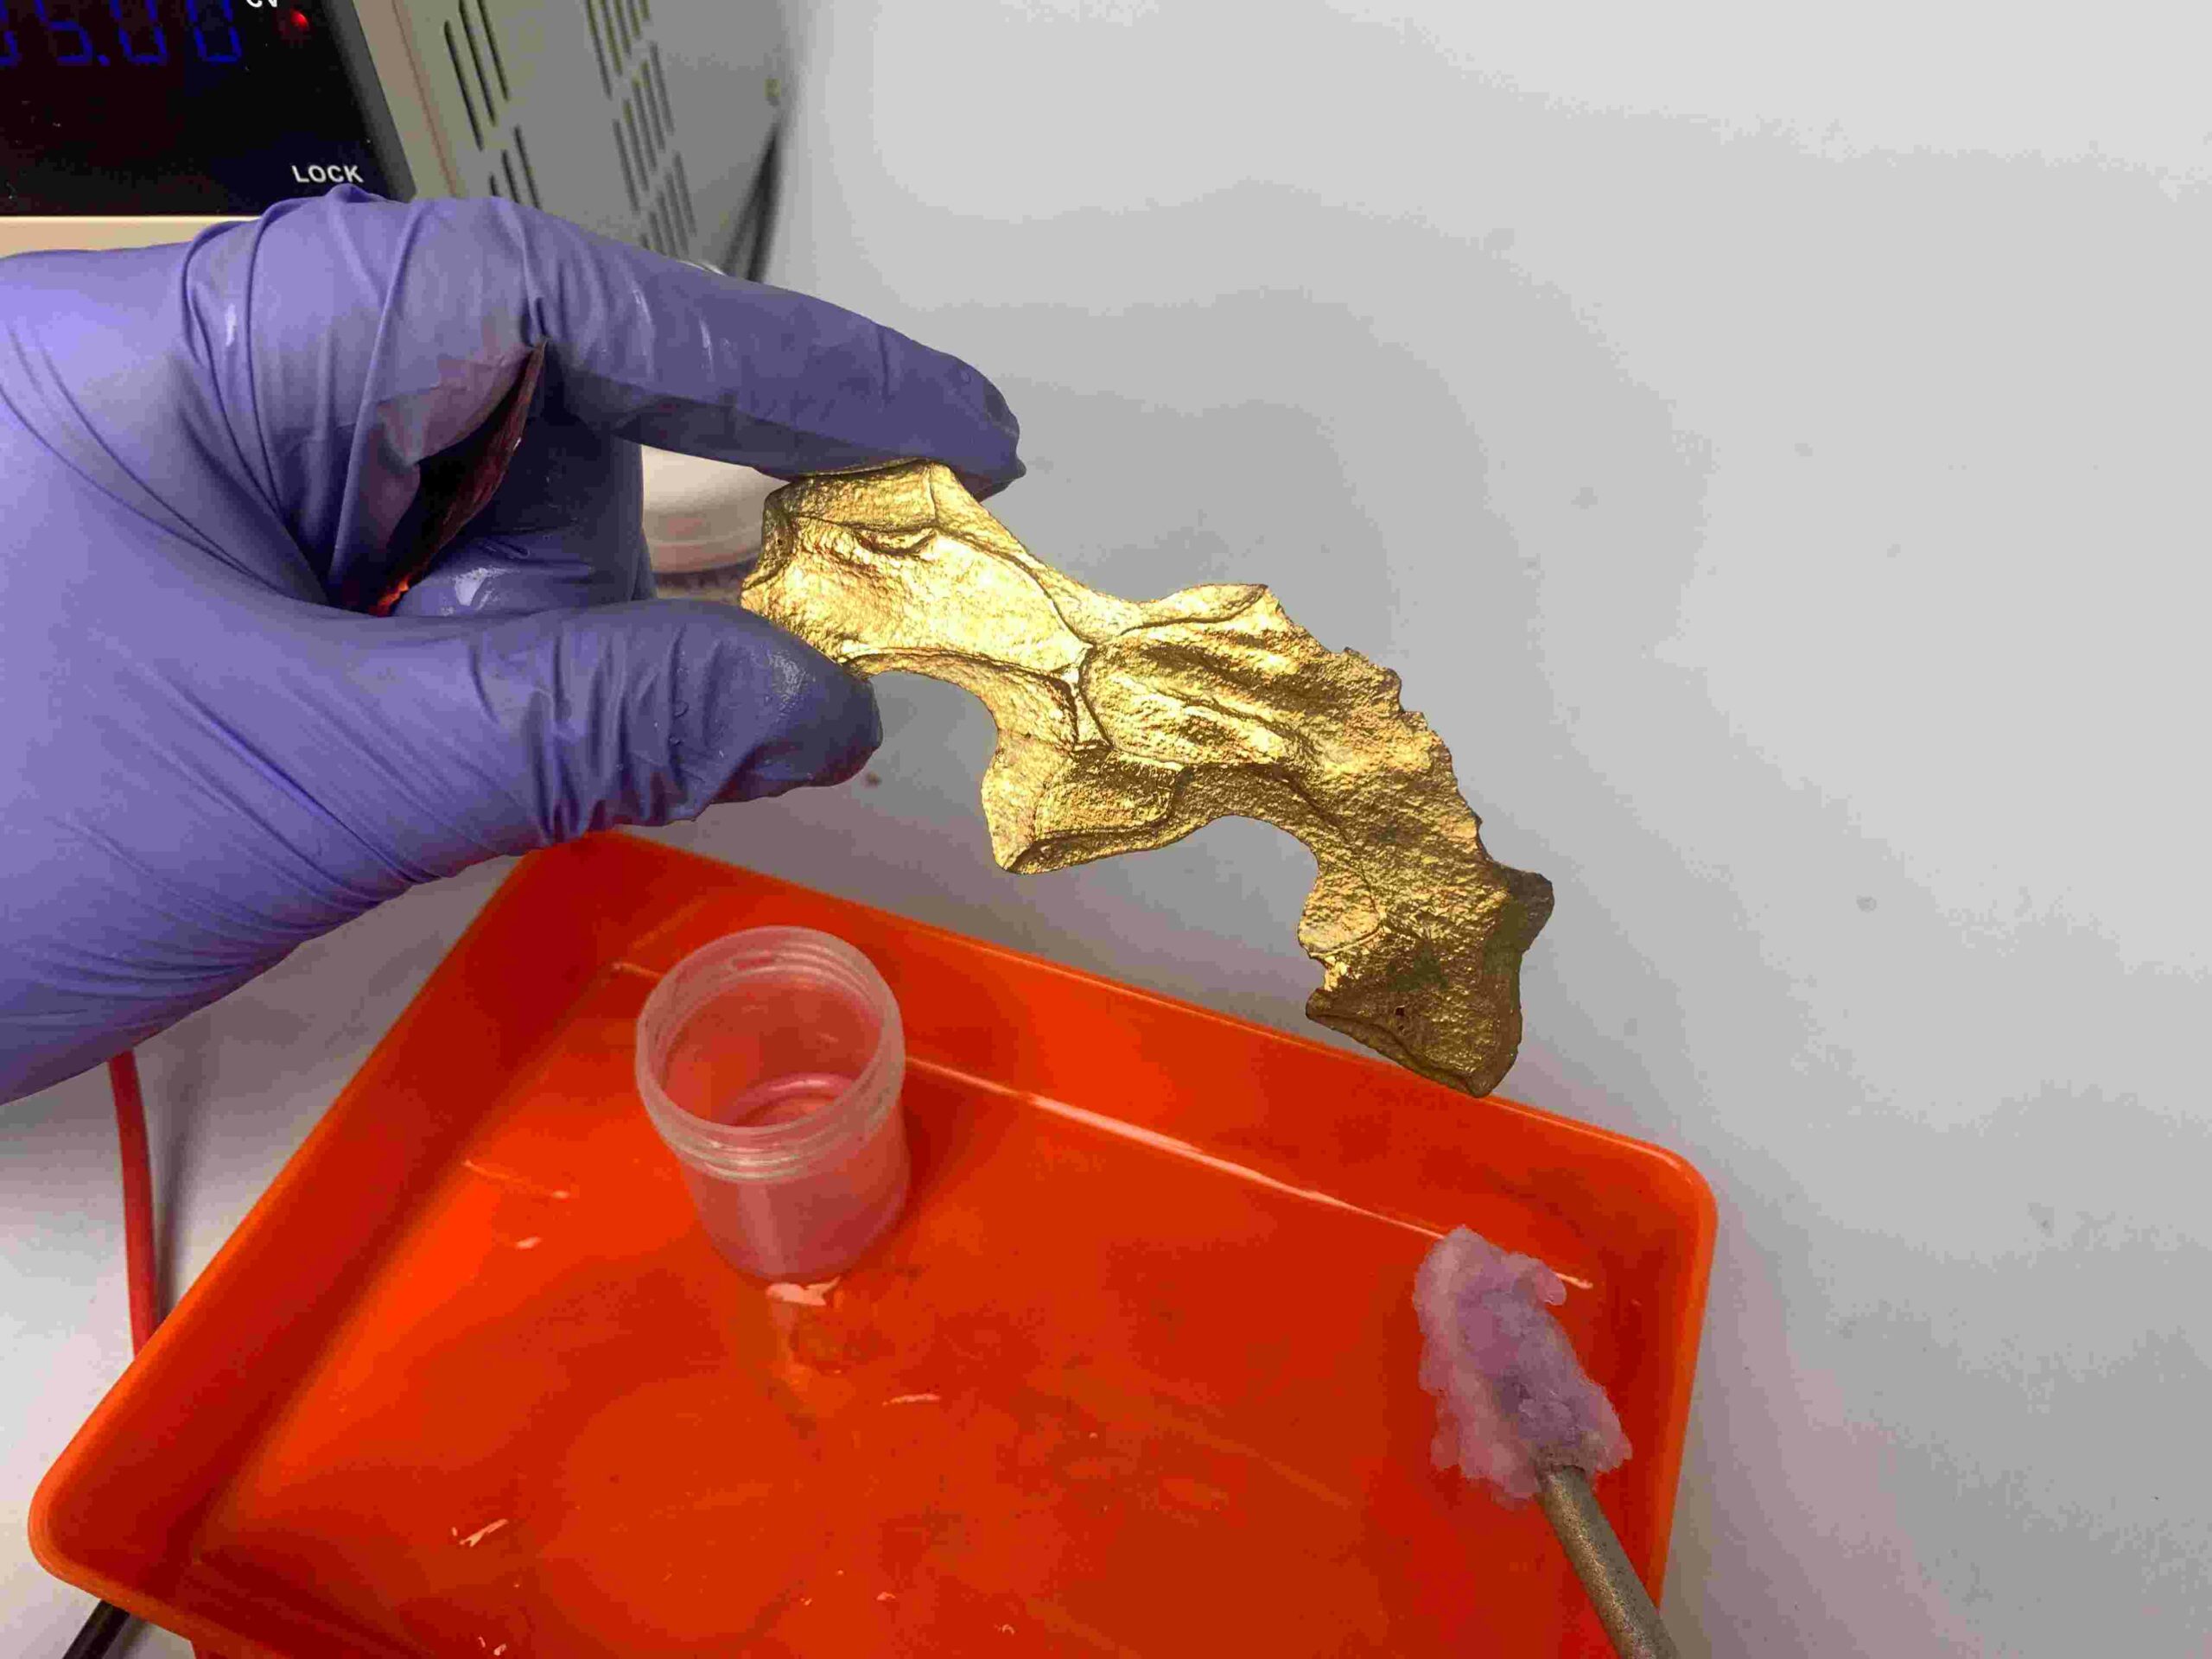
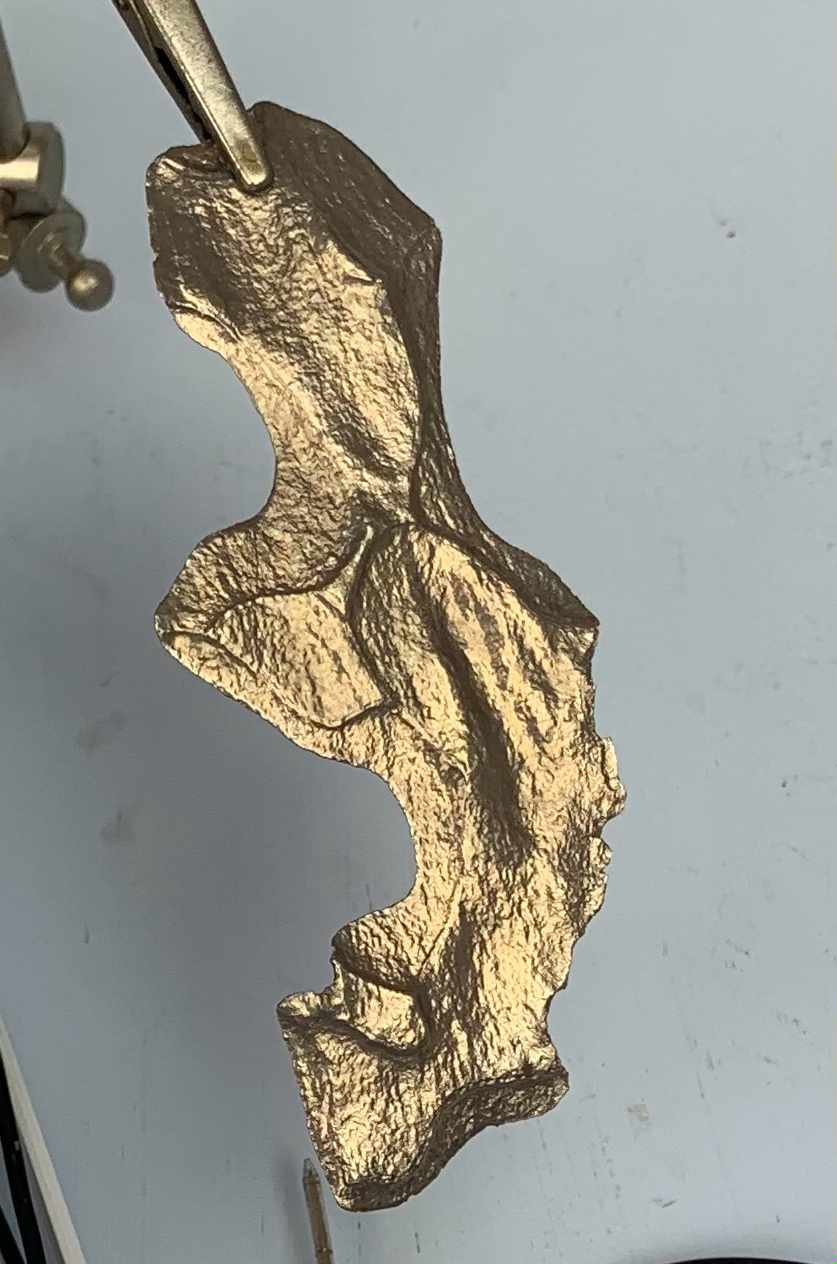
Here is the piece of wood with its final layer of gold, plated with our Gold Brush Plating Solution. Note that we have swapped out the carbon electrode with one of our platinum electrodes.
Our Gold Plating on Wood Kit includes the items you need for successful plating on wood. Below is a step-by-step guide on how to plate on wood, including a video demonstrating the process.
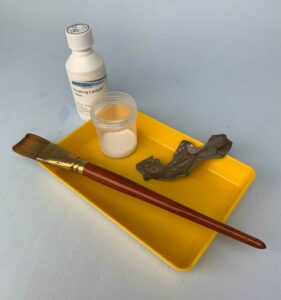
1. Surface preparation
A piece of wood that’s completely dry, ready for the Brush-on Lacquer
Before you start brush plating on wood you will need to prepare the surface carefully.
Ensure the item is completely dry; this piece of bark was left to dry at room temperature for at least a week. Gently remove any part of the surface that is loose or damaged.
In either case let the lacquer dry overnight for at least 12 hours.
2. Making the surface conductive
To make the surface of your piece of wood conductive, you will need to apply a thin but continuous layer of our Conductive Ink (hi-grade) with an airbrush. This is by far the most important part of the process and the one which requires good airbrushing skills.
Further information on the type of airbrush we use and its settings can be seen by clicking on the Tech Specs tab on the Gold Brush Plating on Wood product page.
For cure times of the conductive ink and detailed instructions for application, please read the information contained under the Tech Specs tab on the Conductive Ink (hi-grade) product page.
Piece of wood with layer of conductive ink applied
4. Plating the barrier layer in preparation for gold plating
If you intend to finish with a layer of our gold brush plating solution, then you will need to plate a barrier layer, so that the gold doesn’t diffuse back into the copper. We recommend using our cobalt brush plating solution to achieve this as it plates fast and is hard wearing.
Again, you’ll need a carbon electrode and a short extra fluffy swab.
If you don’t intend to plate a layer of gold and instead want to plate a layer of our silver brush plating solution, then you don’t need a barrier layer and can go straight ahead with the silver.
A barrier layer of cobalt
5. Plating the final layer of gold
Once the layer of cobalt has been plated it’s ready for the final layer of our gold brush plating solution. You will need to use one of our platinum electrodes for this and we suggest one of our short swabs would be an economical choice.
Brush Calculator
Airbrush settings:
Pressure: 40 – 50 psi
Nozzle size: 0.4mm
Type of airbrush used: Harder & Steenbeck Ultra 2 in 1 Airbrush
General guide;
Certain small items, for example Swabs, Nibs and Plating Pens can be sent by normal post within the UK
The courier option for UK deliveries is FedEx
Free UK mainland delivery available on orders over £200
International orders usually 3-5 working days.
For all price quotations for deliveries, please add your items to our shopping cart. You will be able to see the shipping costs by clicking on the ‘Calculate shipping’ button in the cart and before checking out.
Process sequence for plating onto wood or shell:
Apply lacquer to the item you want to plate either by brushing it on with our Brush-on Lacquer or dipping it with our Dipping Lacquer. Leave it to dry for at least one hour before applying further coats of lacquer or applying our Conductive Ink (hi-grade) – see note 1 below.
Airbrush on a thin but continuous layer of Conductive Ink (hi-grade) – see note 2 below. This is by far the most important part of the process and the one which requires good airbrushing skills.
Further information on the type of airbrush we use and its settings can be seen by clicking on the Tech Specs tab.
For cure times, please read the information contained under the Tech Specs tab on the Conductive Ink (hi-grade) product page.
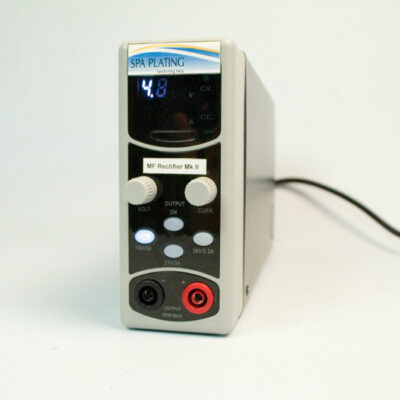
Plate with our PP Copper Brush Plating Solution. Use one of our conductor strips to make contact with the work piece. Be careful not to press the conductor strip too hard on the work piece, as this may damage the very thin conductive film and lead to un-plated areas. Use a range of 4- 5 volts. A higher voltage means increased plating speeds.
Rinse
If you intend to gold plate, you will need to plate a barrier layer between the copper and gold as, without this, the gold will diffuse back into the copper layer. You can use either our Cobalt Brush Plating Solution (preferred) or our Nickel Brush Plating Solution.
If you don’t intend to plate a layer of gold and wish to stay with a layer of copper or to plate a layer of silver, you won’t need to plate a barrier layer.
Rinse
Plate the gold layer.
Notes:
Applying more coats of lacquer will make the article more glossy but also result in a loss of definition of fine details such as the grain in wood.
Applying a layer of conductive ink which is too thick may result in loss of conductivity. The best conductive surfaces are produced by thin layers. If a second layer is deemed necessary, the first coat of ink should be allowed to dry for at least 24 hours.