How to prepare our Thickener
How to prepare Thickener for brush plating
Here's our how to prepare Thickener guide, giving you step-by-step illustrated instructions. The best thing about Thickener is that it helps you to be economical with your plating solutions by cutting out any dripping of solutions back into the Drip Tray or on the ground if you're plating 'in situ'. It’s therefore particularly useful when you're gold brush plating but can be equally helpful for all of our other solutions as well. Please refer to the appropriate pages in our manual for advice on gold brush plating and the correct voltages to use.
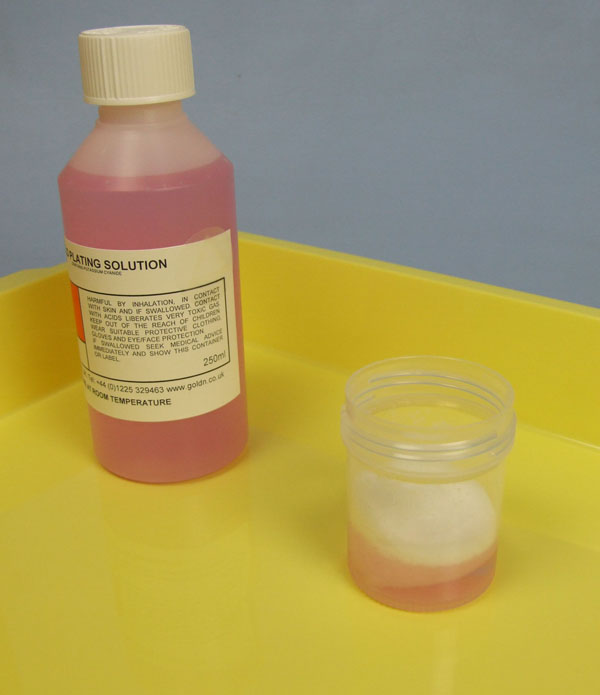
1. Measuring out the Thickener
Pour out the amount of plating solution you need into a beaker, then pour into the same beaker an equal amount of Thickener. For estimating how much plating solution you need, please refer to our Plating Calculator that can be found on all of our product pages.
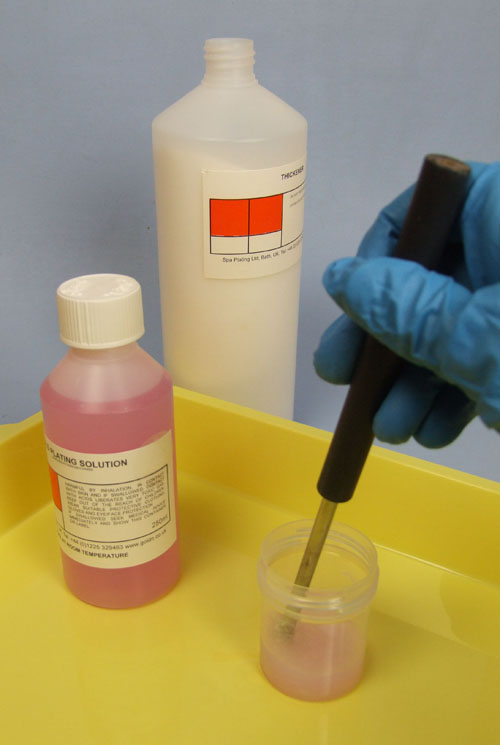
2. Mixing the thickener
By using the electrode to mix the Thickener with the plating solution, you’re also ensuring the Thickener properly coats the electrode before the swab is put on. This will help the electrical current to flow when you come to start plating.
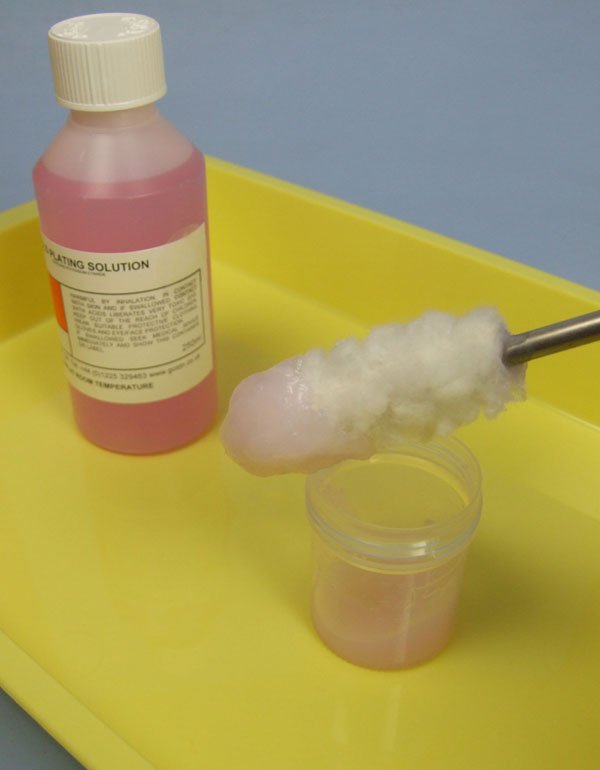
3. Soaking the swab
Once you have put the swab on the electrode, make sure it is coated and soaked in the Thickener.
4. Starting to gold plate
When you touch the swab to the tap, you may not instantly see gold plating happening. This will probably be because the thickened gold solution hasn’t soaked through to the electrode and formed a circuit yet. To encourage this, carry on moving the swab in regular circular movements on the surface of the tap for a while and the gold will begin to appear.
Leave a Reply
You must be logged in to post a comment.